
Crochet Tulip Placemat Pattern with a Floral Popcorn Border
· admin
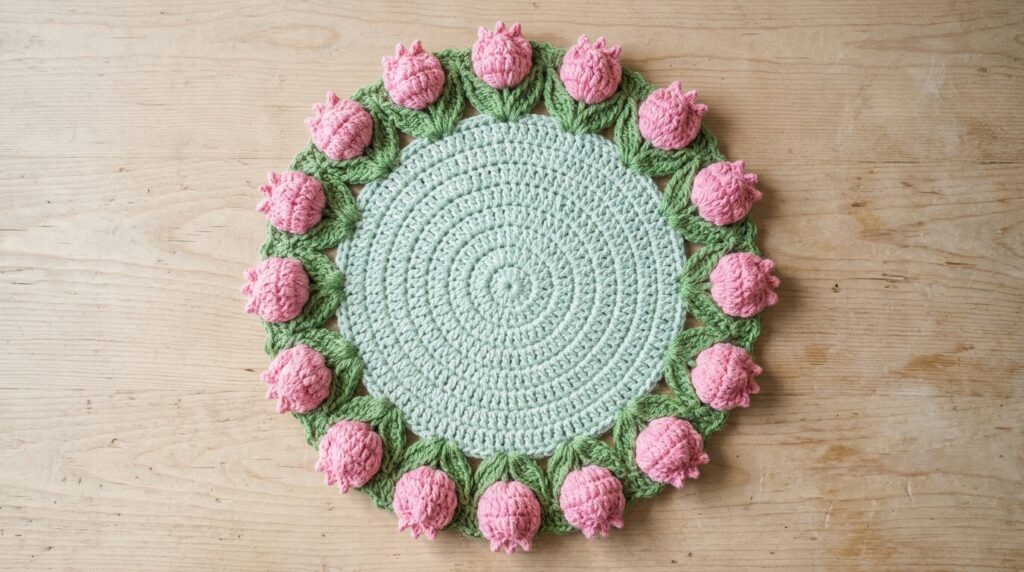
This crochet tulip placemat pattern uses an expanding round base with a ring of green leaves and raised tulip flowers around the edge. It is a table decoration with floral edging rather than a stemmed tulip. The supplied Tulip flower PDF gives the base repeat and then explains how to add the leaf and popcorn border.
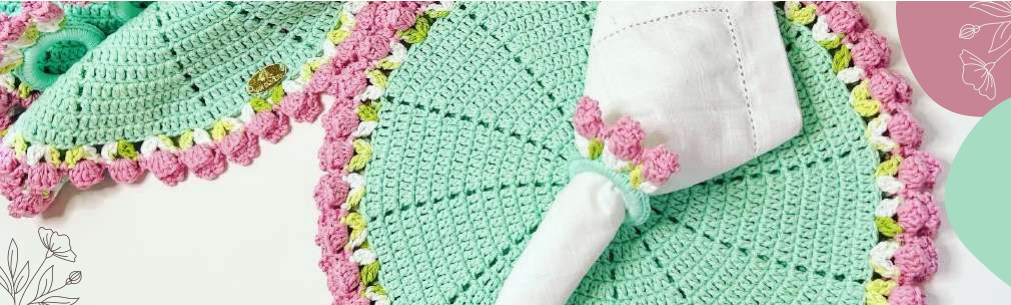
Crochet Tulip Placemat Pattern Materials
- 100% cotton yarn labeled No. 4 in the source. Choose separate shades for the base, leaves and tulips.
- A 3.5 mm hook, scissors and yarn needle.
- The source lists fabric glue, although the stitch instructions do not give a required gluing step.
Stitches and Pattern Notes
US terms are used here. Ch = chain, sl st = slip stitch, sc = single crochet, hdc = half double crochet, dc = double crochet, tr = treble crochet, MR = magic ring, inc = 2 stitches in one stitch, and dec = a decrease across two stitches. BLO means back loop only and FLO front loop only. A popcorn is a group of complete dc closed into a raised bump. For this border use six dc per popcorn, following the source line that says one dc plus five more, six total. A later reference to seven dc conflicts with that line. Keep one consistent popcorn size around the border.
Begin the Round Base
| Round | Instructions |
|---|---|
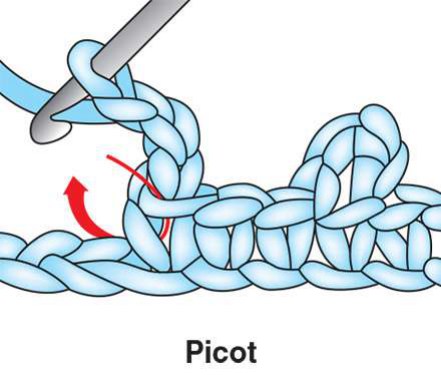
| 1 | Make a magic ring. Work a starting ch 3 as the first dc and ch-1 separation, then continue with dc separated by ch 1 until there are 12 dc positions including the starting chain. Join to the top of the starting dc chain. |
| 2 | Ch 3 for the first dc, dc in the same base position, ch 1. Work 2 dc in every remaining base dc, keeping ch 1 between the twelve groups. Join. |
| 3 | Ch 3, then work one dc in each of the first single-dc positions and an increase at the end of each group: one dc alone, then 2 dc in the next stitch. Keep ch 1 between groups. Join. |
| 4 | Work two dc individually, then 2 dc in the next stitch in each group. Keep ch 1 between groups and join. |
Grow the Base to the Required Size
Continue with the same increase structure. In every new round, add one more individual dc before the final increase in each section. Keep the separating chain between sections. The source example continues until there are twelve individual dc followed by an increase, giving fourteen dc in each section at that stage.
The source describes this as fourteen base rounds. It does not give a finished diameter or a numerical gauge. If you stop at another size, check that the leaf groups can be spaced consistently around the edge. Lay the work flat after each increasing round to catch extra increases or missed separating chains.
Green Leaf Groups
Join green at the next base dc after the previous joining point. Work a two-dc cluster in one base stitch: make the first dc without its final pull-through, make the second unfinished dc in the same stitch, then draw through the remaining loops. Ch 3 and make another two-dc cluster in that same base stitch. Ch 1.
Skip three base dc and repeat the paired leaf group in the fourth dc. Continue around the base and join with a slip stitch. Keep the ch-3 spaces open because the tulips will be worked into them. The two clusters are leaves sharing one anchor; do not decrease across two separate base stitches.
Popcorn Tulip Border
- Join the tulip color in a ch-3 space between a pair of green leaves. Work six complete dc into that space.
- Remove the hook from the working loop, insert through the top of the first dc, catch the working loop and pull it through to close the popcorn.
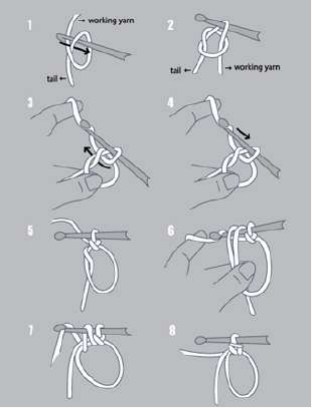
- At the back, make ch 3 and secure with a sc into the middle of the tulip. Repeat this chain-and-sc detail two more times, making three small points.
- Ch 1, then sc between the neighboring leaf groups to separate the tulips.
- Repeat around the leaf border, join neatly and weave in all ends.
Finishing and Border Checks
Gently arrange the flowers so their raised faces sit outside the placemat base. Check that every tulip is supported by a complete pair of green leaves and that each one has three small pointed details. Block according to the cotton yarn’s care instructions, keeping the border shaped without crushing the popcorns.
The supplied text contains translation inconsistencies, including calling dc “single crochet” in one base-round summary. The surrounding instructions and diagram use dc for the expanding base, which is the stitch retained here. The six-dc popcorn choice is stated above so the conflicting counts do not get mixed in one border.
More Crochet Projects
For another project, try our crochet bluebell flowers or explore a wired crochet lily with buds.
Pattern and Photo Credits
The supplied Tulip flower PDF, headed Tulip Model Placemat. The designer is not identified in the supplied file. This is an editorial adaptation of the supplied pattern, with the original designer credited. Reference photographs show the source project.
Leave a Reply