
Clarence the Peckish Plant Crochet Amigurumi Guide
· admin
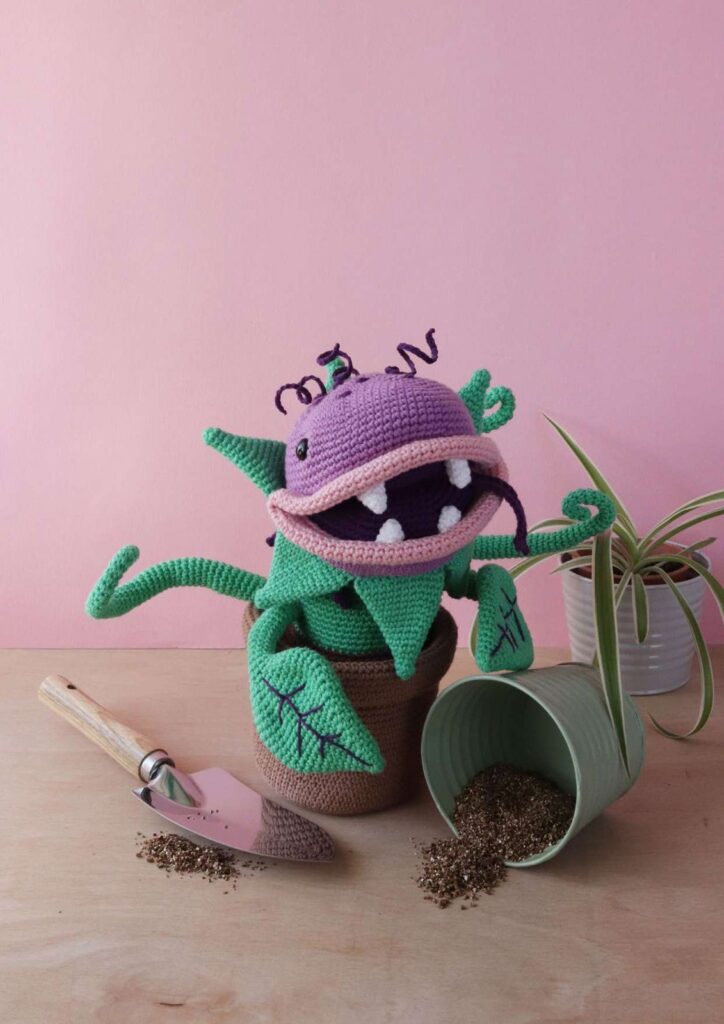
Clarence the Peckish Plant is a crochet carnivorous-plant character with a wide pink mouth, white fangs and a tall green neck. A reinforced brown pot supports the poseable leaves and vines. Unlike a simple flower-in-a-pot amigurumi, this design joins two head halves around a separate mouth and uses loop-specific rounds to bend the stem.
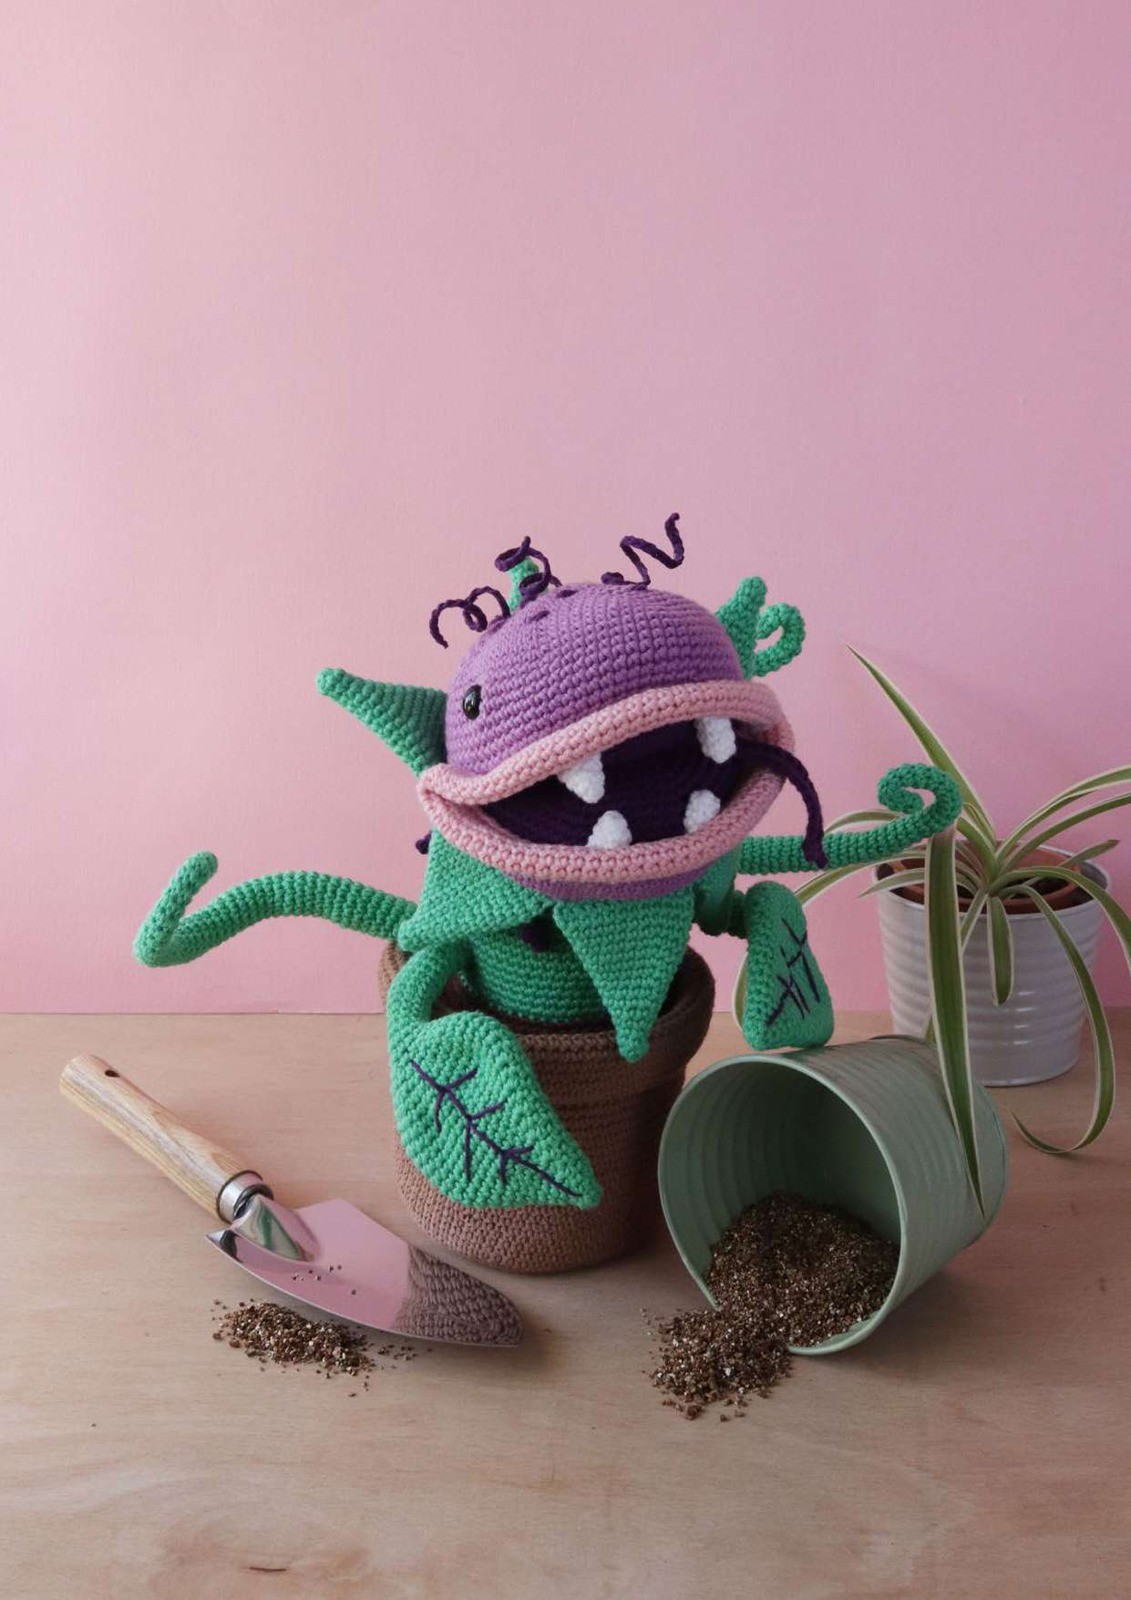
Project details
| Skill level | Advanced amigurumi |
|---|---|
| Finished size | Approximately 27 cm tall and 11 cm wide in the source sample. |
| Hook | 3 mm |
| Pattern source | Clarence the Peckish Plant, supplied twelve-page PDF. |
Materials
Paintbox Yarns Cotton DK: Tea Rose 443 (1 ball), Jam 473 (half a ball), Blush Pink 454 (small amount), Spearmint Green 426 (2 balls), Paper White 401 (small amount), Soft Fudge 410 (1 ball) and Coffee Bean 411 (small amount); 10 mm eyes, 16 long pipe cleaners or support wire, foam/felt stabilizer, stuffing, needle and optional starch.
Plan the construction order
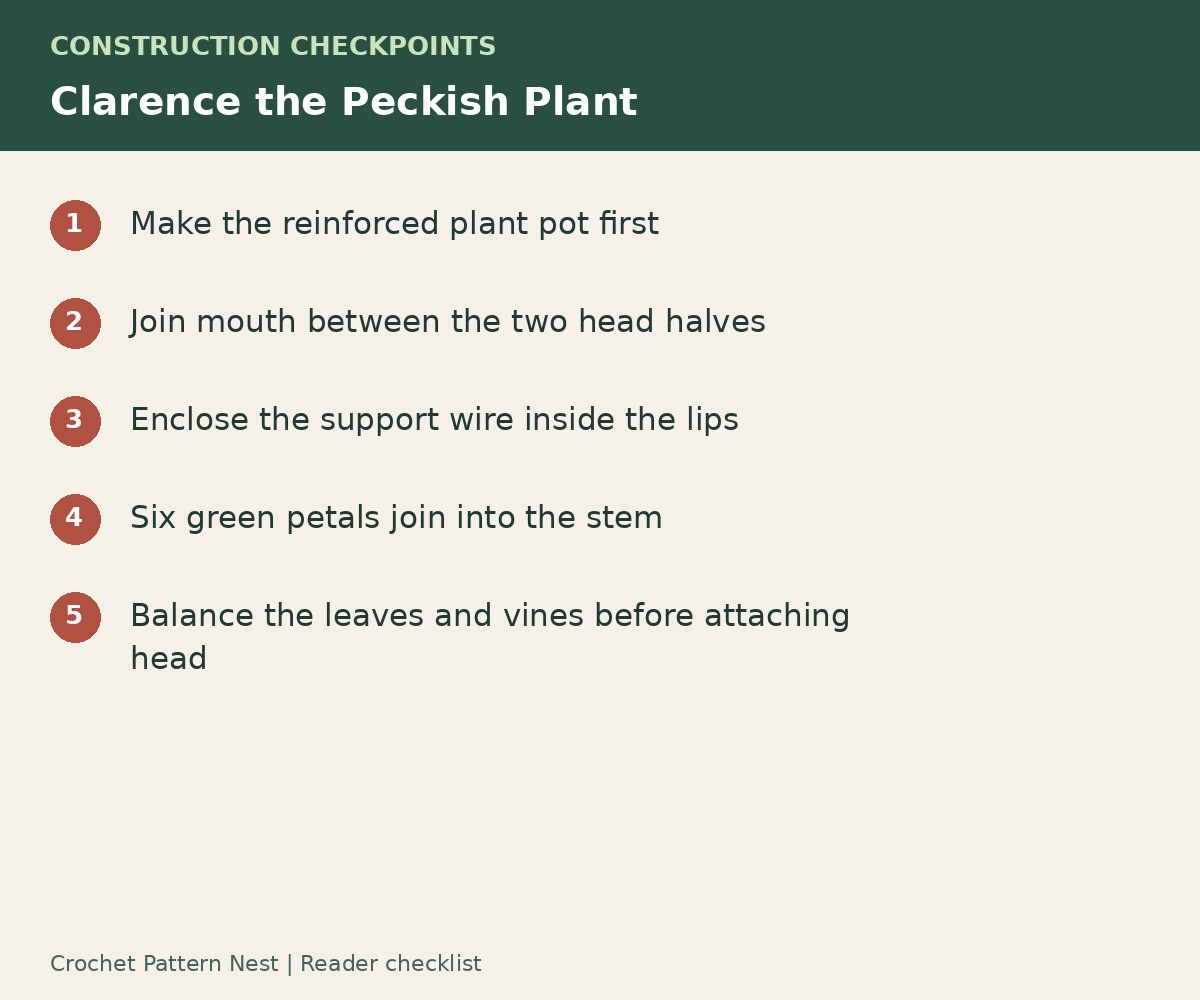
Work in US terms with firm amigurumi tension. The source gauge circle is 7 sc, then 14, then 21; it measures about 3 cm across with DK cotton and a 3 mm hook. Make the pot first, then the inner mouth, head halves, lips and fangs. Six green stem petals join into the body before the soil section connects it to the pot.
Support wire is enclosed inside the lips, leaves and vines. Bend sharp ends inward and keep them inside the finished fabric. This construction is appropriate to a decorative poseable model; it is not the same construction as a soft unstructured toy.
Make the reinforced pot
| Rounds | Pot checkpoint |
|---|---|
| 1–9 | Begin with 7 sc and add seven per round to 63. |
| 10 | (8 sc, inc) six times, then 9 sc: 69. |
| 11–12 | 69 BLO slip stitches, then 69 sc into those same back loops over the slip stitches. |
| 13–17 | 69 sc each round. |
| 18–22 | Increase three times to 72; work four plain rounds. |
| 23–27 | Increase three times to 75; work four plain rounds. |
| 28–32 | Increase three times to 78; work four plain rounds. |
| 33–45 | FLO: increase six times to 84, then work twelve plain rounds. |
| 46–47 | Decrease six times to 78. Fold the lip over stabilizer and slip stitch it to the free loops from round 33. |
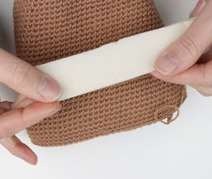
Cut the stabilizer strip to fit inside the folded rim rather than letting it protrude above the edge. The early double-use of the back loops makes a firmer base crease; it is not an extra loose row added outside the pot.
Make the mouth and head halves
The purple mouth is an oval worked around a chain of thirteen. Its first round has 26 sc; rounds 2–11 add six per round to 86. Work two more plain 86-stitch rounds. Round 14 combines 3 slip stitches, 33 sc, 10 slip stitches, 33 sc and 7 slip stitches. Those low sections mark the corners when the mouth is joined.
Each lilac head half begins with 6 sc and increases by six per round to 72 at round 12. The top half then has six plain rounds; the bottom has three. Join the inner mouth to the bottom half starting at the middle of a slip-stitch corner: work five corner stitches, thirty-three ordinary stitches and five corner stitches through both layers. Continue around the other half with the top piece for an 86-stitch join. The source photos on PDF page 5 show how the unused head edges remain at the back.
Fit the eyes on the upper half, about five stitches from the mouth corner and five rounds up. Make pink lips from the mouth’s front loops: 86 sc for the first round, then seven more rounds at 86. Enclose the doubled support wire and close the lip tube onto the remaining free mouth loops. Stuff the two head halves while keeping the mouth roof flat, then close their remaining back edges.
Make at least two upper fangs: 6, 6, 8, 8 and 10 sc over five rounds. Lower fangs use 6, 6 and 8 over three rounds. Sew them into the inner lip seam with the upper pair spaced wider than the lower pair.
Join the six stem petals
Each green petal begins with 6 sc. Work two plain rounds, then add three stitches on every other round until reaching 24 at round 14; round 15 stays at 24. Leave unstuffed, flatten and close with twelve sc. Make six and continue from the final one to crochet across all six twelve-stitch edges for a 72-stitch circle.
Two plain rounds follow. Reduce to 66, work two plain rounds, then reduce to 60. The neck bends through combinations of BLO slip stitches and sc in the free front loops. In rounds 8–13, thirty stitches form the shorter front section while thirty remain ordinary sc. A second bend in rounds 18–20 uses twenty-six slip-stitch positions after two initial sc. Use the source’s page-7 photo sequence to catch the correct two-round loop layers; ordinary top-loop sc at those points removes the bend.
The counts decrease to 57 in round 20 and 54 in round 21. Work rounds 22–26 at 54, followed by a 54-stitch slip-stitch round. This article maps the stem stages; the exact loop-by-loop bend placement remains in the original page-7 instructions.
Add soil, vines and leaves
Join dark brown to the stem’s final slip-stitch round. The soil expands from 54 to 60, 66, 72 and 78. Join its final edge to the pot’s 78-stitch folded-rim seam. Add the base stabilizer and filling before closing off access.
Make three green tubular vines. Start at 5 sc, adding one stitch every sixth round until reaching 12, then continue at 12 through round 55. Insert doubled support wire and curl the tips. The two grippy leaves start at 6, grow through 10, 14, 18, 22, 26, 30 and 34 on alternate rounds, then reach 36. After three plain rounds, decrease to 30, 24, 18 and 12. A narrow stem tapers to 10 before growing back to 12 at its base; use the forty-round schedule on page 8 for those stem lengths.
Assemble the expression
Sew the leaves on either side of the bent stem and the vines behind it to counterbalance the head. Stuff the body, fit the head into the green collar and sew first across the rear head seam and three rear petals, then around the lower chin. Secure the other petals where needed.
Optional purple details include chain-four spikes, stiffened chain-twenty-five hair, embroidered spots, leaf veins and a forked tongue. The tongue’s chain placement is easiest to follow in the original page-9 close-ups. The final assembly photos on pages 10–11 show the plant’s balance and head angle. Test its stability on a flat surface before finishing the final tails.
Frequently asked questions
Why is the pot rim reinforced?
The thick folded lip helps the pot retain its shape under a relatively large poseable head.
Can I ignore the special stem loops?
Those loops create the bent neck. Follow the original page-7 sequence if you want the source pose; ordinary sc alone changes the structure.
When should the head be attached?
After the pot, stem, leaves and rear vines are assembled and balanced, so the final angle can be chosen without guessing.
Source and project reference
Clarence the Peckish Plant, supplied twelve-page PDF. This article is a source-based crochet guide with its own explanations and clearly identified editorial clarifications. Project photographs and the original diagrams shown here come from the supplied source, with crops described in their captions.
Open the original Pekish plant.pdf reference in Drive — Whole PDF. Keep the original charts with your project, especially where this guide points to a pictured construction step.
Leave a Reply