
Diamond Lace Crochet Bandana: Free Pattern, Tutorial & PDF
· admin
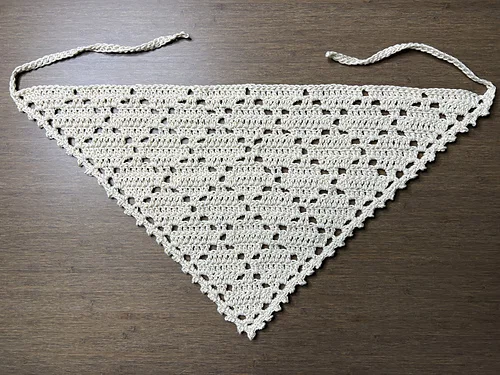
A diamond lace crochet bandana adds a little openwork to a simple triangle. Start at the point, build the five-row diamond motifs until the piece fits, then crochet the ties and border in one continuous finish. This guide uses US crochet terms. The matching printable PDF is available as a free direct download below.
At a glance: Intermediate level · about 65 g medium-weight yarn · 5 mm hook · 24 rows in the sample · top edge approximately 48 cm (18.9 in) · two ties about 20 cm (7.9 in) each.
Materials and finished size
- About 65 g of medium-weight yarn. A soft cotton or cotton blend will give the lace an easy drape.
- 5 mm crochet hook, scissors and a yarn needle.
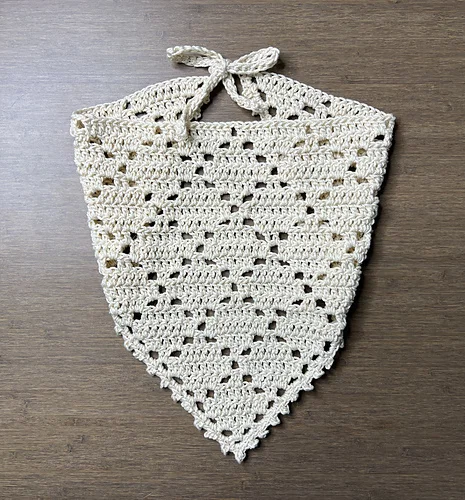
The sample triangle measures approximately 48 cm (18.9 in) across its top edge and 35 cm (13.8 in) along each short side. Each tie measures about 20 cm (7.9 in). Your gauge and yarn can change these measurements; use the fit check below before finishing.
US stitch abbreviations and motif notes
ch = chain; ch-sp = chain space; dc = double crochet; sc = single crochet; sl st = slip stitch; sk = skip; st = stitch; sp = space.
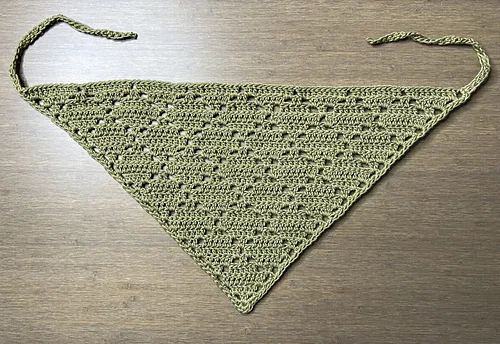
A diamond grows and narrows over five rows: 2, 6, 10, 6 and 2 stitches. Its widest point comes on row 3; the chain gaps that taper its sides begin afterward. Throughout the triangle, start each new row with ch 4, turn, 2 dc in the first ch-sp. At the far edge, work (2 dc, ch 1, dc) in the last ch-sp. Gently push that final group toward the right to shape the edge.
Step 1: Form the point and work rows 1–4
Foundation: Make a slip knot, ch 4 and sl st into the first chain to form a small ring.
- Row 1: Ch 4; put 2 dc, ch 1 and dc into the ring.
- Row 2: Ch 4 and turn. Make 2 dc in the first ch-sp, dc in the next 2 stitches, then (2 dc, ch 1, dc) in the last ch-sp.
- Row 3: Ch 4 and turn. Make 2 dc in the first ch-sp, dc in the next 6 stitches, then (2 dc, ch 1, dc) in the last ch-sp.
- Row 4: Ch 4 and turn. Make 2 dc in the first ch-sp; ch 1, sk 2; dc in the next 6 stitches; ch 1, sk 2. Finish with (2 dc, ch 1, dc) in the last ch-sp.
The first diamond is widest after row 3. Count both skipped stitches at either side on row 4 so that the openings line up.
Step 2: Finish the first diamond with rows 5–8
- Row 5: Ch 4, turn; 2 dc in the first ch-sp, dc in the next 2 st, 2 dc in the next ch-sp; ch 1, sk 2, dc in the next 2 st; ch 1, sk 2, 2 dc in the next ch-sp, dc in the next 2 st. Finish in the last ch-sp with (2 dc, ch 1, dc).
- Row 6: Ch 4, turn; 2 dc in the first ch-sp, dc in the next 6 st, 2 dc in the next ch-sp; ch 1, sk 2; 2 dc in the next ch-sp, dc in the next 6 st. Finish in the last ch-sp with (2 dc, ch 1, dc).
- Row 7: Ch 4, turn; 2 dc in the first ch-sp; ch 1, sk 2, dc in the next 6 st; ch 1, sk 2, 2 dc in the next ch-sp; ch 1, sk 2, dc in the next 6 st; ch 1, sk 2. Finish in the last ch-sp with (2 dc, ch 1, dc).
- Row 8: Ch 4, turn; 2 dc in the first ch-sp, dc in the next 2 st. Twice work [2 dc in the next ch-sp; ch 1, sk 2; dc in the next 2 st; ch 1, sk 2; 2 dc in the next ch-sp; dc in the next 2 st]. Finish in the last ch-sp with (2 dc, ch 1, dc).
At row 5, the first diamond closes to a two-stitch point. Later rows start the diamonds to either side.
Step 3: Continue to the size you want
Every interior ch-sp receives 2 dc. Work straight dc along the sides of a diamond in its second and third rows, when it is widening. For its fourth and fifth rows, use ch 1, sk 2 at either side to narrow it. After a diamond closes, ch 1 and skip its two top stitches to open the next gap. Count each motif separately; neighboring diamonds can be at different stages of the five-row cycle.
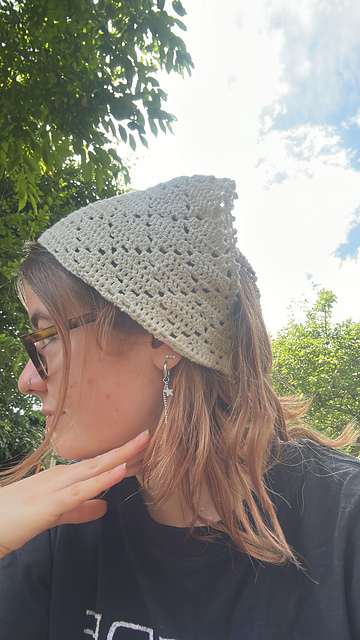
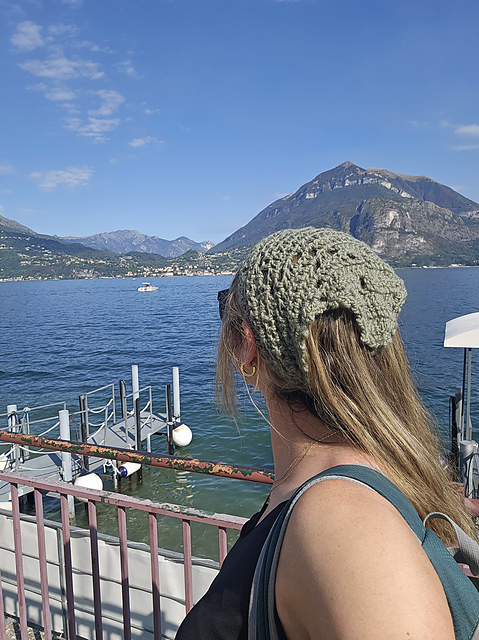
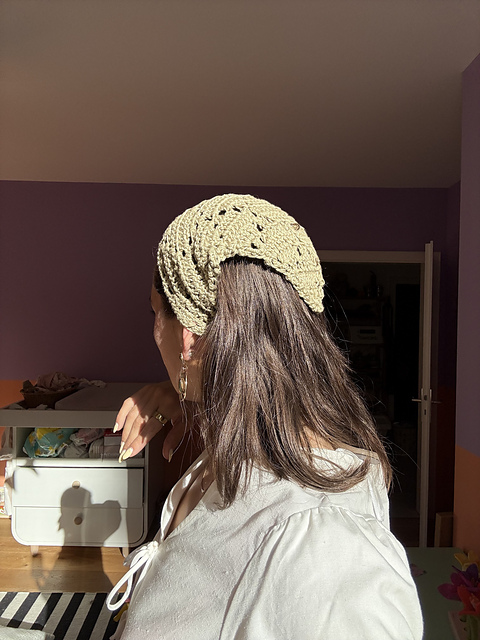
Continue the triangle until the top edge reaches from ear to ear when placed over the head, with the point folding down at the back. The sample has 24 rows, but you can stop sooner or add rows for your fit.
Step 4: Crochet the first tie and the border
At the end of your final triangle row, ch 35. Work sc into the second chain from the hook and into every remaining chain for 34 sc. Use more or fewer chains if you prefer a different tie length.
Without cutting the yarn, work along the spaces at the ends of the rows on the first sloping side. Repeat 2 sc in the next space, then a picot until you reach the bottom point. In the point space work 2 sc, picot, 2 sc. Along the other sloping side, continue with a picot and 2 sc in each next edge space.
For this small picot, ch 2, insert your hook under the two loops at the base of those chains, and sl st. Prefer a plain edge? Leave out the picots and work 2 sc in each edge space.
Step 5: Make the second tie and finish
At the opposite top corner, ch 35. Sc from the second chain through the remaining chains for 34 sc, sl st into the edge space and fasten off. Weave in the two loose ends. Lay the bandana flat to check that the ties match and the point hangs centrally.
Download the free Diamond Lace Bandana PDF
Keep the materials, written rows, motif notes and finishing steps together in the printable seven-page guide.
Download the free Diamond Lace Bandana PDF
Or visit the free pattern product page for the same direct download without checkout.
Video tutorial
Watch the diamond lace bandana tutorial if you prefer to follow the stitches on screen alongside the written instructions.
Leave a Reply