
Countryside Eyelet Knit Bandana: Free Pattern & PDF
· admin
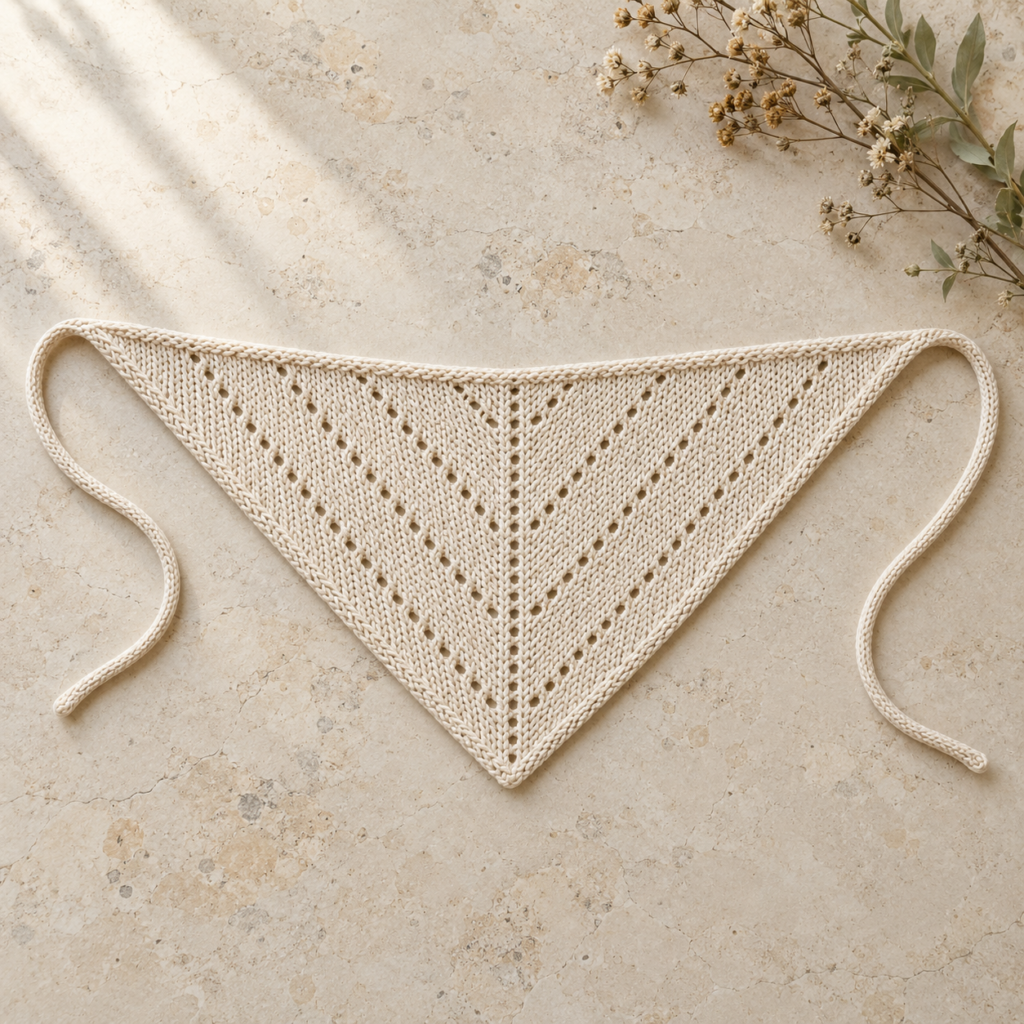
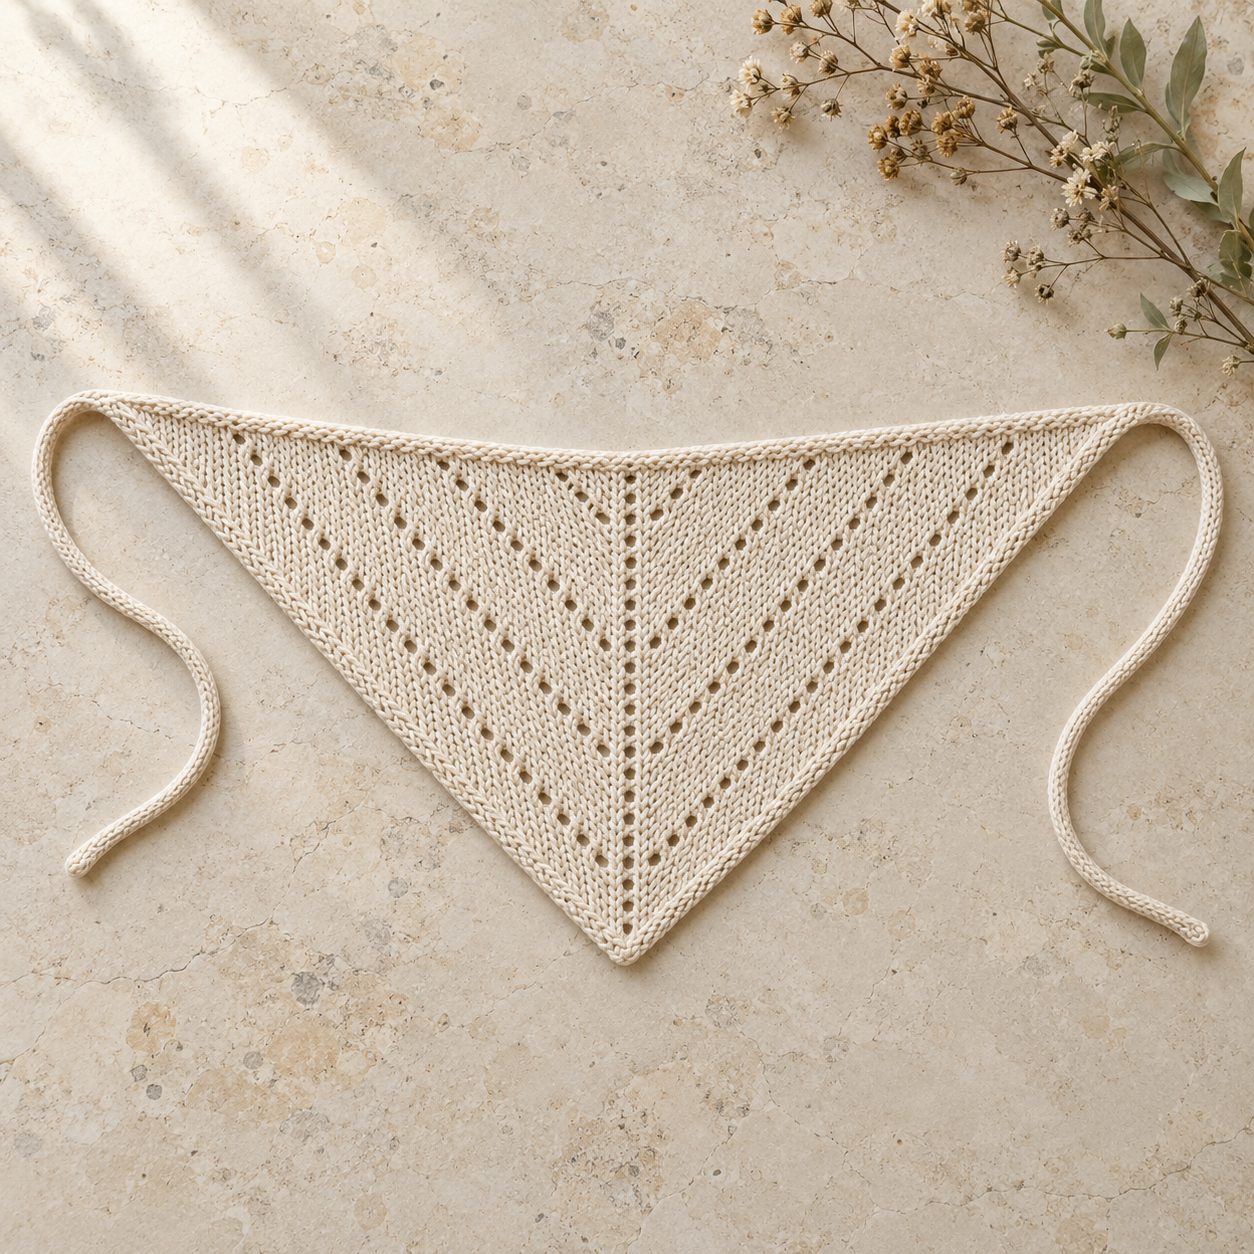
The Countryside Eyelet Knit Bandana is a light triangle with tidy edges, openwork lines and two knitted ties. It begins at the point and grows upward, so you can check the fit before finishing the top. This is a knitting pattern, worked flat with sport-weight yarn. The matching six-page PDF is free to download below.
At a glance: Confident beginner to intermediate · 50–75 g sport-weight cotton · 3 mm needles · approximately 50 cm wide by 20 cm deep after gentle blocking · two ties about 30 cm each.
Materials, gauge and finished size
- 50–75 g sport-weight cotton or a soft cotton blend.
- 3 mm (US 2.5) knitting needles and 3 mm double-pointed needles for the ties.
- Removable stitch marker, tapestry needle, scissors and measuring tape.
The sample measures about 50 cm across and 20 cm deep before gentle blocking, with two ties about 30 cm each. The target gauge is 24 stitches and 32 rows over 10 cm (4 in) in stockinette after blocking. Your yarn and tension affect the finished size, so check the top edge against your head as you work.
Knitting abbreviations and edge rule
k = knit; p = purl; yo = yarn over; k2tog = knit two together; ssk = slip, slip, knit; RS/WS = right/wrong side; sl 2 = slip two stitches purlwise with the yarn in front.
On every row, knit the first two stitches and slip the last two purlwise with the yarn in front. Those four edge stitches form the neat sides of the triangle; keep them relaxed.
Step 1: Knit the point and set the center marker
Cast on 5 stitches. Work the first eight rows as follows:
- Row 1 (WS): K2, p1, sl 2. 5 stitches.
- Row 2 (RS): K2, yo, k1, yo, sl 2. 7 stitches.
- Row 3 (WS): K2, p3, sl 2.
- Row 4 (RS): K2, yo, k3, yo, sl 2. 9 stitches.
- Row 5 (WS): K2, p5, sl 2.
- Row 6 (RS): K2, yo, k5, yo, sl 2. 11 stitches.
- Row 7 (WS): K2, p7, sl 2.
- Row 8 (RS): K2, yo, k7, yo, sl 2. 13 stitches.
Mark the 7th stitch of these 13 stitches. Move the marker with that center stitch as the triangle grows. It marks a stitch, not the gap between stitches.
Step 2: Work the eight-row eyelet repeat
The next right-side rows add four stitches each. Alternate the two recipes below to create the eyelet lines:
- A — plain increase: K2, yo; knit up to the marked center; yo, knit the center stitch, yo; knit to the last 2 stitches; yo, sl 2.
- B — eyelet row: K2, yo; knit to 3 stitches before the center; k2tog, yo, k1; yo, knit the center stitch, yo; k1, yo, ssk; knit to the last 2 stitches; yo, sl 2.
- Every WS row: K2, purl to the last 2 stitches, sl 2. Purl each yarn over as an ordinary stitch.
Work one repeat in this order: A, WS, B, WS, A, WS, A, WS. Then begin again. The decreases on the eyelet row balance two of its yarn overs, so each right-side row still adds four stitches.
Step 3: Continue to your preferred fit
After the eight setup rows you have 13 stitches. Each complete eight-row repeat adds 16 stitches. Six repeats give 109 stitches. For the sample size, work A followed by a WS row three more times, ending with 121 stitches after 62 rows in total.
You can stop after any WS row when the top edge sits comfortably across your head. Make both ties equal in length. Do not force the sample stitch count if a different size fits you better.
Step 4: Knit the first i-cord tie
Leave the bandana stitches live on their needle and break the working yarn, leaving a tail to weave in. Separately cast on 3 stitches. Knit all three, slide them back to the starting end of a double-pointed needle without turning, pull the yarn gently across the back and knit them again. Repeat until the cord is approximately 30 cm long. Keep the yarn attached.
Step 5: Join the cord across the top and make the second tie
With the right side of the bandana facing you, place the three cord stitches immediately before the first live bandana stitch. Knit the first 2 cord stitches, then ssk the third cord stitch together with the first bandana stitch. Three cord stitches remain.
Slide those three stitches back to the working end without turning. Repeat k2, ssk with the next live bandana stitch, slide 3 back until you have consumed every live bandana stitch. Keep the cord firm but loose enough that the top edge does not pucker.
Continue knitting an unattached three-stitch i-cord for the second 30 cm tie. Bind off the three stitches, weave in all tails and lightly block the triangle to open the eyelets.
Fit and finishing tips
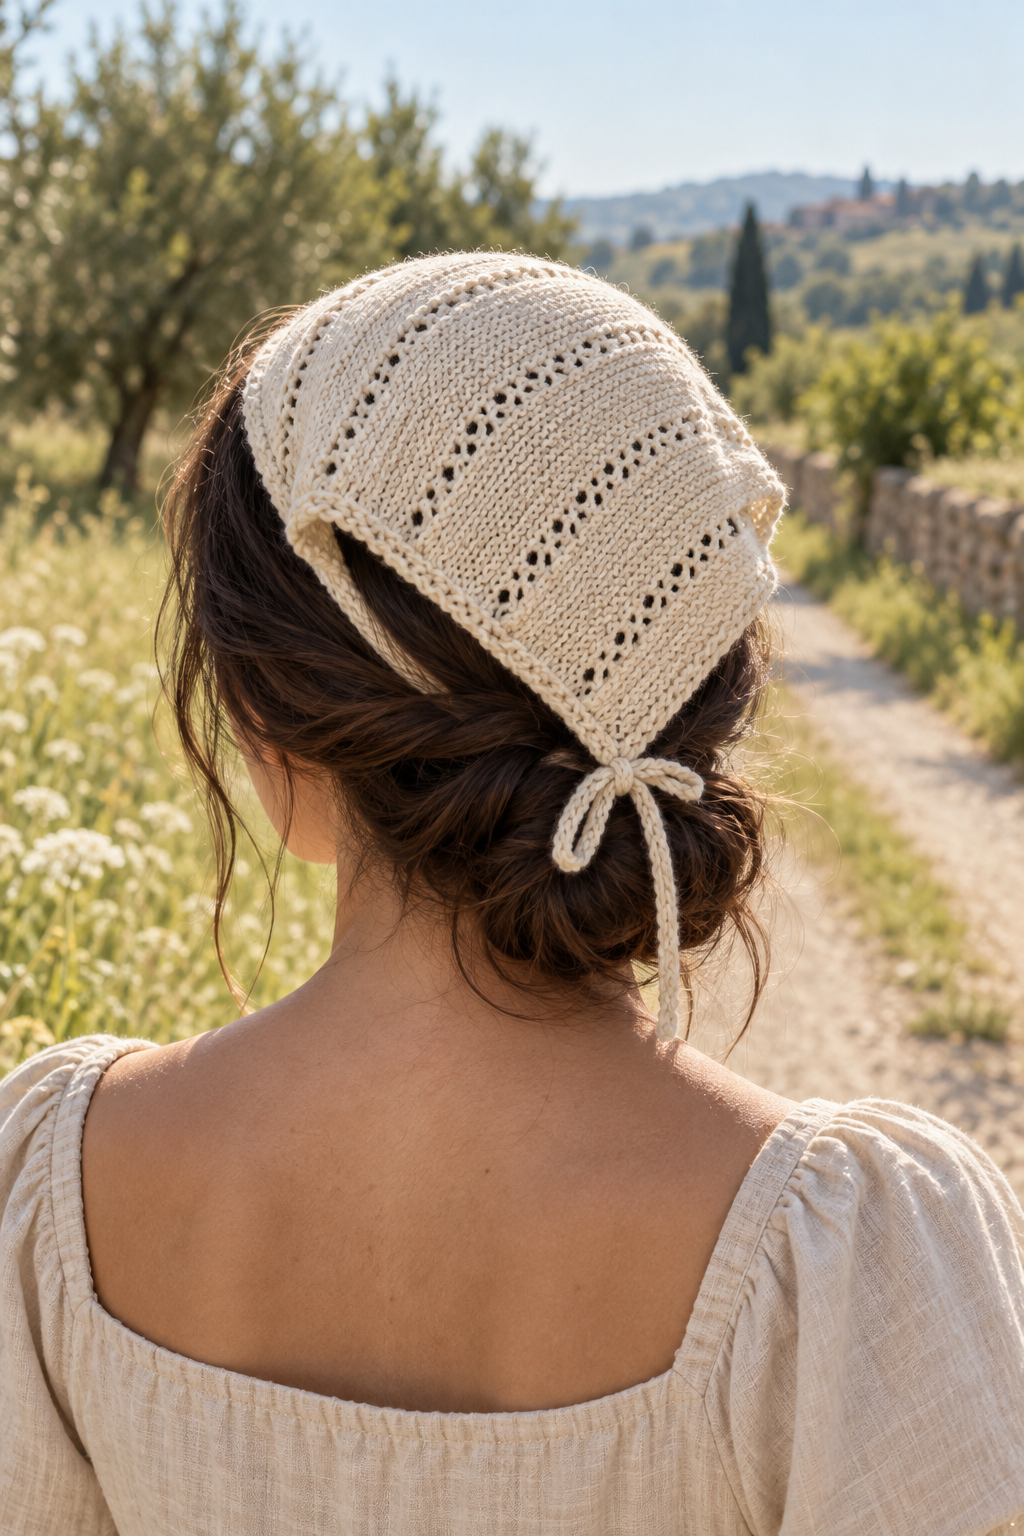
- Try the bandana on before weaving in the last tail. The center point should fall at the back of the head.
- The two ties should knot comfortably without pulling the top edge tight.
- If the top ripples or puckers, adjust your i-cord tension before finishing the attachment.
- Block gently so the openwork is visible without stretching the triangle out of shape.
Download the free Countryside Eyelet Bandana PDF
Keep the materials, stitch counts, eight-row repeat and cord instructions together in the printable six-page PDF.
You can also open the free bandana product page for the same direct PDF download without checkout.
Find more project ideas on Crochet Pattern Nest on Pinterest.
Leave a Reply