
Crochet Cell Phone Cover Pattern with a Button Loop: Two Styles
· admin
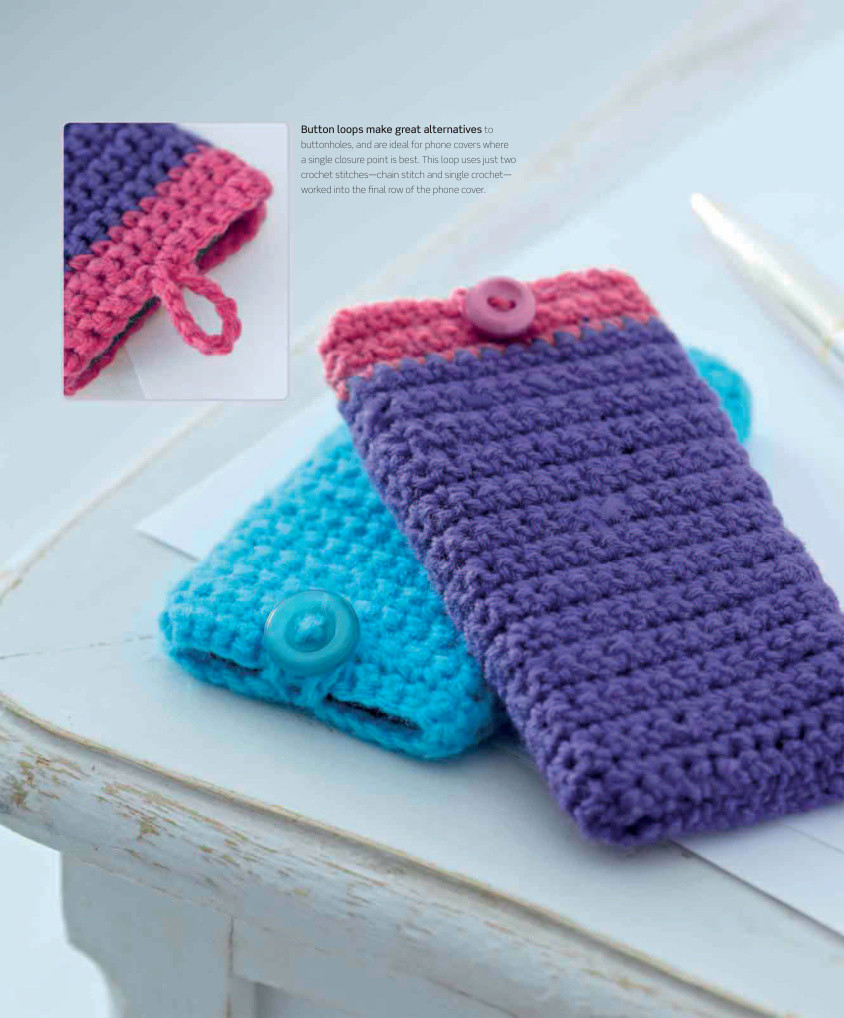
This crochet cell phone cover pattern makes a simple single-crochet sleeve with a small button loop. One version is plain; the other changes color near the opening. The project comes from the cell-phone-cover section of DK’s Crochet: The Complete Step-by-Step Guide. Its original dimensions suit a small phone, so check your device before choosing the foundation length.
Materials and Reference Size
- DK-weight yarn in one main color, or a main and contrasting color. The book’s sample uses Berroco Comfort; it does not give a separate measured yarn consumption for one cover.
- A 4 mm crochet hook. Use the metric size: the source’s printed US letter/number and metric hook labels do not agree.
- An approximately 18 mm button, yarn needle, scissors and measuring tape.
Skill level: easy. Original finished size: about 7 × 13 cm (2¾ × 5¼ in). This is much smaller than many current smartphones. Treat it as the source sample size, not a universal phone fit. The source says exact gauge is not essential; fitting your own phone still requires measuring your fabric.
US Abbreviations and Construction
Ch = chain; sc = single crochet; st(s) = stitch(es). Work back and forth in rows. The ch 1 at the start of a row raises the yarn to the working height and does not count as a stitch. One rectangle is folded lengthwise, with its bottom and long side sewn together; the remaining short edge is the opening.
Step 1: Make the Rectangle
| Round / row | Instructions | Total |
|---|---|---|
| Foundation | Ch 30. | |
| 1 | Sc in the second ch from the hook and in every remaining chain; turn. | 29 sc |
| 2 | Ch 1, sc in every sc across; turn. | 29 sc |
Repeat Row 2 for the version you want. Keep the two side edges straight by counting twenty-nine sc after each row, rather than accidentally working into the turning chain.
Plain Version
Continue in one color until the rectangle measures about 12.5 cm (5 in) high. Do not fasten off yet; the button-loop row follows.
Two-Color Version
Work in the main color until the rectangle is about 10 cm (4 in) high. Change to the contrasting color and keep repeating Row 2 until the whole rectangle measures about 12.5 cm (5 in). Pull the new color through the final pull-through of the last main-color stitch for a neat transition, then work the next row in the new shade.
Step 2: Add the Button Loop
| Round / row | Instructions | Total |
|---|---|---|
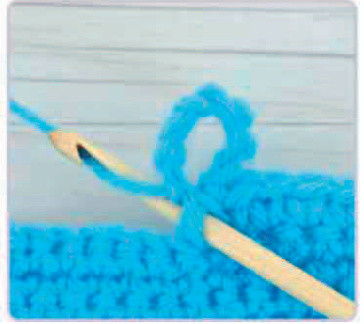
| Final row | Ch 1, 7 sc, ch 9, then sc back into the same stitch where the chain began to close the loop. Continue sc in each remaining stitch to the end. | One ch-9 button loop |
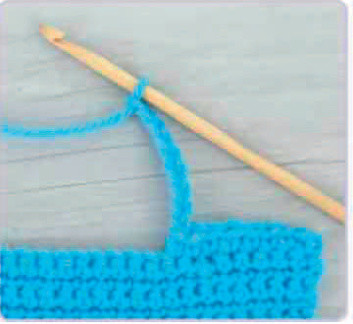
Keep the loop above the top edge rather than pulling it into the fabric. The closing sc anchors the loop back at its starting point; it is not an instruction to skip nine body stitches. Fasten off and weave in the ends. Check that your button passes through the loop without being so loose that it releases by itself.
Step 3: Fold and Seam
- Lightly block the rectangle according to the yarn’s care instructions.
- Fold it lengthwise so the button loop sits at the opening and the two long edges meet. In the source size, the folded width is approximately 7 cm.
- Use mattress stitch to close the bottom and the matching long side, leaving the top open.
- Place your phone inside, bring the loop across to the opposite top edge, and mark the corresponding button position. Sew the button through the pouch wall and finish the thread securely.
Adjusting the Cover for Your Phone
Measure the device with its everyday case on. The unfolded rectangle needs to wrap around the phone’s width and thickness, with room for the side seam. Crochet a short sample first and use that measured stitch width to choose a longer foundation chain if required. The number of sc in Row 1 is one less than the number of foundation chains.
For a different width, keep every later row at that new stitch count. Before the final row, fold the sample around your phone to find the center of one face and mark the loop position there. The original placement after seven sc is designed for the original twenty-nine-stitch rectangle; do not keep that placement automatically on a wider cover. Work extra rows for a taller phone and test the fit before seaming.
Frequently Asked Questions
Does this source include a shoulder strap?
No. This is a buttoned sleeve rather than a crossbody bag. Choose one of our strap-equipped phone-pouch patterns if you want a carrying strap.
What does “fold lengthwise” mean here?
Bring the two long edges together so the original rectangle width becomes the front and back width of the sleeve. The row height becomes the cover’s height.
Can I use a larger button?
A larger button needs its chain loop checked and possibly adjusted. Make a trial loop with your yarn and button before finishing the cover.
More Crochet Phone Pouches
Browse our crochet phone cases and covers, compare animal phone-pouch styles, or try a simple phone pouch with a strap.
Pattern and Photo Credits
Written adaptation of DK, Crochet: The Complete Step-by-Step Guide (2014), “Cell phone covers,” printed pages 36–37 (PDF pages 38–39). The metric hook size and the original small-phone measurements are retained; the adjacent half-double-crochet lesson is not part of this project. The instructions have been checked against the supplied pattern pages; this article has not been physically crocheted or maker-tested. Reference images show the source project, rather than a newly made sample.
Leave a Reply