
Crochet Flower Pincushion with a Scalloped Top
· admin
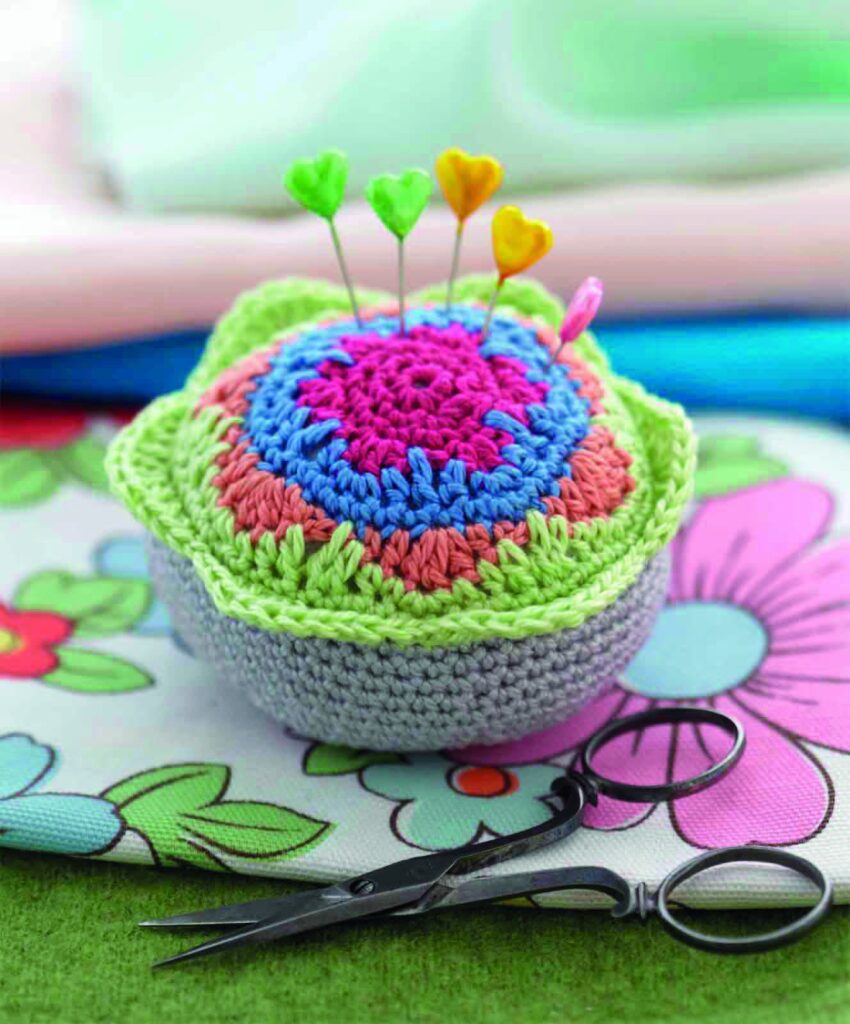
This crochet flower pincushion has a colorful six-sector flower on top, a scalloped edge and a softly rounded base. The top changes stitch heights to create its pattern, while the lower section uses a simple spiral. A correction to the printed decrease totals is included below so the closing rounds remain consistent.
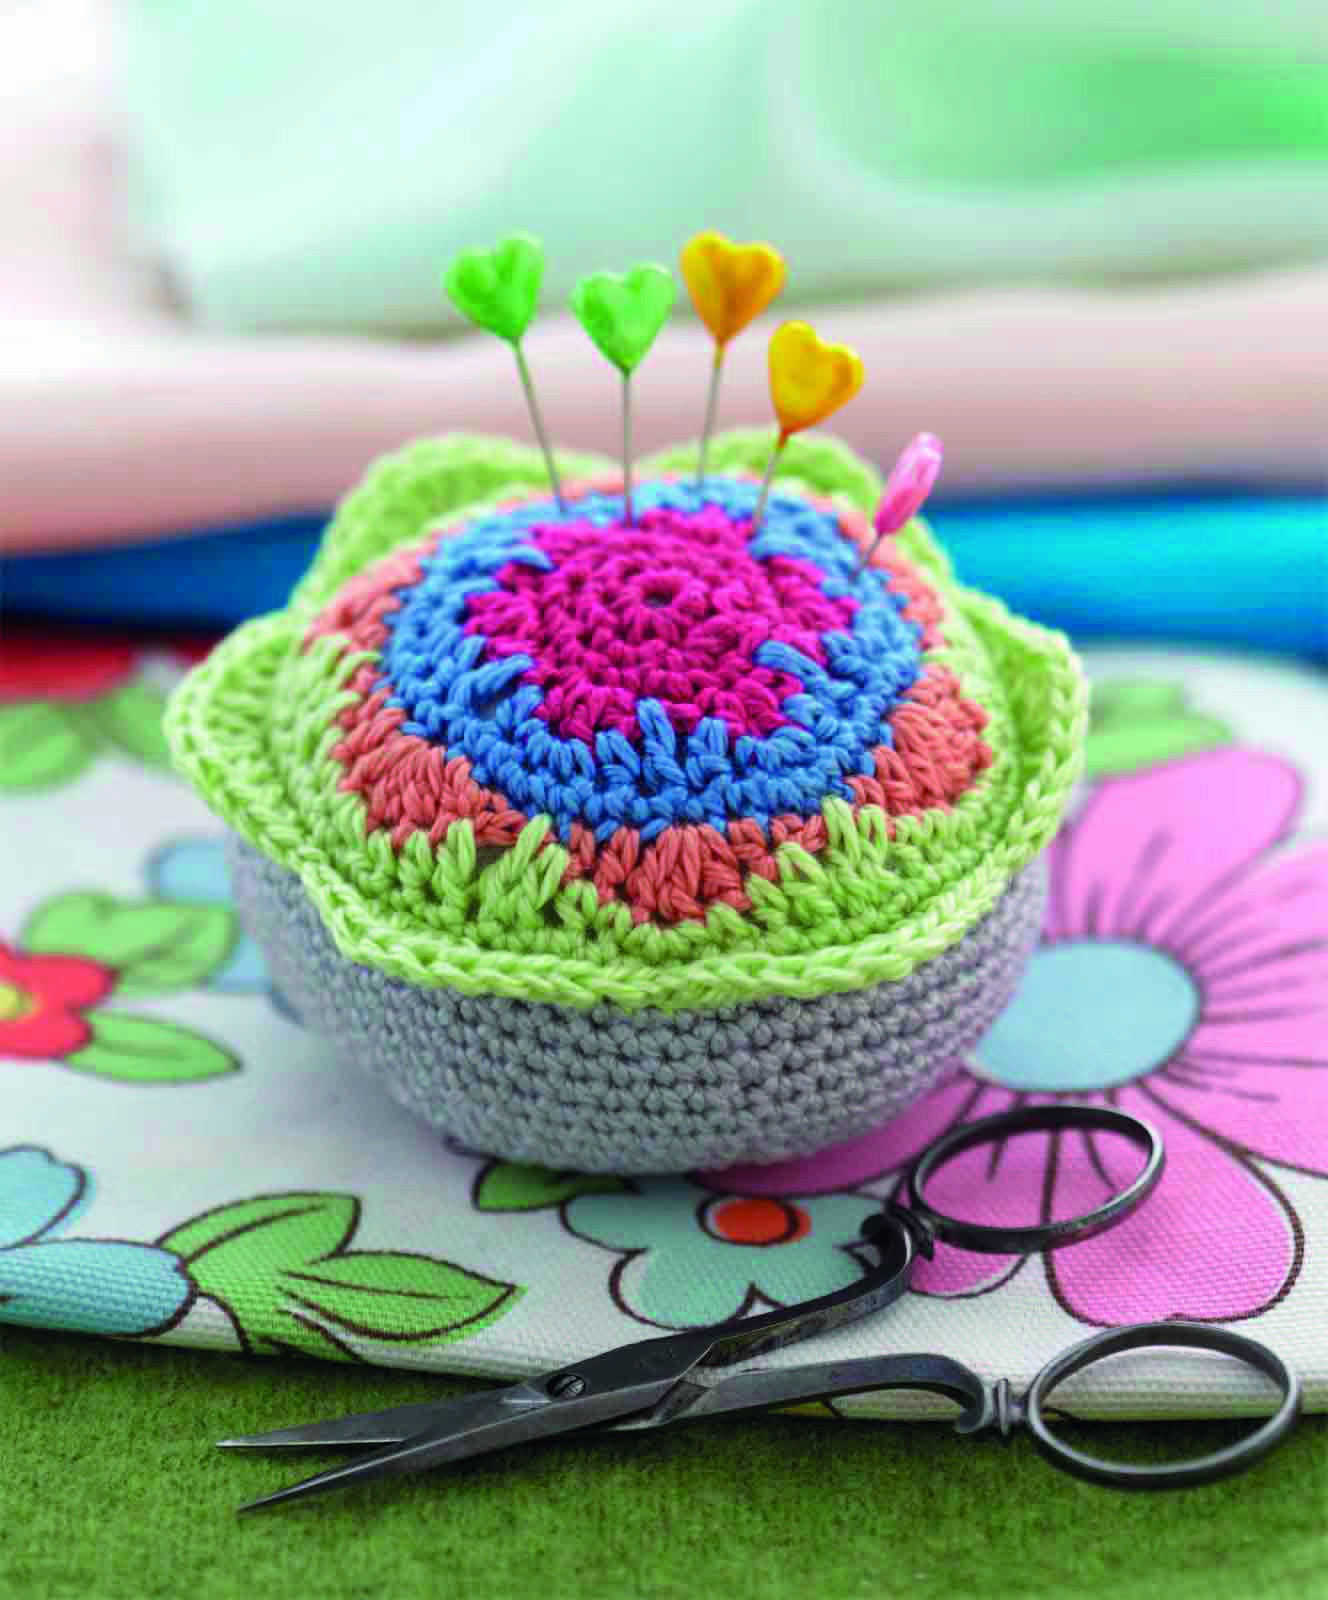
Project details
| Skill level | Intermediate |
|---|---|
| Finished size | Approximately 8 cm in diameter. |
| Hook | 2.5 mm |
| Pattern source | Flower Pin Cushion chapter, Crochet Colors Theory, printed pages 184–185 / PDF pages 186–187. |
Materials
Five shades of fine cotton or crochet thread, 2.5 mm hook, marker, needle and polyester filling. The source uses Rowan Siena 4 Ply: Tandoori 676, Mariner 672, Beacon 668, Green 661 and Frost 653.
Separate the top rounds from the spiral base
Use US terminology. The early colored rounds join as directed; the lower plain section is worked continuously with a marker. Starting chain 1 does not count as an extra stitch. FLO and BLO identify the front or back loop of the same stitch and are important where the scalloped trim and the body separate.
Label the colors A through E before starting. A forms the small center, B expands the first petal ring, C creates the next flower layer, D frames it, and E builds the cushion body. The source lists a fine cotton sample; substitute with a similar thread and check that the filling cannot show.
Build the flower top
| Round | Construction | Checkpoint |
|---|---|---|
| 1–3, color A | Chain 2; 6 sc in the second chain, join. Increase to 12, then work a plain 12-stitch round. | 6, 12, 12 |
| 4, color A | Alternate a single sc with 3 dc in the next stitch around. | Six small petals |
| 5, color B | Join at a central dc. Repeat: 3 sc in that center dc, dc in next dc, tr into the lower sc, dc in next dc. | 36 stitches |
| 6, color B | Add six evenly spaced sc increases, using the source’s offset at the start. | 42 stitches |
| 7, color C | Repeat the seven-base-stitch sector: sc, chain 1, sc, hdc, dc, 3 dc in next, dc, hdc. | 54 solid stitches plus chain spaces |
| 8, color D | Begin at a central dc. Use 3 sc at the point, then sc, hdc, dc, skip sc, tr in the chain space, skip sc, dc, hdc, sc. | 60 stitches |
| 9, color D | Sc around. | 60 stitches |
Check each sector before joining a color. A treble that reaches into a lower gap is different from a treble worked into the top of the previous round. Those long stitches form the radiating lines visible on the finished flower.
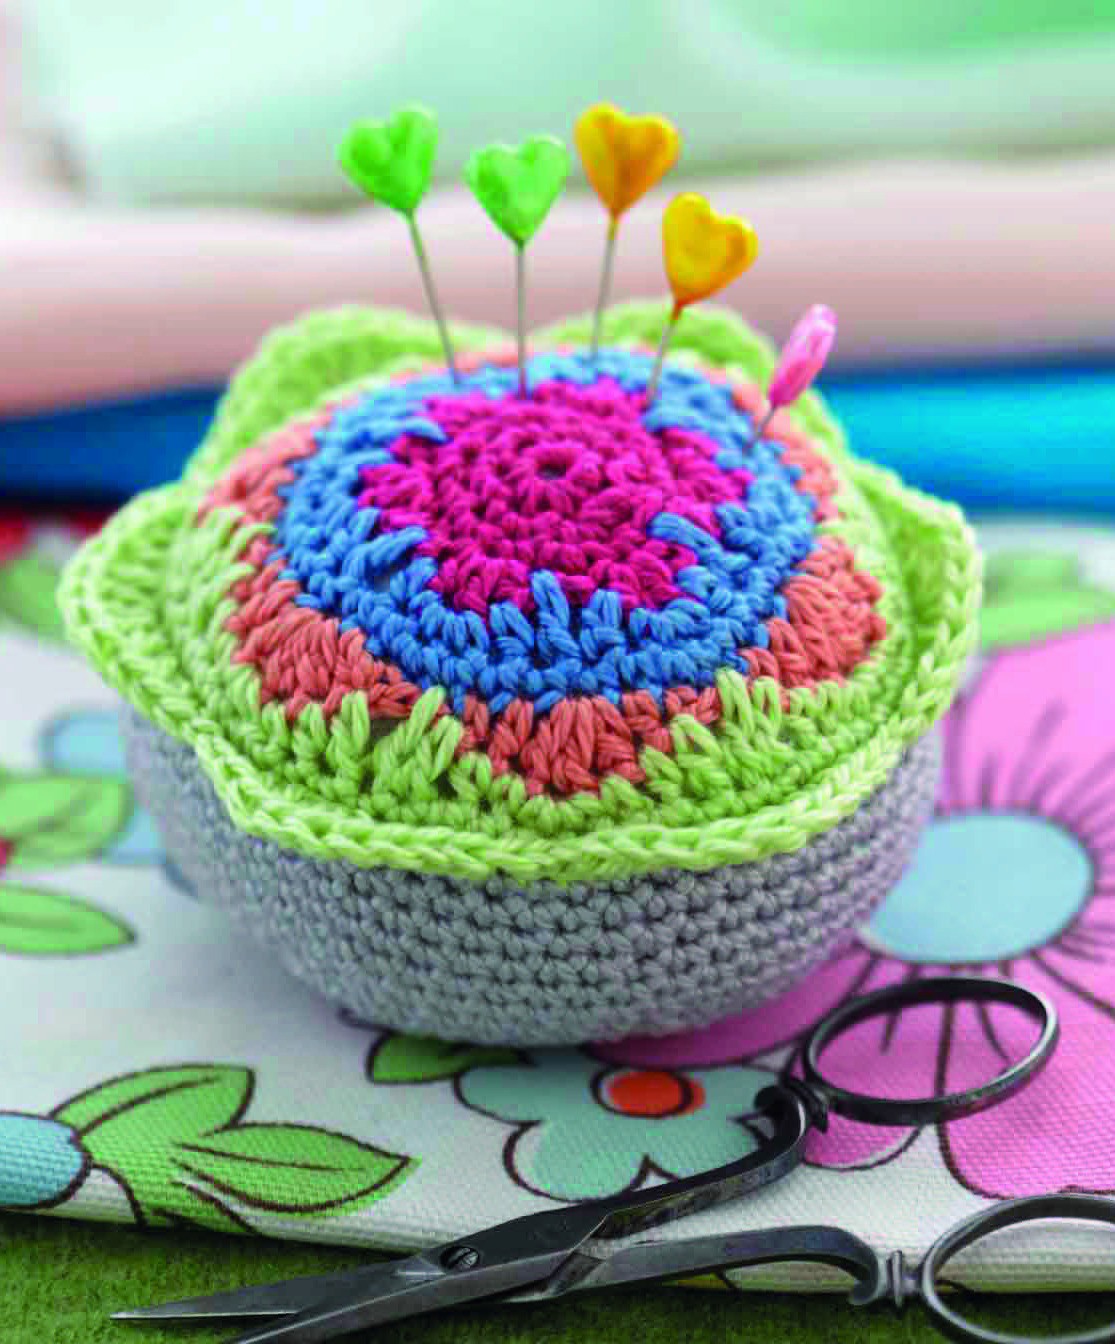
Make the scalloped rim
Work round 10 through the front loops only. Move into position with two slip stitches, chain 1, then repeat the scalloped sequence: 2 sc, hdc, dc, 3 dc in the next stitch, dc, hdc, 2 sc and a slip stitch. Fasten off that color after completing the edge.
The back loops of round 9 are left available behind the scallops. Join color E there and work 60 sc through those free loops for round 11. This creates a separate body under the decorative edge rather than forcing the scallops to become part of the stuffed side wall.
Work the base and corrected decrease sequence
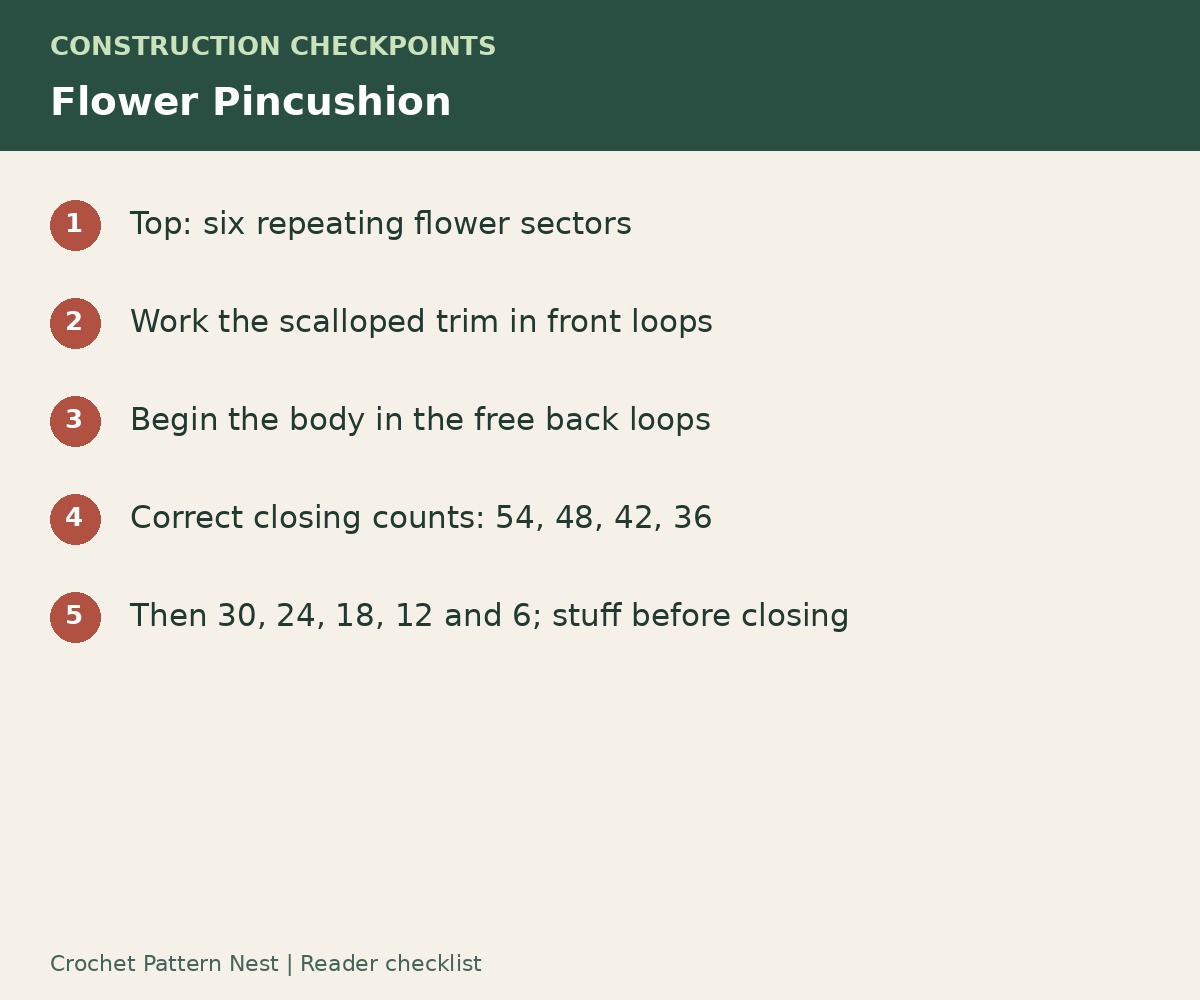
Continue for six plain spiral rounds at 60 sc. Move the marker every round. Then decrease six stitches on each round. The printed chapter gives 54, 45 and 36 beside the first three decrease instructions, but the actual repeats produce 54, 48 and 42. The table below corrects those arithmetic totals.
| Repeat six times | Round total |
|---|---|
| 8 sc, dec | 54 |
| 7 sc, dec | 48 |
| 6 sc, dec | 42 |
| 5 sc, dec | 36 |
| 4 sc, dec | 30 |
| 3 sc, dec | 24 |
| 2 sc, dec | 18 |
| sc, dec | 12 |
| dec | 6 |
Add filling before the opening becomes too small. Spread it evenly under the top and keep the base rounded without stretching the fine cotton. Thread the tail through the remaining six stitches, draw closed and bury the end inside the base.
Finish the sewing-room accessory
Arrange the scallops so they sit freely above the pale body. Weave all color tails into the back of their own rounds. Check that the center is firm enough to hold pins while the base remains stable on the work surface. Store it with the pin points contained and keep loose pins out of the area where the cushion is handled.
Frequently asked questions
Which printed totals are corrected?
After 54, the next totals are 48 and 42, not 45 and 36. Continue decreasing six per round until six remain.
Why does the rim use front loops?
It leaves the back loops available for starting the cushion body behind the decorative scallops.
Are all rounds worked in a spiral?
No. The colored top rounds join as indicated. The six plain body rounds and decreasing base are worked continuously with a marker.
Source and project reference
Flower Pin Cushion chapter, Crochet Colors Theory, printed pages 184–185 / PDF pages 186–187. This article is a source-based crochet guide with its own explanations and clearly identified editorial clarifications. Project photographs and the original diagrams shown here come from the supplied source, with crops described in their captions.
Open the original [BONUS 2] Crochet Colors Theory.pdf reference in Drive — Printed pages 184-185; PDF pages 186-187. Keep the original charts with your project, especially where this guide points to a pictured construction step.
Leave a Reply