
Trick-or-Treat Sam Crochet Doll: Orange Costume and Stitched Face
· admin
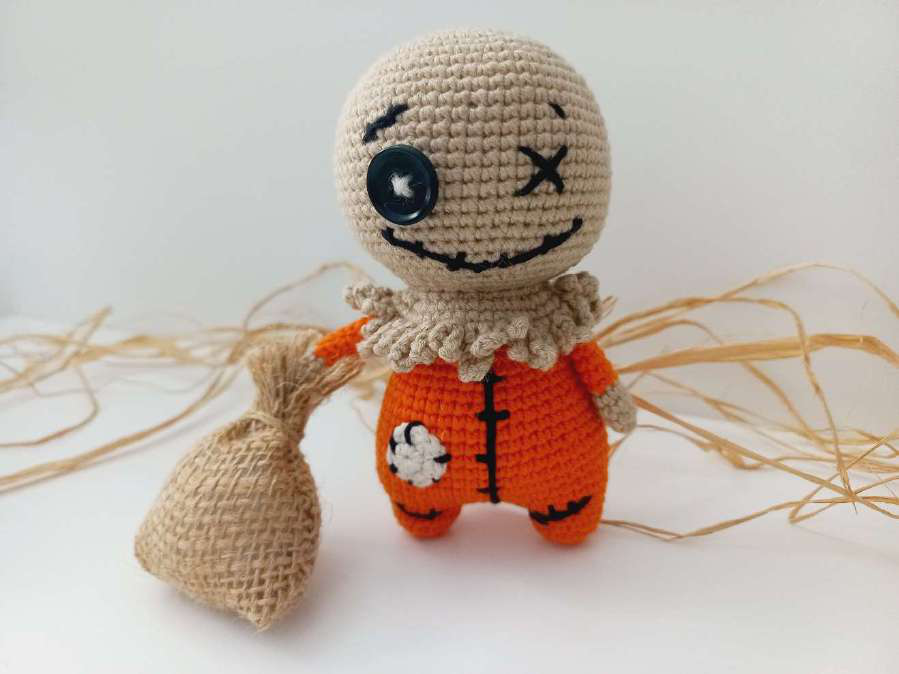
Make a small Halloween character with a large round head, short joined legs and a simple stitched face. Sam’s orange outfit, beige hood and ragged neck edge create the recognizable trick-or-treat costume.
Project at a glance
| Detail | What to expect |
|---|---|
| Skill level | Intermediate |
| Finished size | Not specified in the source |
| Pattern language | English; stitch terms explained below |
| Construction | See the component and assembly sections |
Materials and tools
- Fine cotton yarn in orange, beige and black; Alize Cotton Gold colors 37, 262 and 60 in the source
- 2 mm hook, stuffing, markers and tapestry needle
- Source-size eyes or a securely attached decorative button as pictured
Stitches and pattern notes
Unless stated otherwise, this article uses US crochet terms. ch = chain; sl st = slip stitch; sc = single crochet; hdc = half double crochet; dc = double crochet; inc = 2 stitches in one stitch; dec = work 2 stitches together; MR = magic ring; BLO/FLO = back/front loop only. Numbers in the final column are the finished stitch counts.
The head and body are separate. Make two legs, join them with a four-chain bridge, then continue the body. When joining yarn, the first joining sc is already included in the listed stitch sequence; do not add an extra stitch.
Head
| Round / row | Instructions | Count |
|---|---|---|
| 1–10 | Start 6 sc in MR; add six evenly spaced increases per round. Stagger alternate increase rounds to keep the head round. | 6 → 60 |
| 11–23 | Sc around | 60 |
| 24 | (3 sc, dec) × 12 | 48 |
| 25 | (2 sc, dec) × 12 | 36 |
| 26 | (4 sc, dec) × 6; stagger placement if desired. | 30 |
| 27 | (3 sc, dec) × 6 | 24 |
| 28 | BLO: sc around | 24 |
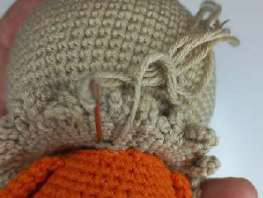
Stuff the head before the opening becomes narrow. Pin the face according to the original photograph; the source does not give precise stitch coordinates for every embroidered feature.
Legs and joined body
Make two legs: round 1, 7 sc in MR; round 2, inc × 7 = 14; rounds 3–5, 14 sc. Cut the first leg’s yarn. Keep the second leg attached and ch 4 to bridge the gap.
| Round / row | Instructions | Count |
|---|---|---|
| 6 | First leg: 2 sc, (inc, 5 sc) × 2; bridge: inc, 2 sc, inc; second leg: (5 sc, inc) × 2, 2 sc; other bridge edge: 4 sc. | 42 |
| 7 | (13 sc, inc) × 3 | 45 |
| 8–12 | Sc around | 45 |
| 13 | (13 sc, dec) × 3 | 42 |
| 14–16 | Sc around | 42 |
| 17 | (5 sc, dec) × 6 | 36 |
| 18–20 | Sc around | 36 |
| 21 | (4 sc, dec) × 6 | 30 |
| 22–24 | Sc around | 30 |
| 25 | (3 sc, dec) × 6 | 24 |
The two leg sections contribute 16 stitches each, the increased bridge edge contributes six, and the other edge contributes four: 42 total. Close any small bridge holes with a yarn tail. Stuff the legs and body evenly, leaving the neck edge accessible for sewing.
Arms
For each arm: 6 sc in MR; round 2, (sc, inc) × 3 = 9; rounds 3–11, 9 sc. Work the first four rounds in beige and rounds 5–11 in orange. Leave the arms unstuffed. Flatten the top if preferred and leave sewing tails.
Ragged hood edge and costume
Rejoin beige to the free front loops of head round 28. Increase in every stitch to 48, then work two rounds of 48 sc. Form irregular loops along the edge with ch 5, sl st in the next stitch; ch 7, sl st; ch 9, sl st; ch 7, sl st; ch 5, sl st, repeating as space allows. There are 48 anchor stitches, so the five-loop sequence does not divide evenly; finish the last few loops neatly rather than adding extra anchors.
For the small costume patch, make 6 sc in MR and increase to 12 on the next round. Sew it onto the orange body. Use the original face view for the large button, embroidered X eye and stitched curved mouth. The source lists 6 mm eyes but does not specify the pictured button’s diameter. Choose the facial fastening before stuffing and closing the head.
Join and finish
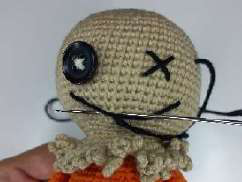
Pin the head’s 24-stitch opening against the body’s 24-stitch neck. Sew around, adding a little filling to support the neck before the final stitches. Position the arms evenly just below the head seam. Complete the face and costume details, secure tails inside, and inspect the leg bridge for gaps.
Tips for a neat finish
- Count 42 stitches immediately after joining the legs.
- Pin the face and arms before sewing.
- Keep long embroidery stitches supported so they do not snag.
Frequently asked questions
Is the character crocheted in one piece?
The legs join into one body, while the head and arms are made separately and sewn on.
Does the source give a finished height?
No reliable finished measurement is stated. Yarn weight, hook and tension will change the result.
More Halloween crochet ideas
Build a coordinated seasonal display with our Halloween crochet collection. For another small project, explore the crochet ghost tutorial or browse these Halloween coaster ideas.
Pattern source and credit
This article is based on TrickorTreat Sam.pdf. Designer not named in the readable source text. The project photographs come from that source and show its original samples. The text has been organized into an article with additional explanations; any editorial clarification is identified where it matters. This is a document-based adaptation, without a claim that we physically tested the finished project.
Open the original pattern reference for the source photographs and original layout.
Leave a Reply