
Self-Fringing Crochet Scarf Pattern: Striped Half Double Crochet
· admin
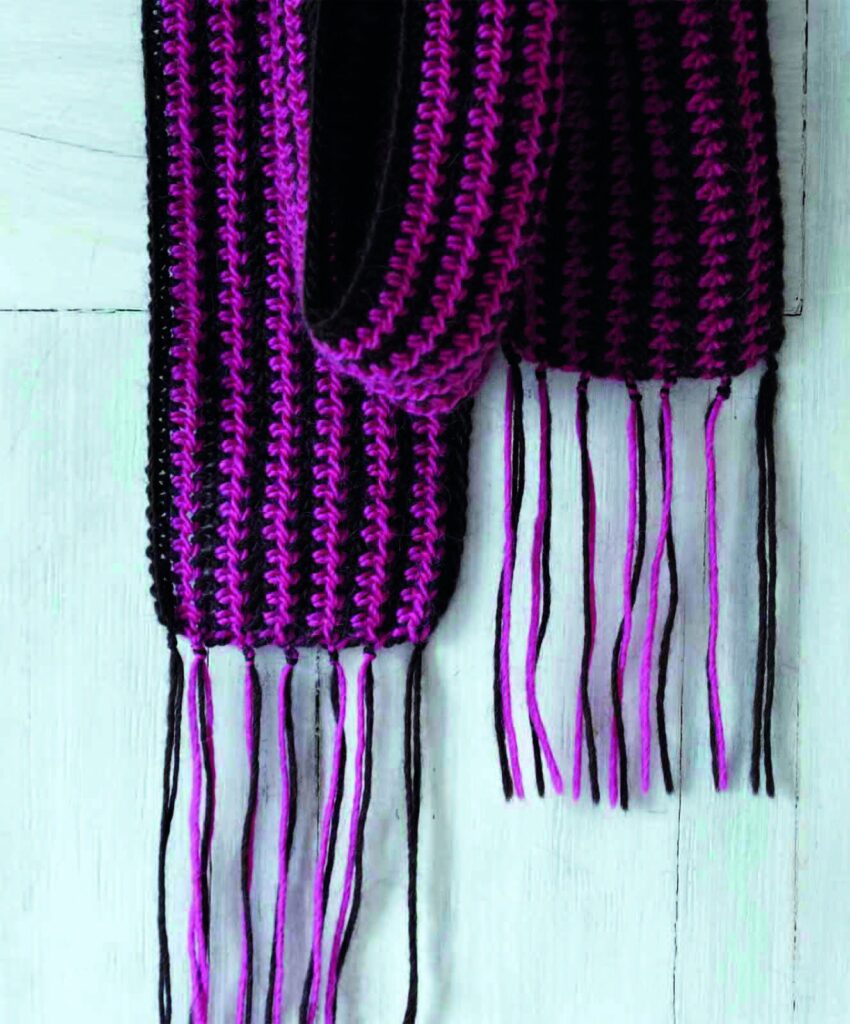
This self-fringing crochet scarf pattern makes the yarn tails part of the finish. Each color change leaves a long tail at the row end; pairing those tails creates the fringe after the body is complete. The scarf is worked lengthwise in hdc, with one final slip-stitch row for a neat edge.
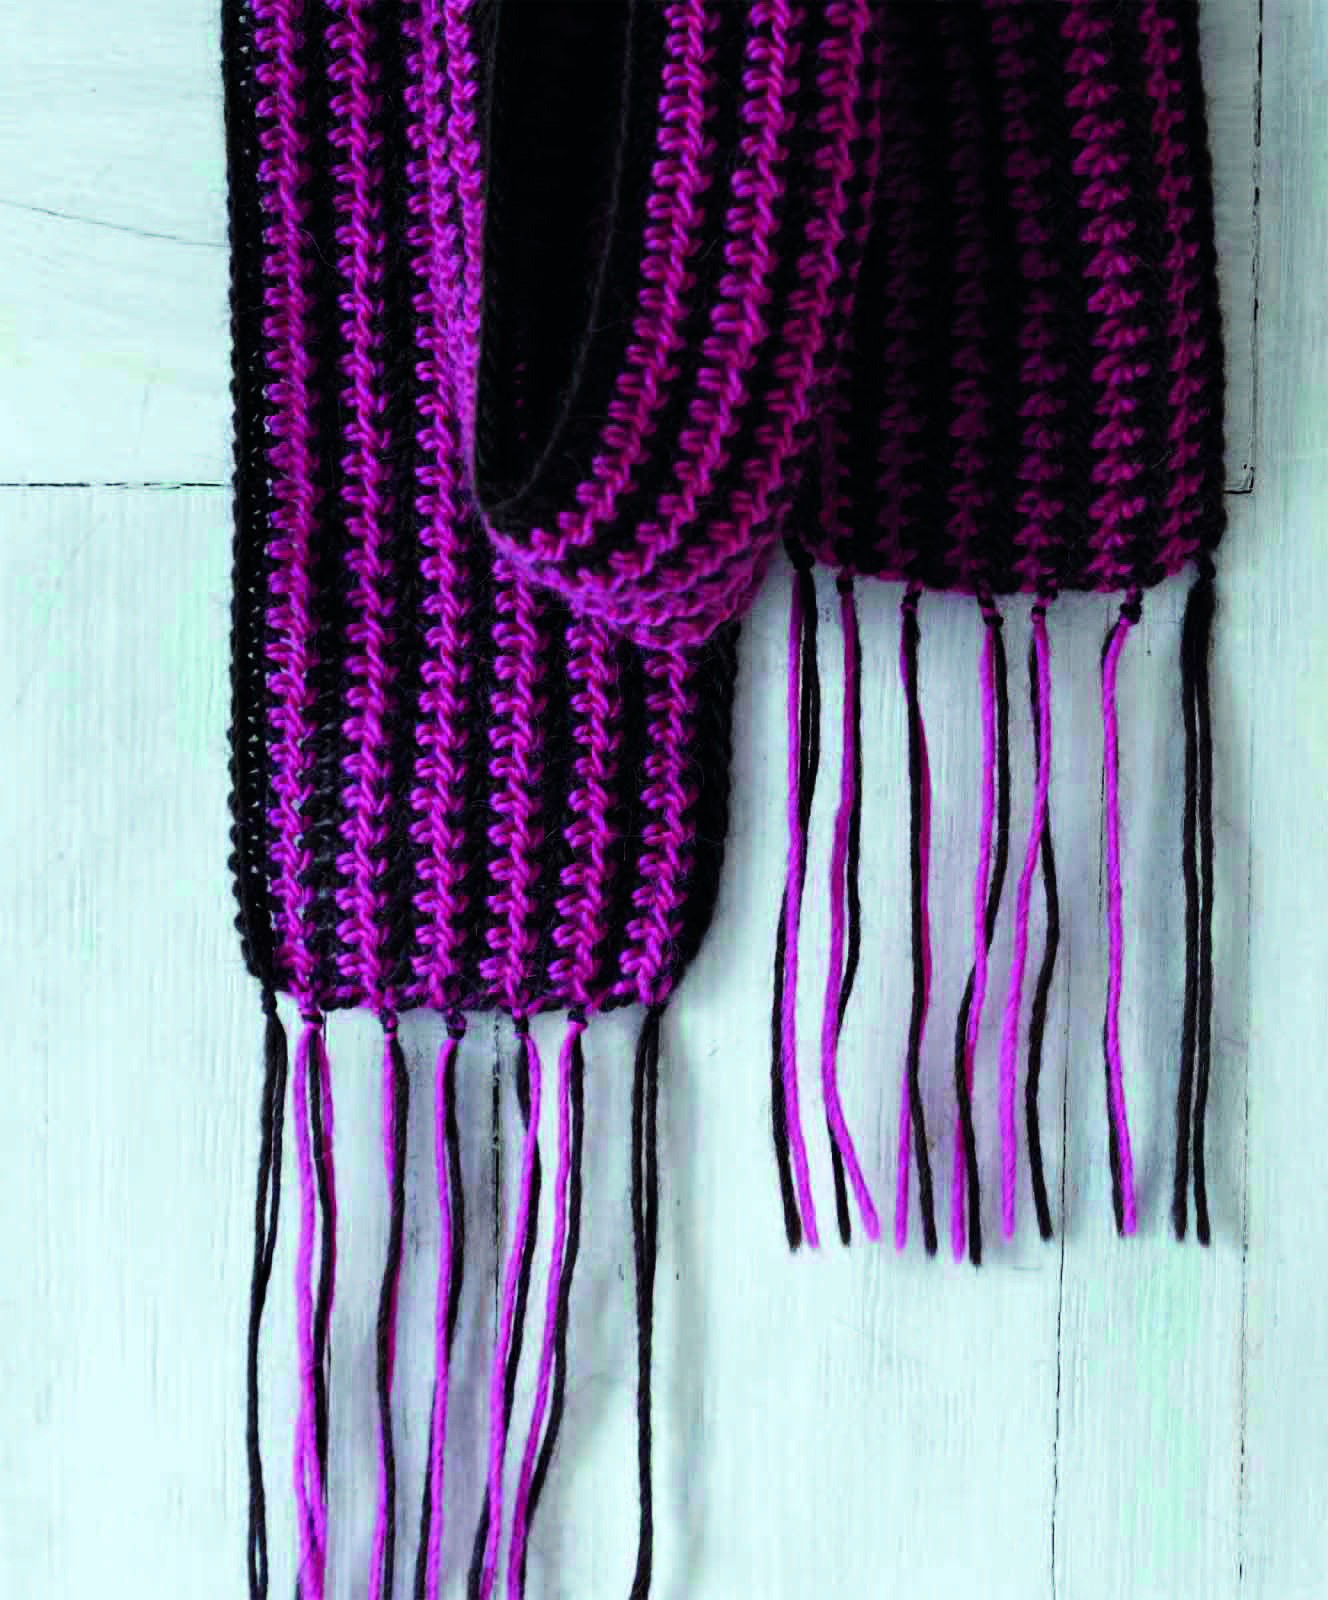
Project at a glance
| Detail | Project information |
|---|---|
| Skill level | Easy hdc with planned yarn tails |
| Finished size | Approximately 14 × 180 cm / 5½ × 71 in |
| Technique | Crochet; US stitch terms in this article unless a source image is labeled otherwise |
| Construction | Follow the project stages below |
Materials and tools
- 1 × 100 g ball each Rowan Creative Focus Worsted in Chocolate 03249 and Deep Rose 02755; 200 m / 220 yd per ball
- Aran-weight wool or wool/alpaca blend for a similar effect
- 4.5 mm crochet hook, yarn needle, scissors and edge markers
Stitches and pattern notes
ch = chain; sl st = slip stitch; sc = single crochet; hdc = half double crochet; dc = double crochet; tr = treble crochet; st = stitch; sp = space; RS/WS = right/wrong side. A bracket followed by × 3 means repeat the entire bracket three times.
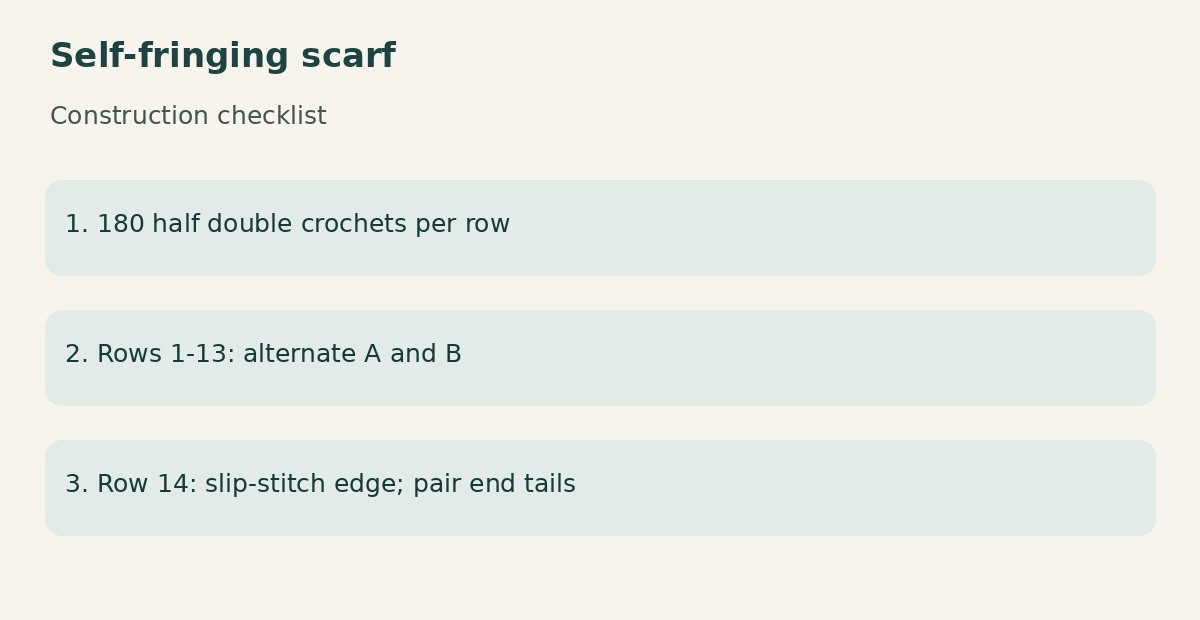
Gauge: 11 stitches and 10 rows per 10 cm. A = Chocolate; B = Deep Rose. Keep 180 working hdc in every body row. Starting ch 2 supplies height; the source’s end chains are not extra working stitches. Leave approximately 15 cm / 6 in tails when joining or cutting a color.
Plan the tails before crocheting
Leave a 15 cm starting tail and keep the same allowance at every color change. The fringe will only be as even as the shortest useful tail, so measuring the first few tails is worthwhile. Do not weave them into the fabric as you go: they are saved for the fringe. Any additional joining tails within a row should still be woven securely.
Work the striped body
| Step | Instructions | Checkpoint |
|---|---|---|
| Foundation | With A, chain 182. Hdc in the third chain from the hook and in each remaining chain. Fasten off A with a long tail. | 180 hdc; Row 1 |
| Row 2 | Join B with a long tail, ch 2 and hdc in all 180 stitches. Ch 2 at the end as in the source, then fasten off with a long tail. | 180 hdc |
| Rows 3–12 | Repeat the Row 2 method, alternating A and B and cutting at the end of every row. | Ten more body rows |
| Row 13 | Join A, ch 2 and hdc across all 180 stitches. Turn without cutting the yarn. | 180 hdc |
| Row 14 | Ch 1, sl st in the top of each hdc across. Fasten off A. | 180 slip stitches |
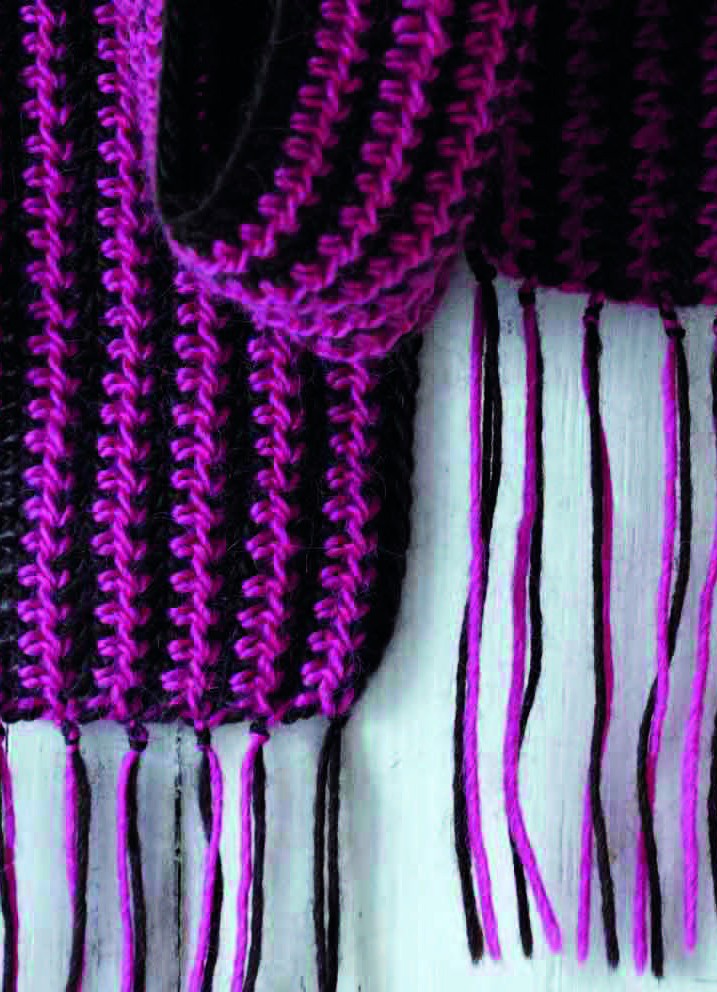
This pattern adds a fresh yarn for each colored row rather than carrying both colors up the side. When joining, secure the first stitch without tightening its tail so much that the end edge puckers. Keep the last actual hdc marked: the end chains must not be counted as additional body stitches on the next row.
Turn the tails into fringe
Lay the scarf flat. At one short end, pair nearby long tails and tie them with secure, tidy knots close to the edge. Repeat across that end and then at the opposite end. The source allows extra fringe wherever the saved tails do not give the fullness you want. Add extra strands of matching length, then trim the complete fringe evenly.
Pair tails in a consistent way rather than tying a mixture of single and oversized bundles. Check each knot by gently tugging the loose ends. Keep the fringe soft and flexible; excessively tight knots can pull the short edges inward.
Finish the hdc fabric
Weave in any tails that are not intentionally part of the fringe. Smooth the long edges and check that the slip-stitch row has not tightened the final side. If it contracts noticeably, remake that row with looser tension or a slightly larger hook while preserving the same count. Follow the yarn’s care instructions and dry the scarf flat with the fringe arranged straight.
The source book section continues into a separate double-crochet lesson after the scarf pages. That lesson is not another scarf instruction: the body here remains half double crochet throughout.
Tips for a clean finish
- Mark the first and last working hdc to prevent accidental use of decorative end chains.
- Measure tails before cutting rather than guessing each row.
- Trim only after all knots and optional extra fringe are complete.
Frequently asked questions
Why cut the yarn every row?
The long joining and finishing tails become the fringe. Carrying the yarn would remove that self-fringing feature.
Can I change the colors?
Yes. Choose two compatible aran yarns and maintain the A/B alternation, gauge and tail allowance.
More scarf and shawl ideas
Explore the Scarves & Shawls collection for more neckwear projects. Compare the yarn weight, width and construction before choosing your next pattern: an airy lace wrap and a dense winter scarf need different fabrics even when they use similar stitches.
Pattern source and credit
Based on [BONUS 2] Crochet Colors Theory.pdf, Printed pages 40-43; PDF pages 42-45. The readable source does not identify an individual designer. Photographs show the original source samples; construction checklists are editorial illustrations. The article reorganizes the source and adds practical explanations. Source ambiguities are identified where relevant; this is a document-based adaptation, not a claim of physical testing.
Open the original pattern in Drive to compare the instructions, source photographs and original layout.
Leave a Reply