
Crochet Tulip Shell Pattern for Coastal Home Decor
· admin
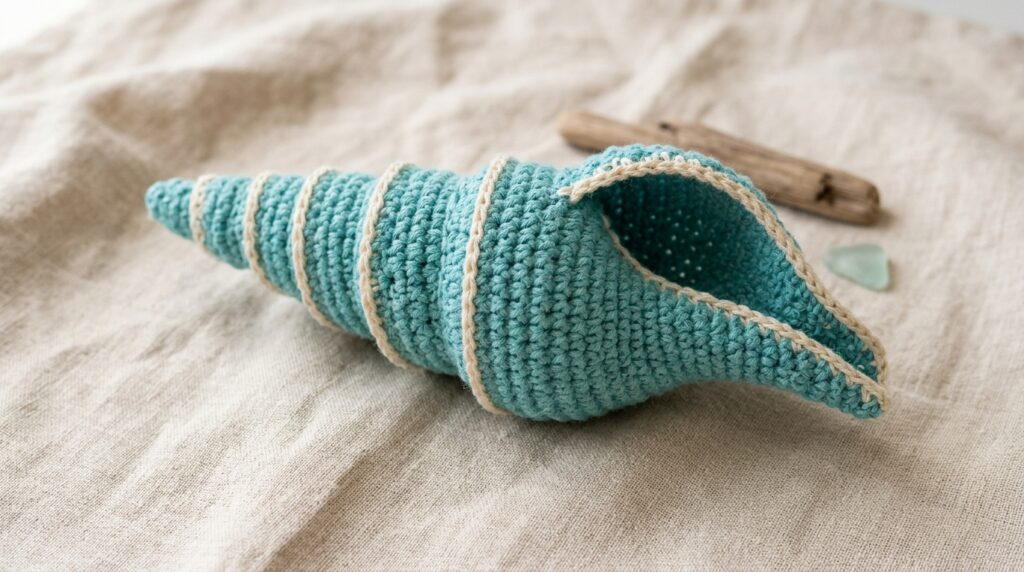
This crochet tulip shell pattern makes a sculptural seashell with a tapered spiral, a shaped opening and a fine contrasting trim. The name refers to the tulip shell found at the seaside. This is a coastal decoration rather than a crochet flower, and the shaping step is what gives the soft fabric its shell silhouette.
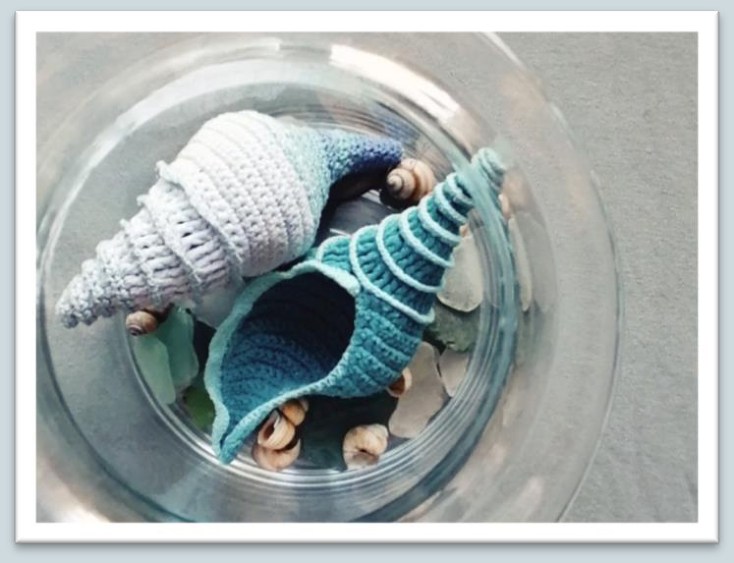
Crochet Tulip Shell Pattern Materials
- For the body, 100% cotton around 125 m / 50 g and a 1.5 mm hook; the source uses Madame Tricote Camilla.
- For the trim, finer cotton around 565 m / 100 g and a 1 mm hook; the source uses Madame Tricote Maxi.
- Scissors, yarn needle, white craft glue, water, small plastic bags, a towel and optional gloves for handling the glue mixture.
Stitches and Pattern Notes
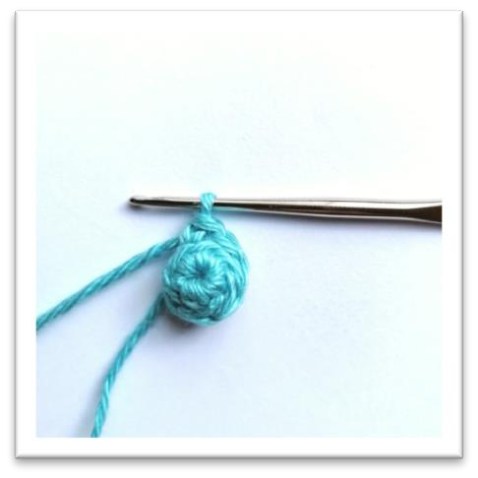
US terms are used here. Ch = chain, sl st = slip stitch, sc = single crochet, hdc = half double crochet, dc = double crochet, tr = treble crochet, MR = magic ring, inc = 2 stitches in one stitch, and dec = a decrease across two stitches. BLO means back loop only and FLO front loop only. Begin at the pointed end and work the first eight rounds continuously in BLO. After that, turn and work rows. In the opening rows, ch 1 counts as the first sc, as specified by the source; this differs from the usual non-counting turning chain.
Eight Rounds for the Spiral Tip
| Round / step | Instructions | Count |
|---|---|---|
| 1 | 6 sc in MR. | 6 |
| 2 | (2 sc, inc) twice, using sc. | 8 |
| 3 | (3 hdc, 2 hdc in next stitch) twice. | 10 |
| 4 | (4 dc, 2 dc in next stitch) twice. | 12 |
| 5 | (2 dc, 2 dc in next stitch) 4 times. | 16 |
| 6 | (3 dc, 2 dc in next stitch) 4 times. | 20 |
| 7 | (3 tr, 2 tr in next stitch) 5 times. | 25 |
| 8 | (4 tr, 2 tr in next stitch) 5 times. | 30 |
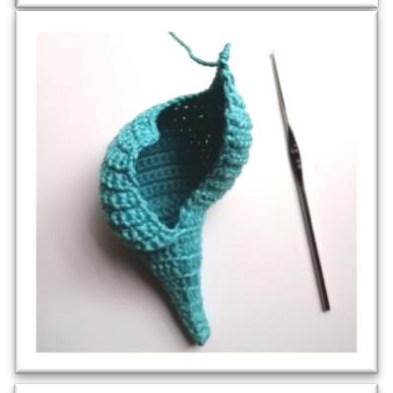
Shape the Shell Opening in Rows
Turn after Round 8. Row 1 uses FLO; all subsequent rows use both loops. Count the initial ch 1 as one sc and do not add an extra sc beneath it.
| Round / step | Instructions | Count |
|---|---|---|
| 1 | FLO. Ch 1, 2 sc in next stitch, sc in each remaining stitch; turn. | 31 |
| 2 | Both loops. Ch 1, sc2tog, (sc in next 2 stitches, 2 sc in next stitch) 8 times, sc in last 4 stitches; turn. | 38 |
| 3 | Ch 1, 2 sc in next stitch, sc in each remaining stitch; turn. | 39 |
| 4 | Ch 1, sc2tog, sc in each remaining stitch; turn. | 38 |
| 5, 7, 9, 11 | Repeat Row 3 for each odd-numbered row. | 39 |
| 6, 8, 10 | Repeat Row 4 for each even-numbered row. | 38 |
| 12 | Ch 1, (sc2tog, 2 sc) 9 times, sc in last 2 stitches; turn. | 30 |
| 13 | Ch 1, 2 sc in next stitch, sc across; turn. | 31 |
| 14 | Ch 1, (sc2tog, 2 sc) 7 times, sc in last 2 stitches; turn. | 24 |
| 15 | Ch 1, 2 sc in next stitch, sc across; turn. | 25 |
| 16 | Ch 1, (sc2tog, 2 sc) 6 times; turn. | 19 |
| 17 | Ch 1, 2 sc in next stitch, sc across; turn. | 20 |
| 18 | Ch 1, (sc2tog, 2 sc) 4 times, sc in last 3 stitches; turn. | 16 |
| 19 | Ch 1, sc in each remaining stitch; turn. | 16 |
| 20 | Ch 1, (sc2tog, sc) 4 times, sc in last 3 stitches; turn. | 12 |
| 21 | Ch 1, sc across; turn. | 12 |
| 22 | Ch 1, (sc2tog, sc) 3 times, sc in last 2 stitches; turn. | 9 |
| 23 | Ch 1, sc across; turn. | 9 |
| 24 | Ch 1, (sc2tog, sc) twice, sc in last 2 stitches; turn. | 7 |
| 25-28 | Ch 1, sc across; turn after each row. Fasten off and weave in ends after Row 28. | 7 |
Add the Spiral Trim and Opening Border
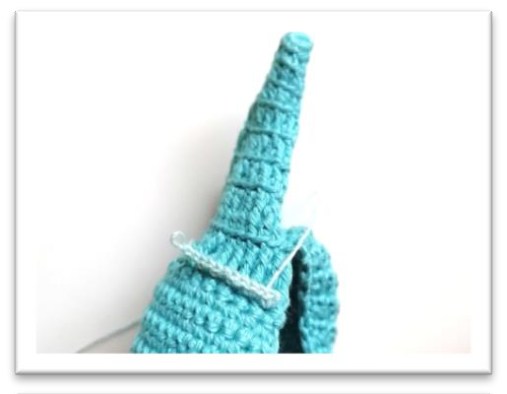
With the 1 mm hook and fine cotton, attach at the front loop of the last stitch in the final spiral round. Work 2 sc in each unused front loop, following the spiral toward its center. Fasten off and weave in the tails.
For the opening border, join the fine thread at the top of the opening. Ch 1 and sc around the edge, inserting the hook into the edge stitches. On the second border row, work down the opening only, alternating 2 dc in one stitch and dc in the next. Near the tip, graduate to 2 hdc followed by 4-5 sc. Fasten off and hide the ends.
Shape and Dry the Seashell
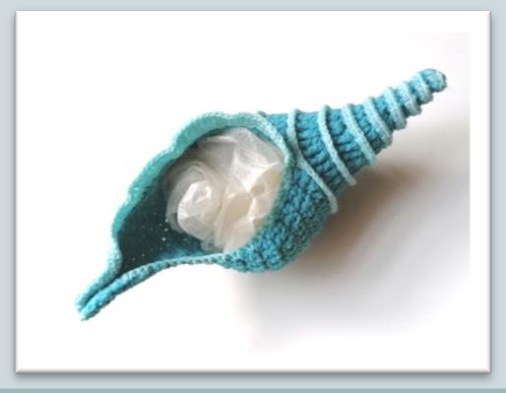
- Mix 2 parts water with 1 part white craft glue, following the source shaping method. Use gloves if needed.
- Wet the shell in the mixture and gently squeeze out the excess.
- Pull and arrange the fabric into the shell shape. A chopstick can help straighten the tapered top without stretching individual stitches.
- Put small plastic bags inside as temporary supports. Pinch and shape the bottom, open the mouth and adjust the trim.
- Leave on a towel until fully dry, then remove the supports.
Optional Finishes
For a softer shell, the source allows shaping with water alone. If you use the body yarn for the trim, use a simpler sc-and-chain edge or crab stitch to avoid a heavy ruffle. Add any sewn beads before glue shaping. The source gives no finished dimensions or fixed drying time; these depend on yarn, tension and conditions.
More Crochet Projects
For another project, try our a crochet bonsai tree or explore a hanging crochet plant.
Pattern and Photo Credits
The supplied Tulip Shell crochet pattern and its reference photographs. The designer is not identified in the supplied file. This is an editorial adaptation of the supplied pattern, with the original designer credited. Reference photographs show the source project.
Leave a Reply