
Crochet Cactus Pillow with Bobbles and a Rolled Rose
· admin
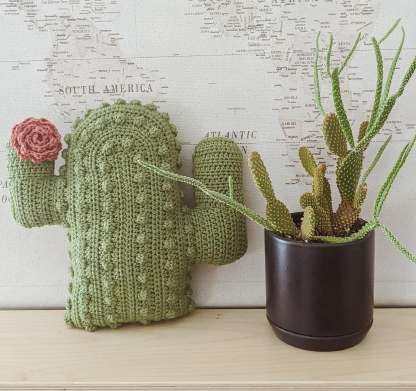
This crochet cactus pillow is built from two flat panels with bobble texture across the trunk. Each panel grows around a long foundation chain, then the arms are worked from marked side stitches. Mirroring the arms on the second panel lets the two pieces meet neatly. A small rolled rose finishes one arm.
Project details
| Skill level | Intermediate |
|---|---|
| Finished size | Approximately 12 inches tall in the source sample. |
| Hook | 3.5 mm |
| Pattern source | Cactus Pillow, supplied six-page PDF. |
Materials
Two skeins of sage cotton and a small amount of rose-colored cotton, 3.5 mm hook, pillow filling, stitch markers, tapestry needle and scissors. The sample uses I Love This Cotton in Sage with Bruschetta for the rose.
Understand the panel construction
Use US terms: sc is single crochet, hdc is half double crochet, dc is double crochet and inc means two stitches into one base stitch. The source bobble is three unfinished dc closed together: leave the last loop of each dc on the hook, then draw yarn through all four loops. Count the finished bobble as one stitch. Keep both panels at the same tension, especially around the rounded top.
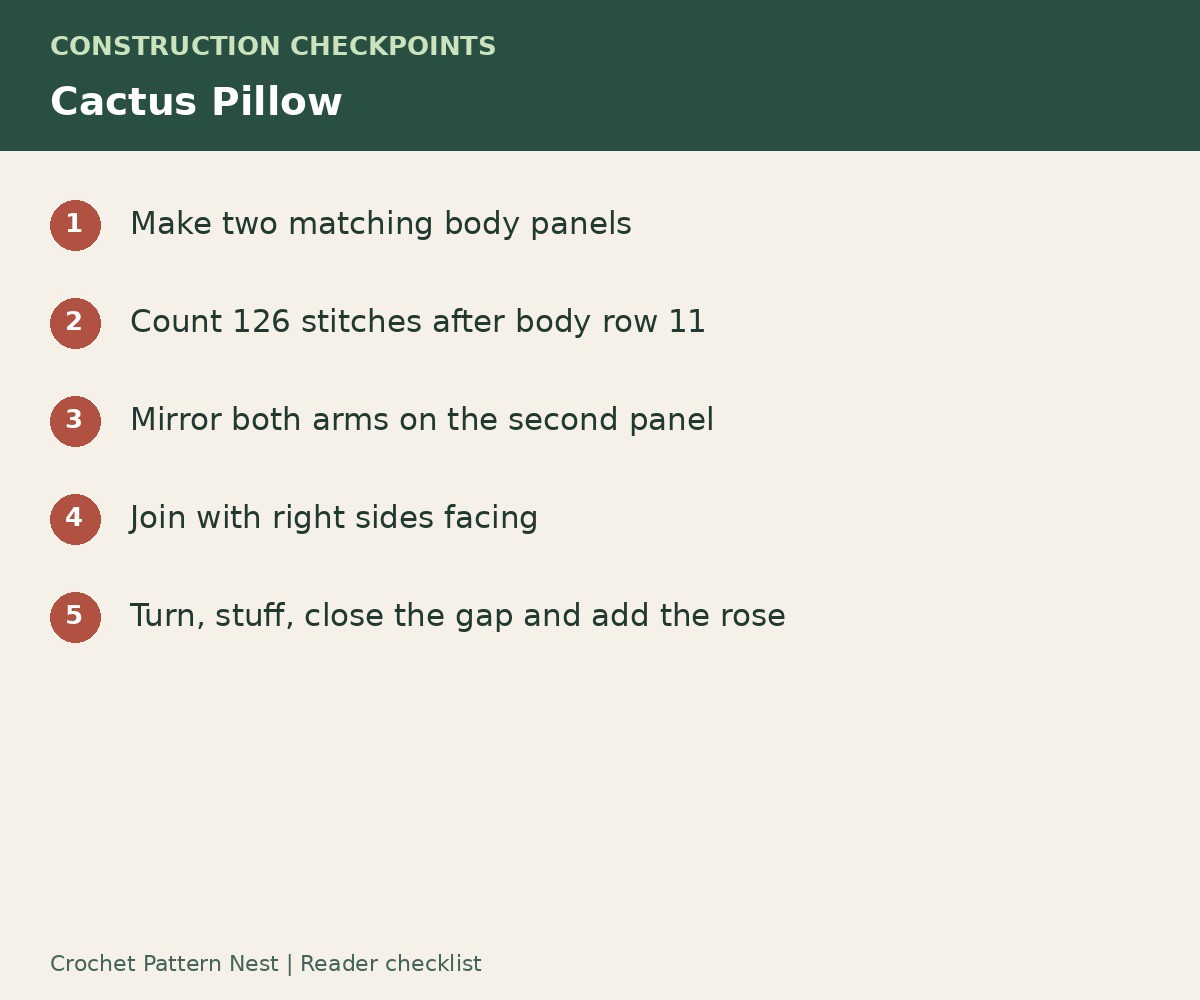
Work the main body first. It has two straight runs of 39 hdc, with increases concentrated at the rounded end. Turn between rows. Check the count at every bobble row so a missed anchoring stitch does not change the width of the pillow.
Work the main body panel
| Row | Main shaping | Total |
|---|---|---|
| 1 | Ch 41. Work 39 hdc along the first side, 6 hdc at the far end and 39 hdc along the underside. | 84 |
| 2 | 39 hdc, 6 increases, 39 hdc. | 90 |
| 3 | Bobble row: start with 2 sc and a bobble, repeat 3 sc/bobble, and finish with the source’s 3-sc ending. | 90 |
| 4–6 | Keep the 39-hdc sides; increase the rounded section using (inc, 1 hdc), then (inc, 2 hdc), then (inc, 3 hdc), each six times. | 96, 102, 108 |
| 7 | Bobble row at 108 stitches; finish the final five stitches with 3 sc, bobble, sc. | 108 |
| 8–10 | Six rounded-end repeats with 4, then 5, then 6 hdc between increases. | 114, 120, 126 |
| 11 | Repeat the bobble texture across the panel, ending with 3 sc. | 126 |
Use a stitch marker at each transition between the straight sides and the curved end. The foundation is worked around both sides, but later rows turn; do not accidentally join the panel into a tube. A quick count of the two 39-stitch sides isolates any error in the curved section.
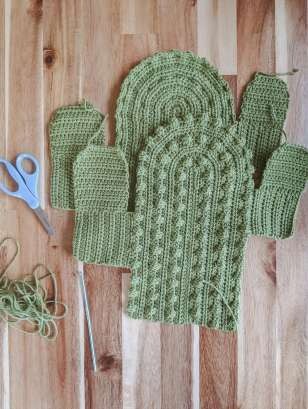
Place the lower and upper arms
On the front panel, face the right side toward you and count 15 stitches up the right side for the lower arm. Work 14 hdc across, then continue for 11 rows in total. Row 12 turns along the row ends with 14 hdc. Rows 13–20 stay at 14. Shape the last three rows with a decrease at each end, giving 12, 10 and 8 stitches.
For the upper arm, face the wrong side toward you, count 27 stitches up the right side and begin a 12-hdc section. Work nine rows, then turn along the row ends for row 10. Continue at 12 through row 15. The last three rows decrease at both ends to 10, 8 and 6 stitches.
The second panel uses the same body and arm counts, but reverse the face used for placement: lower arm with the wrong side facing, upper arm with the right side facing. Lay the two panels together before fastening all tails. Their outlines should overlap completely, with both arm tips pointing the same way when the right sides face outward.
Join, stuff and add the rose
Put the panels right sides together. Slip stitch around the outline, leaving about three inches open along an accessible straight section. Turn the cactus right side out and ease the corners out gently. Add small amounts of filling first to the arm tips, then to the trunk. Close the gap with a matching seam without pulling it tighter than the surrounding stitches.
For the rose, chain 50 in the accent color. Starting in the second chain, alternate a single crochet with three dc in the next chain along the strip. Roll the strip into a flower and stitch through its base so the center cannot unwind. Sew it onto an arm after the pillow is filled.
Keep the finished shape even
Uneven stuffing can make one arm turn forward while the other lies flat. Massage the filling into the narrow tips before closing the opening. If the bobbles flatten, ease them outward from the front with a blunt needle rather than overfilling the whole cushion. Follow the care label of the yarn and filling; the source does not specify a machine-wash setting.
Frequently asked questions
Why must the second panel be mirrored?
The arm locations depend on which face is toward you. Reversing the right-side and wrong-side placement makes the outlines match when joined.
Can I use a larger hook?
A larger hook changes the size and fabric density. Make both panels with the same hook and check that filling cannot show between stitches.
Is the rose removable?
The source sews the rolled rose onto the finished pillow. Secure its base and attachment thoroughly if following that finish.
Source and project reference
Cactus Pillow, supplied six-page PDF. This article is a source-based crochet guide with its own explanations and clearly identified editorial clarifications. Project photographs and the original diagrams shown here come from the supplied source, with crops described in their captions.
Open the original Cactus Pillow.pdf reference in Drive — Whole PDF. Keep the original charts with your project, especially where this guide points to a pictured construction step.
Leave a Reply