
Sleepy Bubble Pencil Pouch Crochet Pattern: Free PDF & Tutorial
· admin
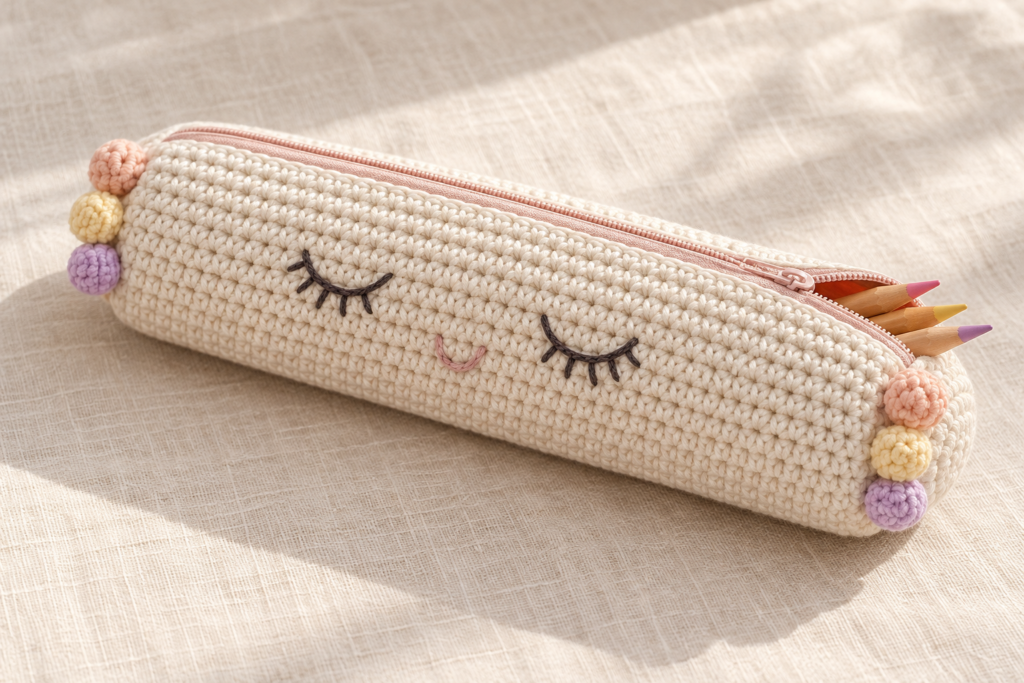
The Sleepy Bubble Pencil Pouch is a cheerful crochet zipper case for pencils, pens, and small stationery. A ribbed cream panel wraps around two round end caps, while embroidered sleepy eyes and six pastel bobbles give it its character. Follow the steps below, then keep the free six-page printable pattern handy as you work.
At a glance: US crochet terms · sport-weight cotton · 2.75 mm hook · about 21–23 cm long and 5–6 cm across · one 20–22 cm zipper · flat body panel, two 42-stitch end caps, and six mini bobbles.
Materials and gauge
- Approximately 70–90 g sport-weight cotton in cream, plus small amounts of peach, butter yellow, and lilac.
- Dark embroidery yarn for the face; a little stuffing for the bobbles only.
- 2.75 mm crochet hook, 20–22 cm (8–8.5 in) zipper, yarn needle, sewing needle, matching thread, stitch markers, and scissors.
Make a swatch and aim for approximately 23 single crochet stitches and 19 half double crochet rows per 10 cm (4 in) after gentle blocking. Check the fit of your actual panel against an end cap before sewing. Yarn and tension change the final dimensions.
US crochet abbreviations
ch = chain; sc = single crochet; hdc = half double crochet; sl st = slip stitch; inc = two sc in one stitch; dec = sc two stitches together; BLO = back loop only.
Step 1: Crochet the body panel
With cream yarn, ch 51. For Row 1, sc in the second chain from the hook and across; turn. You have 50 sc. For Rows 2–34, ch 1 (it does not count as a stitch), hdc BLO in each of the 50 stitches, and turn. The panel should be close to 22 cm long and 18 cm wide at the suggested gauge.
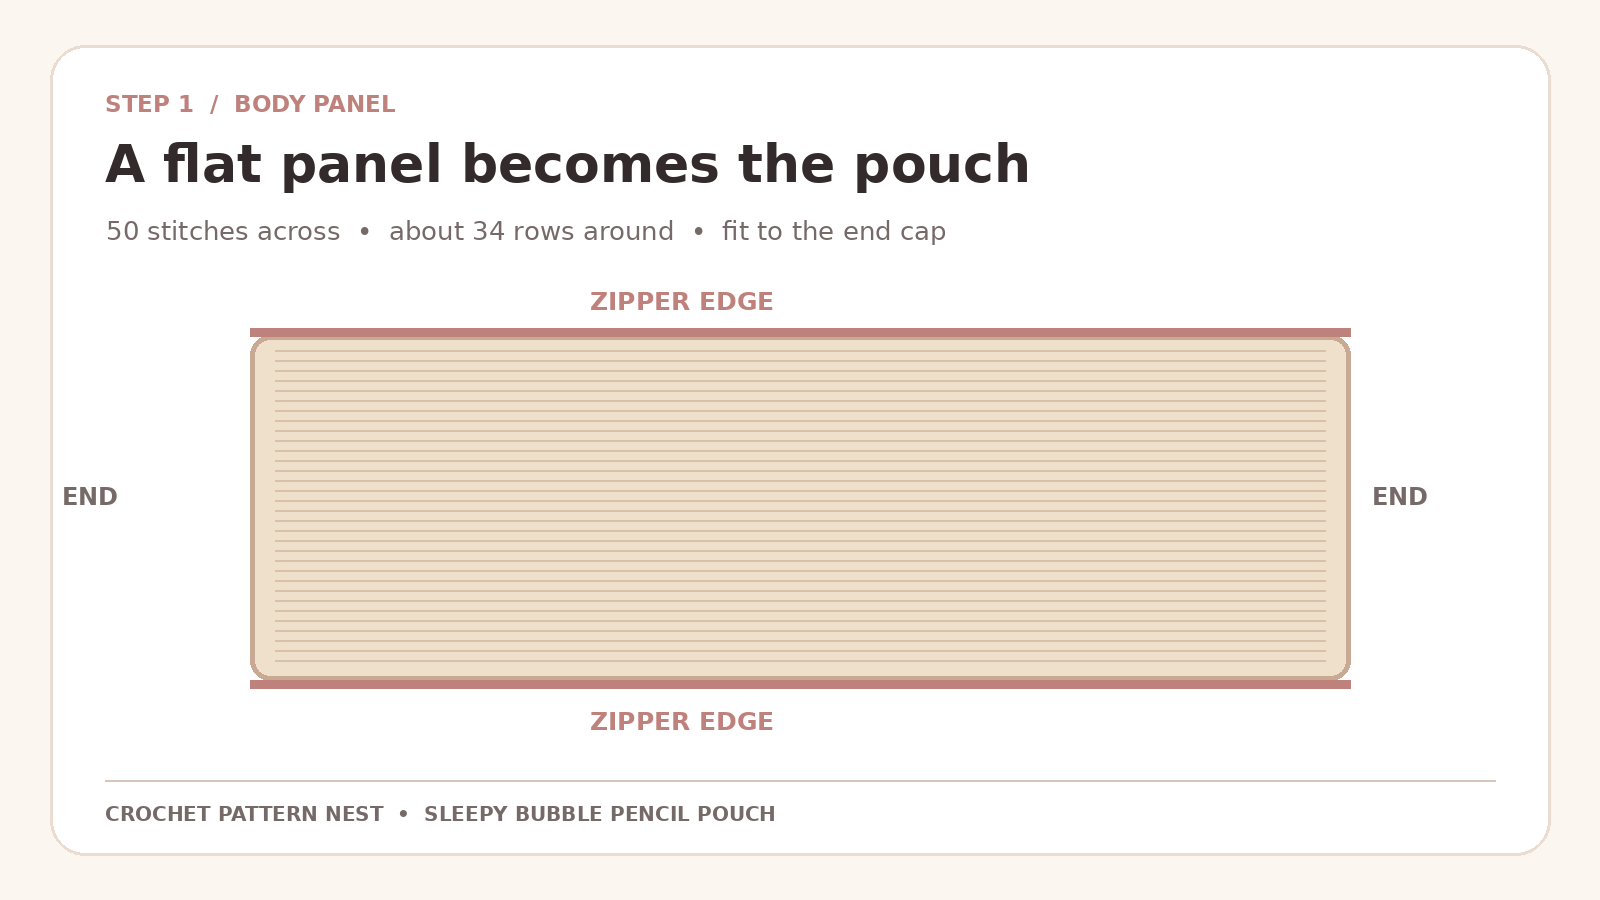
Wrap the panel around the outer edge of one blocked end cap. Its two long edges should meet without pulling and leave room for the zipper seam. Add or remove complete rows if needed. Then work one relaxed row of sc along each long edge, about 50 stitches per edge, to reinforce the zipper opening. Leave long tails at the short ends for attaching the caps.
Step 2: Make two round end caps
Work in continuous rounds with a stitch marker. Make both circles in cream:
- Round 1: 6 sc in a magic ring (6).
- Round 2: Inc in each stitch (12).
- Round 3: (1 sc, inc) six times (18).
- Round 4: (2 sc, inc) six times (24).
- Round 5: (3 sc, inc) six times (30).
- Round 6: (4 sc, inc) six times (36).
- Round 7: (5 sc, inc) six times (42).
Fasten off each disc with a long tail, then block them to the same size. If a circle cups, ease your tension; if it ripples, try a slightly smaller hook. Check that the panel can wrap around its edge before assembly.
Step 3: Sew in the zipper and attach the caps
With the panel right side facing out, pin the zipper tape beneath the two reinforced long edges. Keep the teeth exposed, center the zipper along the 50-stitch opening, and leave its ends inside the future end seams. Hand-sew the tape with small backstitches. Open and close the zipper several times to check alignment.
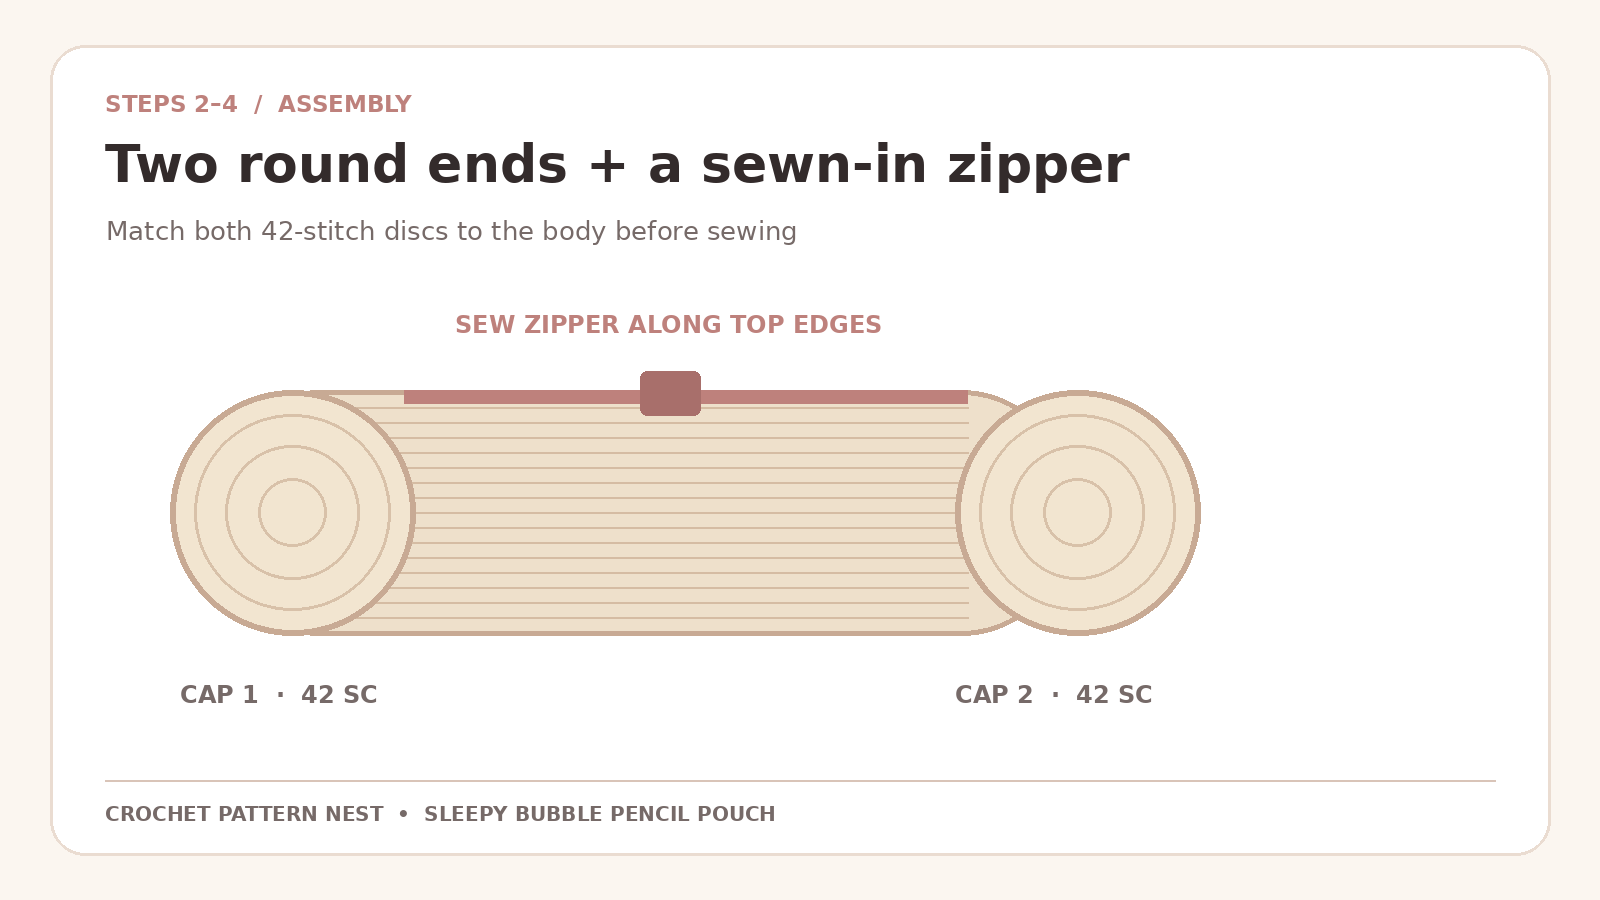
Half-open the zipper and turn the pouch wrong side out. Pin one disc to each short opening in four equal sections. Sew around each circle, distributing the panel row ends evenly against its 42 stitches; these counts do not have to match one-to-one. Catch the zipper ends securely in the seams, then turn the pouch right side out.
Step 4: Add the sleepy face and pastel bobbles
For easier access to the reverse side, embroider the face before sewing on the end caps if you prefer. Position two softly curved closed eyes on the lower half of the body, about 5–6 cm apart. Add three short eyelashes beneath each curve and a tiny blush smile in the center. Secure every yarn tail inside.
Make six small bobbles: two peach, two butter yellow, and two lilac. For each bobble, work 6 sc in a magic ring (Round 1), inc in every stitch to 12 (Round 2), sc around (Round 3), and dec six times to 6 (Round 4). Add a little stuffing, close the opening, and retain a long sewing tail. Stitch three bobbles securely along each end-cap seam, keeping them clear of the zipper teeth and slider.
For an optional pull, ch 16 in peach, pass the chain through the slider hole, and sl st back to make a loop. Weave in ends, check the zipper, and test the finished case with a few pencils.
Fit and finishing tips
- Body too tight? Add two rows before installing the zipper. If the caps are too large, test stopping after Round 6 and make both caps identical.
- Wavy zipper edge? Re-pin the zipper without stretching the crochet. Keep its teeth straight and sew with short, even stitches.
- Final shape: Lightly steam the cotton from a safe distance, keeping heat away from the zipper. The body itself needs no stuffing.
Download the free Sleepy Bubble Pencil Pouch PDF
The six-page printable guide includes the materials, row and round counts, assembly sequence, decoration details, and finishing checks. The project image shows the intended look; use your gauge and measurements for your finished pouch.
Or visit the free product page to download directly without checkout. Find more ideas from Crochet Pattern Nest on Pinterest.
Leave a Reply