
Easy Crochet Donut Amigurumi Pattern (Free Beginner-Friendly Tutorial)
· admin
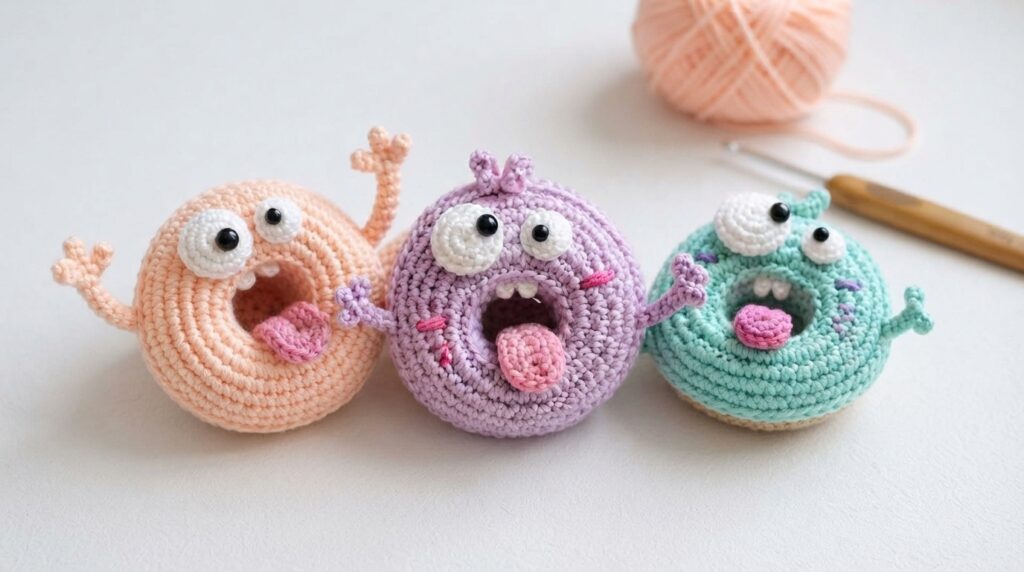
If you are looking for a quick, cheerful amigurumi project, this crochet donut pattern is a fun place to start. This original Crochet Pattern Nest design uses simple increases, single crochet stitches, basic assembly, and colorful embroidered sprinkles to create a soft little donut that works beautifully as nursery decor, pretend food, a desk buddy, a keychain-sized gift, or part of a crochet food collection.
The pattern is written in US crochet terms and is designed to be approachable for confident beginners. You will make two simple donut halves, decorate the top, join the center, add stuffing, and close the outside edge.
Crochet Donut Pattern at a Glance
| Skill level | Beginner / Easy |
| Finished size | About 3.5–4 in (9–10 cm) wide |
| Construction | Two crochet halves joined and stuffed |
| Yarn weight | DK / light worsted cotton or acrylic |
| Hook | 2.5 mm or size needed for tight amigurumi fabric |
| Terminology | US crochet terms |
Why You’ll Love This Donut Amigurumi
- It uses mostly single crochet, making it beginner-friendly.
- The project is small enough to finish in an evening.
- It is a great scrap-yarn project.
- You can customize the frosting and sprinkles in endless color combinations.
- The same base can become a classic donut, chocolate donut, strawberry donut, or kawaii face donut.
Materials You’ll Need
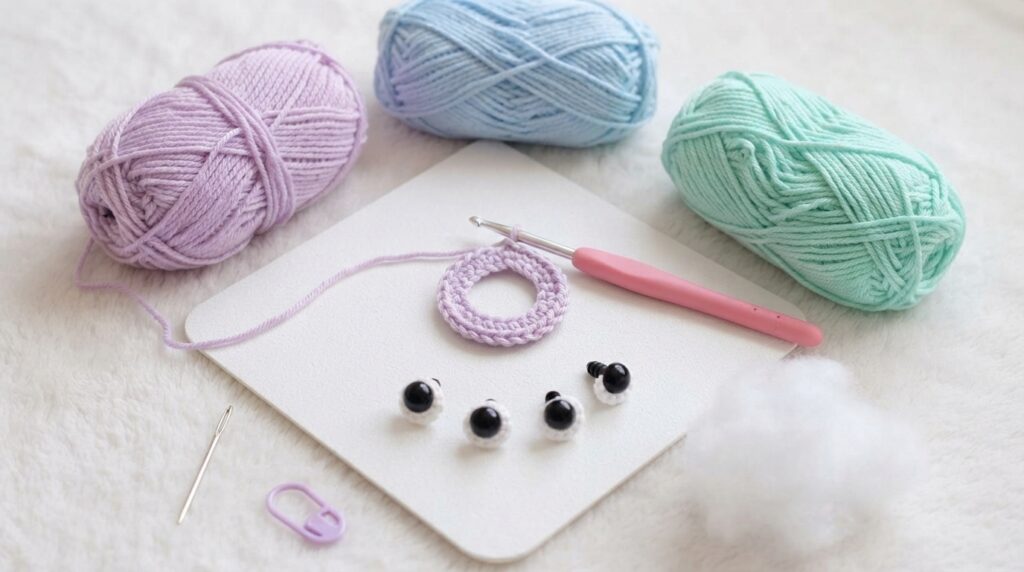
- DK or light worsted yarn in tan for the donut base
- DK or light worsted yarn in pink, chocolate brown, white, or your favorite frosting color
- Small yarn scraps in several colors for sprinkles
- 2.5 mm crochet hook
- Polyester fiberfill
- Tapestry needle
- Stitch marker
- Scissors
- Optional: small safety eyes and black embroidery thread for a kawaii face
Yarn tip: Cotton gives the donut a crisp, defined shape, while acrylic makes it a little softer. For amigurumi, use a hook slightly smaller than the yarn label suggests so the stuffing does not show through.
Stitches & Abbreviations
- ch – chain
- sl st – slip stitch
- sc – single crochet
- inc – increase, work 2 sc in the same stitch
- st / sts – stitch / stitches
- rnd – round
- FO – fasten off
Before You Start
The donut is made from two ring-shaped pieces: one tan bottom half and one frosting-colored top half. Both halves use the same stitch counts. You will decorate the top before joining the pieces, sew the inner opening together, then close the outer edge while adding stuffing.
Keep your tension firm and count your stitches at the end of every round. A stitch marker is especially helpful because the rounds are worked continuously.
Free Crochet Donut Amigurumi Pattern
Bottom Half – Donut Base
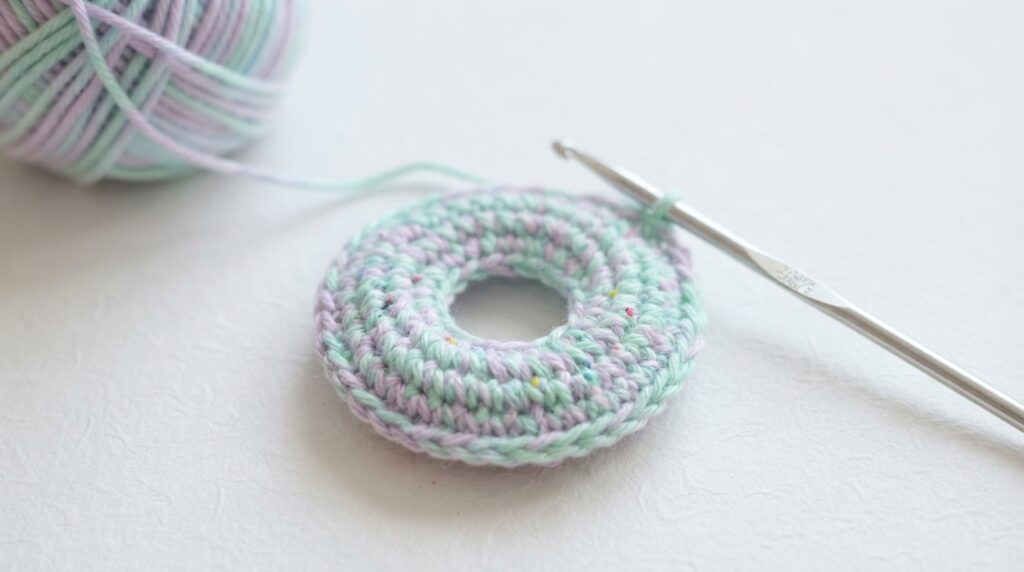
Using tan yarn:
- Foundation: Ch 18. Make sure the chain is not twisted, then join to the first chain with a sl st to form a ring.
- Rnd 1: Sc in each chain around. 18 sts
- Rnd 2: (2 sc, inc) repeat 6 times. 24 sts
- Rnd 3: (3 sc, inc) repeat 6 times. 30 sts
- Rnd 4: (4 sc, inc) repeat 6 times. 36 sts
- Rnd 5: (5 sc, inc) repeat 6 times. 42 sts
- Rnds 6–7: Sc around. 42 sts
Fasten off, leaving a long tail for assembly.
Top Half – Frosting
Using your frosting color, repeat the exact same instructions:
- Ch 18 and join to form a ring.
- Rnd 1: 18 sc.
- Rnd 2: (2 sc, inc) × 6. 24 sts
- Rnd 3: (3 sc, inc) × 6. 30 sts
- Rnd 4: (4 sc, inc) × 6. 36 sts
- Rnd 5: (5 sc, inc) × 6. 42 sts
- Rnds 6–7: Sc around. 42 sts
Fasten off, leaving a long tail if you prefer to sew the outside edge instead of crocheting it closed.
Add the Sprinkles
Before assembly, use short lengths of colorful yarn to embroider small straight stitches across the frosting piece. Scatter them naturally rather than placing them in perfect rows. Knot and secure all ends on the wrong side.
If you want a kawaii donut, add safety eyes to the frosting half now and embroider a tiny smile between them. Safety eyes are not recommended for toys intended for children under three; embroidered facial details are a safer alternative.
How to Assemble the Crochet Donut
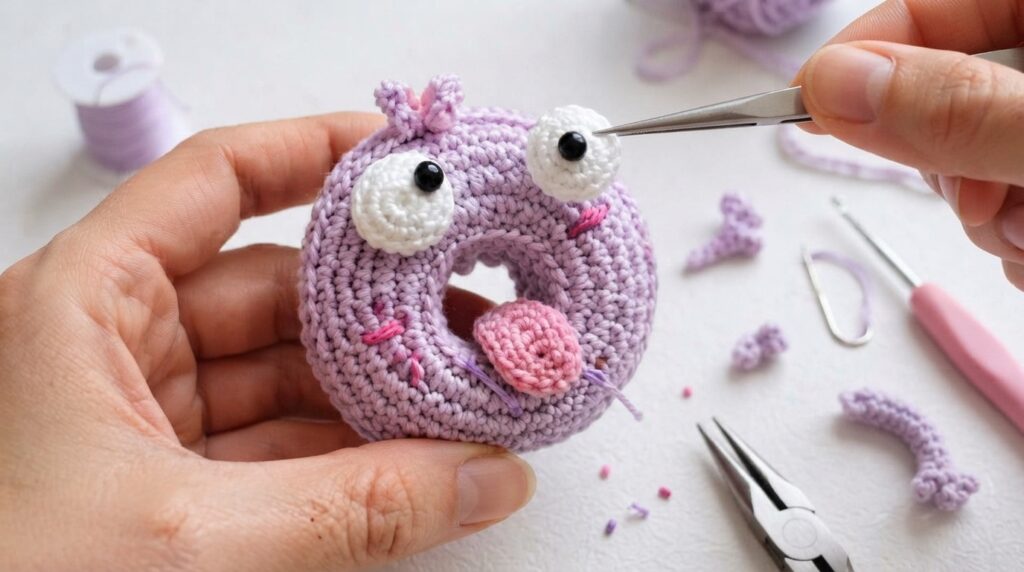
- Place the tan and frosting halves together with the right sides facing outward.
- Line up the foundation-chain openings in the center.
- Using a tapestry needle and matching yarn, whip stitch the two inner edges together all the way around. This creates the donut hole.
- Line up the outer 42 stitches of both halves.
- Join the outside edge with single crochet through both layers, or whip stitch the edges together if you prefer an invisible seam.
- When about two-thirds of the outer edge is closed, begin adding fiberfill in small amounts. Distribute it evenly around the ring.
- Continue stuffing as you close the remaining opening. Avoid overstuffing; the center hole should stay clearly visible.
- Close the final stitches, fasten off, and weave in the yarn tail.
Tips for a Neat, Professional Finish
- Use firm tension. Loose stitches can allow the stuffing to peek through.
- Stuff gradually. Small pieces of fiberfill create a smoother ring than one large clump.
- Do not overstuff. Too much filling can stretch the center opening out of shape.
- Embroider before assembly. Sprinkles are much easier to add while the frosting piece is still flat.
- Steam very lightly, if needed. Cotton pieces can often be shaped gently by hand; avoid high heat on acrylic yarn.
Crochet Donut Color Ideas
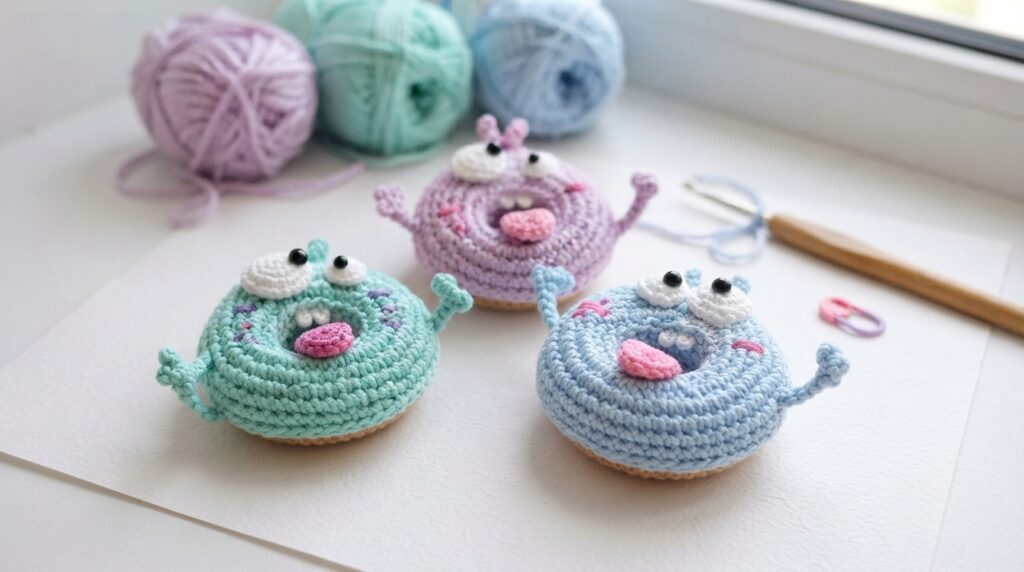
- Strawberry: tan base + blush pink frosting + white sprinkles
- Chocolate: tan base + cocoa brown frosting + pastel sprinkles
- Vanilla: tan base + cream frosting + rainbow sprinkles
- Matcha: tan base + sage green frosting + cream sprinkles
- Birthday cake: cream base + white frosting + bright multicolor sprinkles
Ways to Use Your Finished Donut
This little amigurumi donut can become more than a shelf decoration. Add a keyring for a bag charm, make several colors for pretend bakery play, create a garland for a birthday party, or pair it with other crochet food projects for a handmade gift set.
Frequently Asked Questions
Is this crochet donut pattern suitable for beginners?
Yes. If you are comfortable making chains, single crochet stitches, increases, and simple seams, you can make this project. If those techniques are new to you, start with our complete crochet beginner guide.
Can I use a different yarn weight?
Yes. Thicker yarn will create a larger donut and thinner yarn will create a smaller one. Choose a hook that produces a dense fabric and adjust your stuffing accordingly.
Why is my donut hole closing up?
The most common cause is overstuffing. Remove a little fiberfill near the center and redistribute it toward the outside edge. Keeping the inner seam firm also helps preserve the ring shape.
Can I sell finished donuts made from this pattern?
You may sell finished handmade items made from this Crochet Pattern Nest pattern in small quantities. Please do not copy, redistribute, or resell the written pattern itself.
More Crochet Patterns to Explore
Ready for another project? Browse our Amigurumi patterns, explore Beginner Crochet, or discover more Free Crochet Patterns.
Save this pattern for later: Add it to your favorite Pinterest crochet board so you can come back whenever you are ready to make your own colorful donut amigurumi.
Leave a Reply