
Crochet Hanging Flowering Vines in a Tiny Pot
· admin
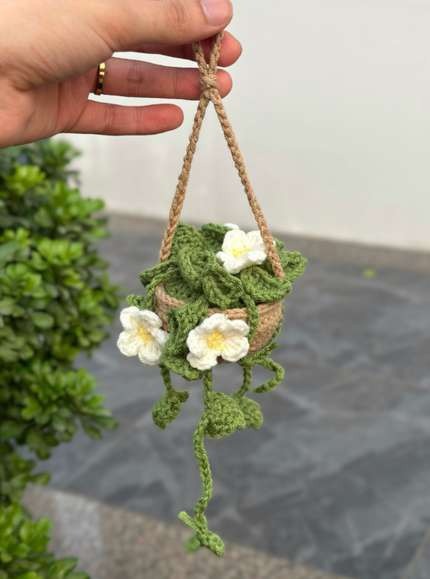
This crochet hanging flowering-vine ornament has a round beige pot, green trailing stems and small white flowers with yellow centers. Its vines are made in different lengths, so the leaves and blossoms fall below the rim. The pot and green insert both finish at forty stitches, which gives a clear joining point during assembly.
Project details
| Skill level | Confident beginner to intermediate |
|---|---|
| Finished size | Miniature hanging plant; no finished measurement is stated. |
| Hook | 2.5–3 mm |
| Pattern source | Car hanging 2, supplied seven-page PDF. |
Materials
Superfine beige, light-green, yellow and white yarn; 2.5–3 mm crochet hook, stuffing, stitch marker, tapestry needle and scissors.
Choose the layout before sewing
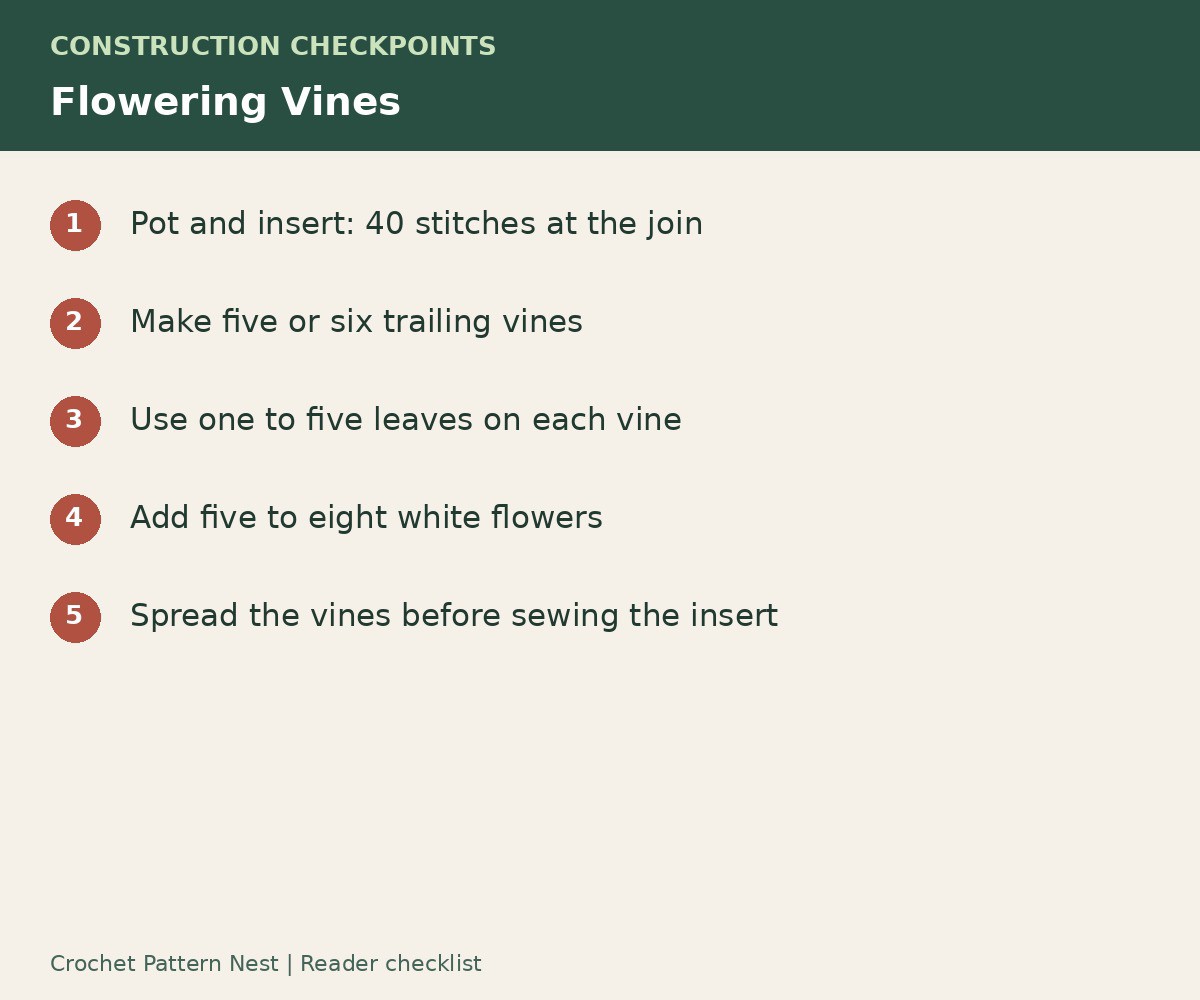
The source suggests five or six vines, one to five leaves on each vine, and five to eight flowers. These are layout choices rather than one fixed number of identical pieces. Make several different vine lengths, then place the parts on a table as they will hang. A longer stem can carry more leaves; keep the shorter ones light so the pot is still visible.
US stitch names are used here: sc, hdc and dc mean single, half double and double crochet. Inc means two stitches in one base stitch, and sl st means slip stitch. Use the hook size that gives a firm miniature pot without large gaps around the filling.
Make the forty-stitch pot
| Round | Stitch total | Construction |
|---|---|---|
| 1 | 10 | 10 sc into a magic ring. |
| 2–7 | 15, 20, 25, 30, 35, 40 | Add five increases evenly on each round. |
| 8–11 | 40 | Work the pot wall without further increases. |
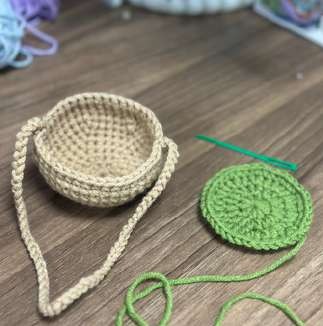
The hanging chain in the source is 60 chains. Keep its two attachment points opposite one another so the finished pot sits level. Before fastening the final tails, check the chain length with the actual yarn: sixty loose chains can hang much lower than sixty tightly worked chains.
Make the green surface
Begin with 10 hdc in a magic ring. Increase in every stitch for 20 hdc, then repeat (hdc, inc) ten times for 30. On the last round, repeat (2 sc, inc) ten times to reach 40. Leave a tail for sewing this disc to the pot. The stitch-height change brings the insert out to the same circumference as the upper wall.
Crochet the vines and leaves
Use chains of about 30, 25 and 20 for varied trailing lengths. The source forms the leaves directly along those stems. Each pointed leaf starts with a chain-seven branch and uses short stitches near the stem with taller stitches toward its middle. On the outward side, begin in the third chain and work sc, two hdc, dc, then a chain-three tip anchored with a slip stitch. Work back along the opposite side with the source’s slip-stitch/chain-three turn, dc, dc, two hdc and sc.
The anchoring sequence is shown in the original step photos. Follow those photos for the leaf-to-vine junction: the chain-three tip and the connecting chains are structural, so replacing them with an ordinary oval leaf produces a different silhouette. Space the leaves down the vine instead of grouping every leaf near the rim.
Make the small white flowers
With yellow, work 5 sc in a magic ring and close the center. Join white. In each center stitch, make a petal with chain 2, 2 dc, chain 2 and a slip stitch into that same stitch. Move to the next center stitch and repeat until there are five petals. Finish neatly and leave a sewing tail long enough to attach the flower without pulling the center out of shape.
Make five to eight flowers as preferred. Check the front of each flower before fastening it to a vine; the yellow ring should sit clearly in the middle, and all five petals should lie on the same face. Sew through the back of the flower so the attachment stitches stay inconspicuous.
Close the pot and arrange the trails
Sew the upper ends of the vines onto the green insert first. Add a little filling to the pot and join the insert stitch for stitch around the 40-stitch edge. Let the stems fall over the rim naturally before adding the flowers and final leaf attachments. This order keeps the sewing accessible and prevents the vines from being trapped under a tight rim seam.
Hang the pot temporarily and check its balance from the front and side. Rearrange the longest vines if they pull it forward. Finish by weaving all tails into the inside of the pot or the backs of the leaves. The source does not give a finished size or exact yarn consumption, so those should be checked on your own sample.
Frequently asked questions
How many flowers should I make?
The supplied design suggests five to eight. Arrange them across the vines before sewing to choose a balanced number.
Why must both pieces finish at forty stitches?
Matching the insert and pot circumference makes the top seam even and avoids gathering either part.
Can I omit the hanging chain?
You can display it on a shelf as an adaptation, but check that the light stuffed pot remains stable with the vines draped over one side.
Source and project reference
Car hanging 2, supplied seven-page PDF. This article is a source-based crochet guide with its own explanations and clearly identified editorial clarifications. Project photographs and the original diagrams shown here come from the supplied source, with crops described in their captions.
Open the original Car hanging 2.pdf reference in Drive — Whole PDF. Keep the original charts with your project, especially where this guide points to a pictured construction step.
Leave a Reply