
Jumbo Rib Scarf Crochet Pattern: Chunky Post-Stitch Texture
· admin
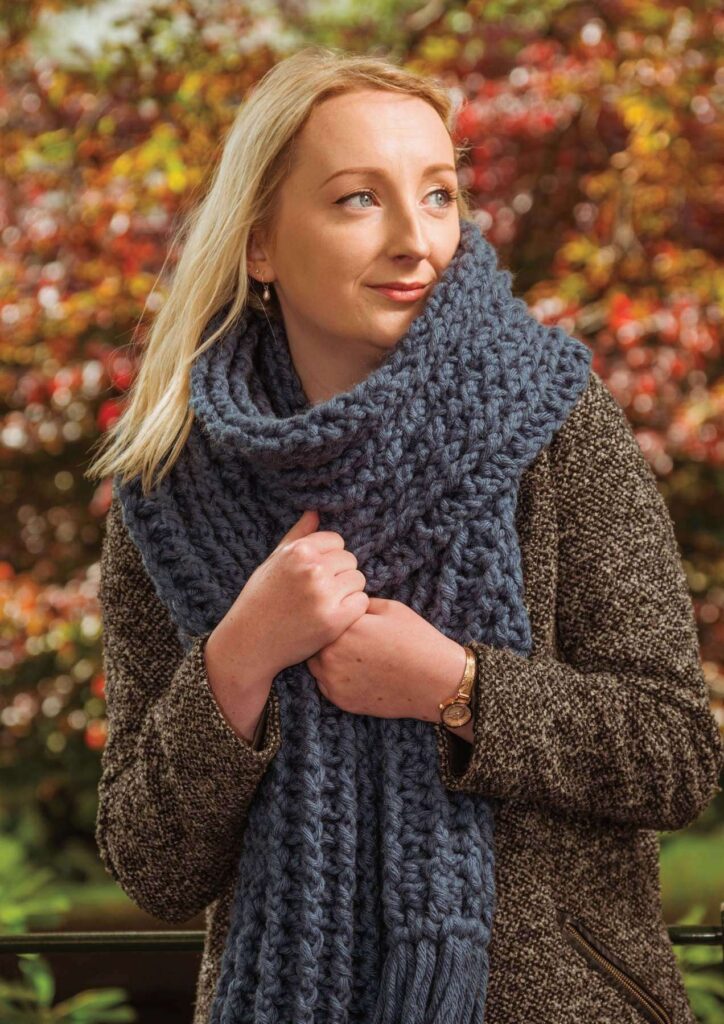
This jumbo rib scarf crochet pattern uses alternating front- and back-post stitches to make a deep, warm rib. A large hook and super chunky yarn create a generous winter scarf, while paired strands form substantial fringe at both ends. The source uses UK terminology; the written instructions below convert the working stitches to US terms.
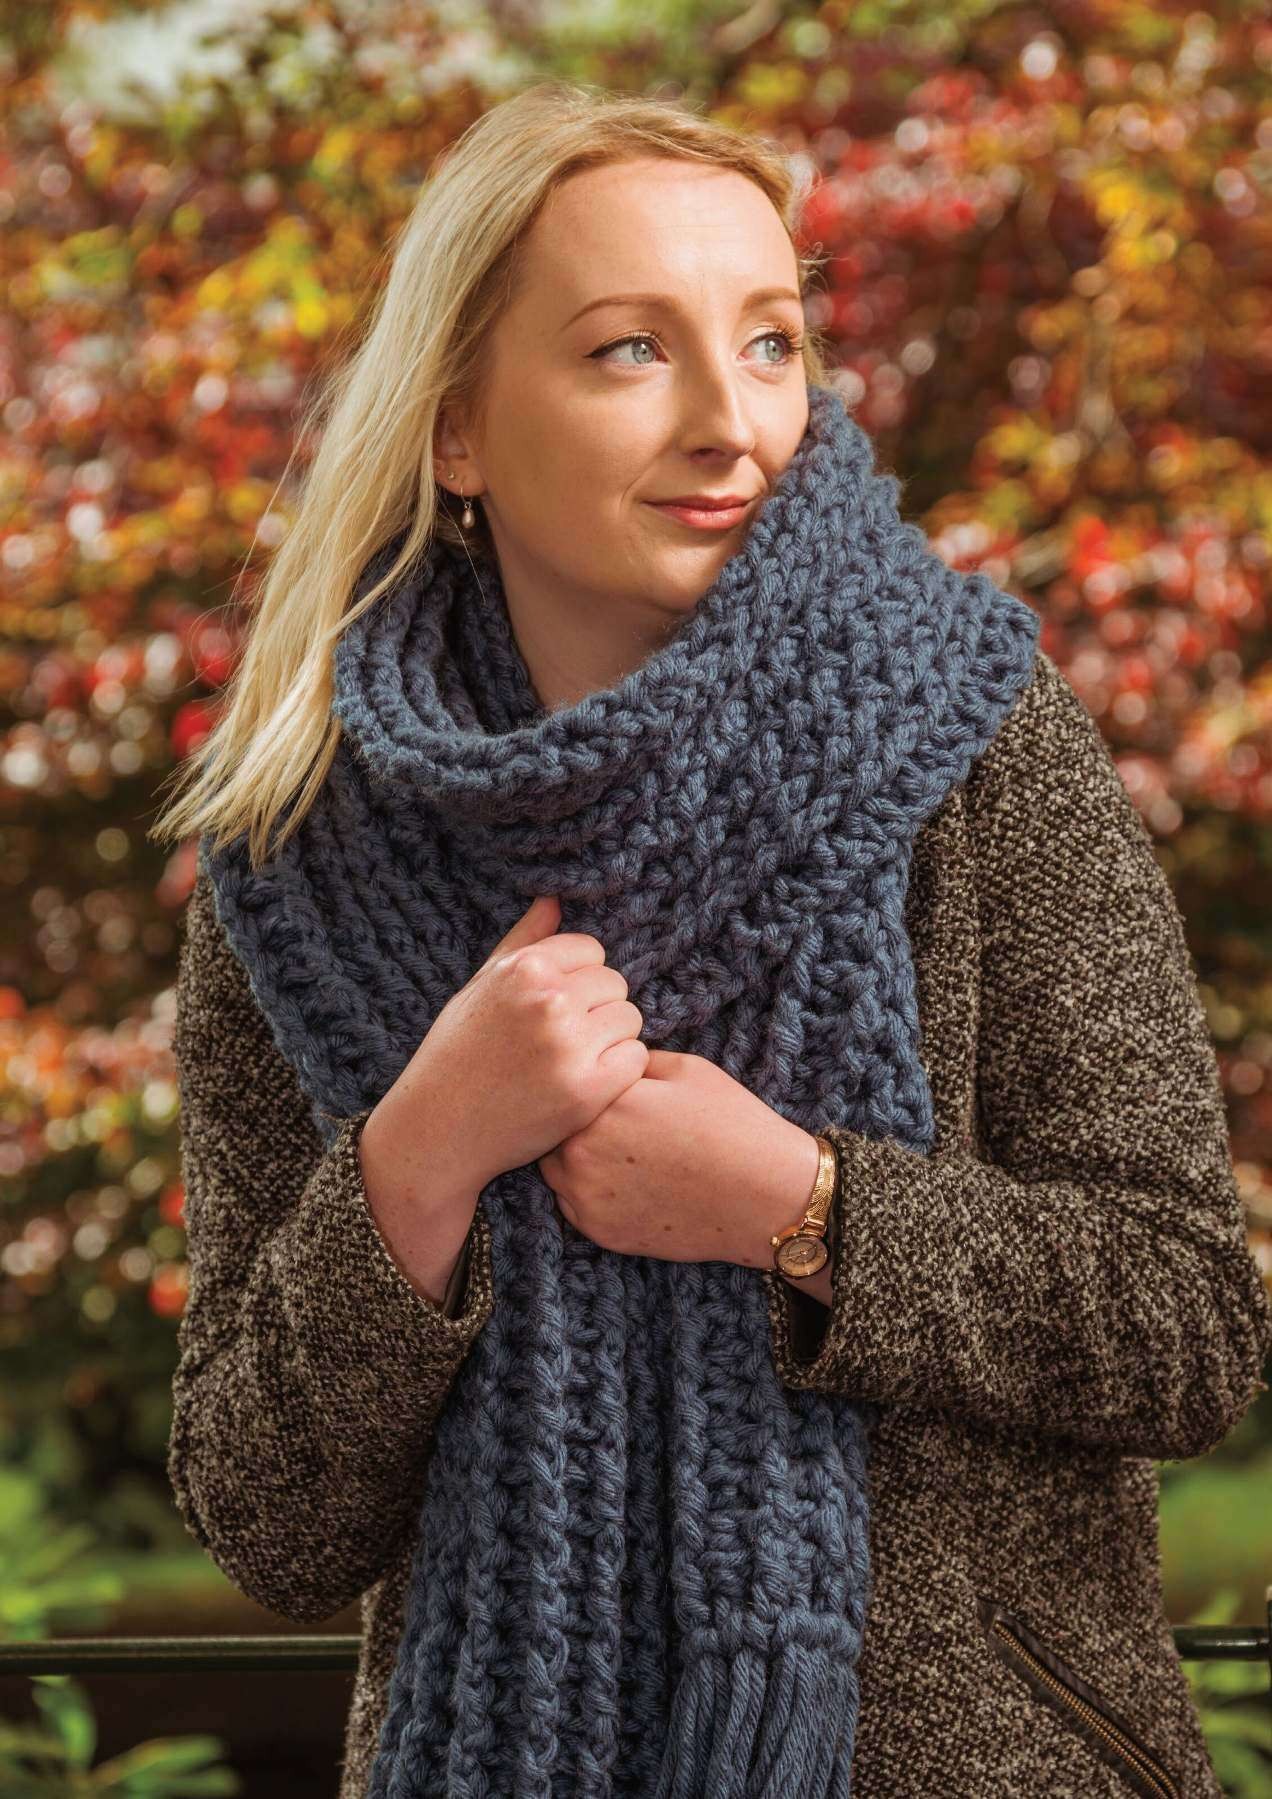
Project at a glance
| Detail | Project information |
|---|---|
| Skill level | Confident beginner / easy post-stitch crochet |
| Finished size | 24 × 210 cm excluding fringe |
| Technique | Crochet; US stitch terms in this article unless a source image is labeled otherwise |
| Construction | Follow the project stages below |
Materials and tools
- 7 × 100 g balls Hayfield Super Chunky with Wool, Poole 56; 72 m / 79 yd per ball
- 12 mm crochet hook
- Yarn needle and scissors; a measuring board is useful for cutting fringe
Stitches and pattern notes
ch = chain; sl st = slip stitch; sc = single crochet; hdc = half double crochet; dc = double crochet; tr = treble crochet; st = stitch; sp = space; RS/WS = right/wrong side. A bracket followed by × 3 means repeat the entire bracket three times.
Source gauge: 7 stitches and 6 rows per 10 cm over the rib. UK treble = US dc, UK front-post treble = US FPdc, and UK back-post treble = US BPdc. The turning ch 2 counts as an edge stitch. Work around the posts with relaxed tension so the fabric can expand and contract.
Reserve the fringe yarn first
Cut 64 strands, each 60 cm long, and set them aside. Reserving the fringe prevents you from reaching the end of the scarf body without enough matching yarn. Two strands will be folded together for every fringe bundle, with 16 bundles at each end.
Foundation and rib rows
| Step | Instructions | Checkpoint |
|---|---|---|
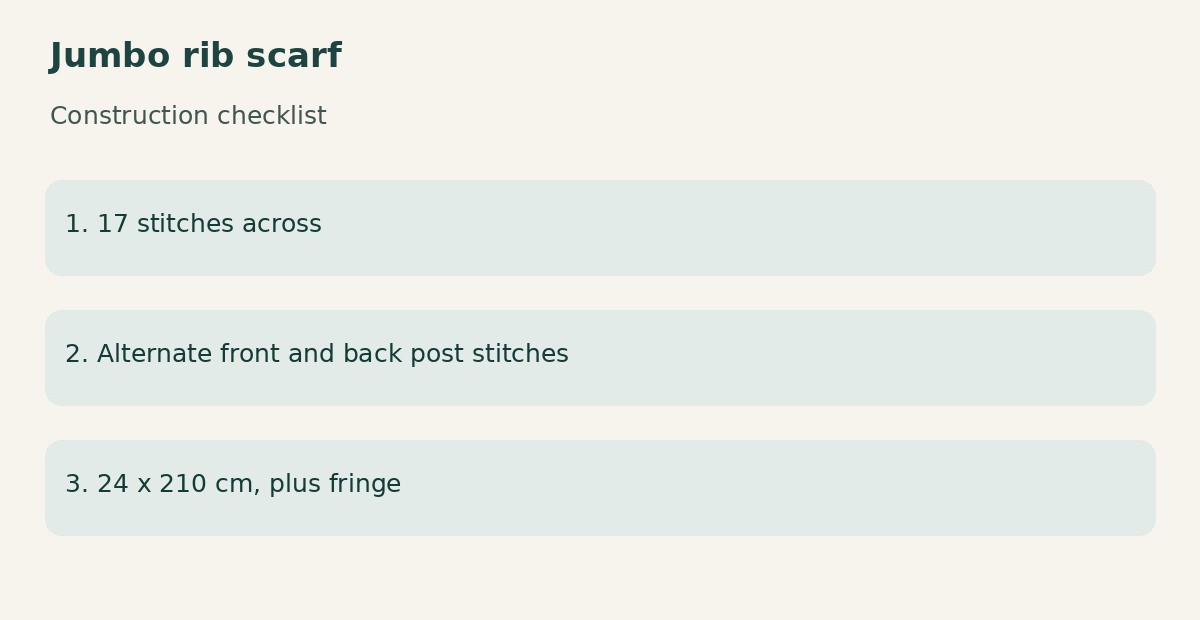
| Foundation | Chain 19. Dc in the fourth chain from the hook and in each remaining chain. The skipped chain height counts as the first dc. Turn. | 17 stitches including edge chain |
| Row 1, RS | Ch 2, skip the stitch at its base. (FPdc around next stitch, BPdc around next stitch) × 7, FPdc around next stitch, dc in the top of the edge turning chain. Turn. | 17 stitches |
| Row 2 | Ch 2, skip the stitch at its base. (BPdc around next stitch, FPdc around next stitch) × 7, BPdc around next stitch, dc in the top of the edge turning chain. Turn. | 17 stitches |
| Continue | Alternate Rows 1 and 2 until the body measures 210 cm, or your chosen length. | Measure without pulling the rib |
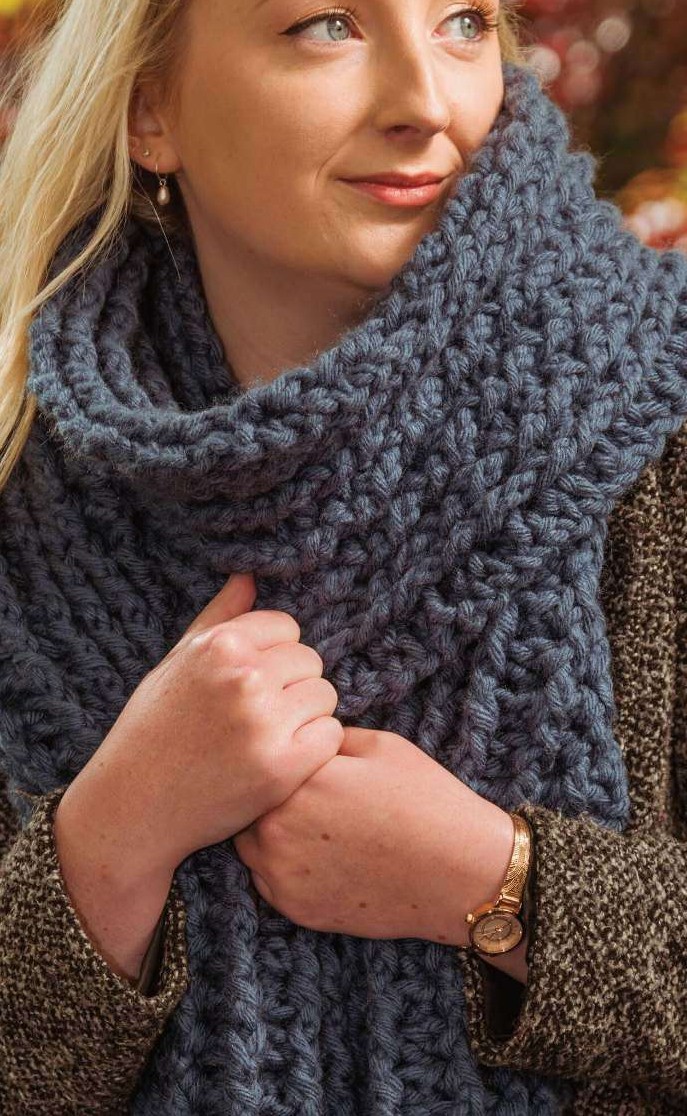
The source refers to the third chain at some row ends even though the repeated turning chain is ch 2. The practical clarification is to work the final dc into the top of the actual edge turning chain. Do not add an extra chain to satisfy a mismatched row-end description. Marking that chain makes it easier to find beneath the thick yarn.
Attach the fringe
Take two reserved strands and fold them in half together. Insert the hook through an end-edge space, pull the folded loops through, then draw all four loose ends through the loops. Tighten gently against the edge. Repeat for 16 bundles across each short end, spacing them evenly before tightening the final knots. Lay the scarf flat and trim the ends only after every bundle is attached.
Finish and care for the rib
Weave the yarn tails along the dense edge or behind a rib, changing direction once to help secure them. If the yarn label permits, wet the scarf in cool water, remove excess water without wringing and lay it flat. Let it dry at its natural width. Pulling the scarf longer while wet can narrow the rib and change its spring.
The source yarn totals roughly 504 m / 553 yd before allowing for differences in your tension. When substituting, compare both weight and meterage: another 100 g super chunky ball may contain much less yarn. Swatch the actual post-stitch rib instead of estimating from plain dc.
Tips for a clean finish
- Check that raised columns stay aligned after every turn.
- Keep the two edge stitches soft so they do not shorten the sides.
- Use a sharp contrast marker in the turning chain when working dark or bulky yarn.
Frequently asked questions
Why alternate the post stitches on the return row?
Turning reverses which side of the fabric faces you. Reversing FPdc and BPdc keeps the same columns raised on the finished face.
Can I omit the fringe?
Yes. Finish and weave the ends after the body reaches the desired length; reserve fringe yarn only if you plan to use it.
More scarf and shawl ideas
Explore the Scarves & Shawls collection for more neckwear projects. Compare the yarn weight, width and construction before choosing your next pattern: an airy lace wrap and a dense winter scarf need different fabrics even when they use similar stitches.
Pattern source and credit
Based on [BONUS 5]Crochet For Beginners Over 45 Techniques Inside.pdf, Printed pages 156-157; PDF pages 152-153. Designed by Donna Jones in Crochet for Beginners. Photographs show the original source samples; construction checklists are editorial illustrations. The article reorganizes the source and adds practical explanations. Source ambiguities are identified where relevant; this is a document-based adaptation, not a claim of physical testing.
Open the original pattern in Drive to compare the instructions, source photographs and original layout.
Leave a Reply