
Granny Square Shawl Crochet Pattern: Framed Motif Wrap
· admin
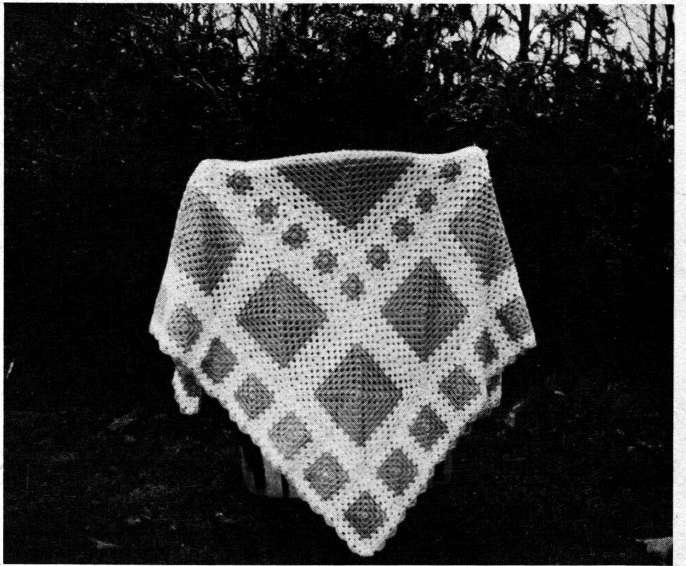
This granny square shawl crochet pattern builds a large square wrap from a central motif and three surrounding frames of smaller squares. Rose centers and white outer rounds give the different motif sizes a coordinated appearance. The finished square can be folded diagonally to wear as a triangular shawl; the source photograph shows that folded presentation.
Project at a glance
| Detail | Project information |
|---|---|
| Skill level | Intermediate motif assembly |
| Finished size | Source lists approximately 48 in square |
| Technique | Crochet; US stitch terms in this article unless a source image is labeled otherwise |
| Construction | Follow the project stages below |
Materials and tools
- Sport-weight yarn: source lists 12 oz white and 6 oz rose
- Size E crochet hook; choose the metric equivalent that achieves the source gauge
- Yarn needle, scissors and removable markers for assembling strips
Stitches and pattern notes
ch = chain; sl st = slip stitch; sc = single crochet; hdc = half double crochet; dc = double crochet; tr = treble crochet; st = stitch; sp = space; RS/WS = right/wrong side. A bracket followed by × 3 means repeat the entire bracket three times.
Gauge: a four-round granny square measures about 3½ in. Ch 3 counts as the first dc. Corners contain (3 dc, ch 2, 3 dc); side groups contain 3 dc, with ch 1 separating groups. The file also contains an unrelated patchwork lap robe: only the Granny Square Shawl section on PDF page 3 belongs to this project.
Make the basic granny square
| Step | Instructions | Checkpoint |
|---|---|---|
| Round 1 | Ch 5 and sl st into a ring. Ch 3, 2 dc into ring, ch 2; (3 dc into ring, ch 2) × 3. Join to the starting ch 3. | Four 3-dc groups |
| Round 2 | Sl st to a corner. Work (3 dc, ch 2, 3 dc) in each corner, with ch 1 between corners. Join. | Four corners |
| Round 3 onward | Work the same corner group in each ch-2 corner. Work 3 dc into each side ch-1 space, with ch 1 between groups and before each corner. Join. | One more side group each round |
Prepare the four motif groups
| Group | Squares | Rounds each | Color order |
|---|---|---|---|
| Center | 1 | 16 | Rose 1–12; white 13–16 |
| First frame | 20 | 4 | Rose 1–2; white 3–4 |
| Middle frame | 12 | 12 | Rose 1–8; white 9–12 |
| Outer frame | 36 | 6 | Rose 1–4; white 5–6 |
Make and measure one sample of every size before completing the full group. All squares share the same stitch and corner construction. Weave color-change ends into the matching color so they remain discreet when the shawl is folded.
Join the frames in order
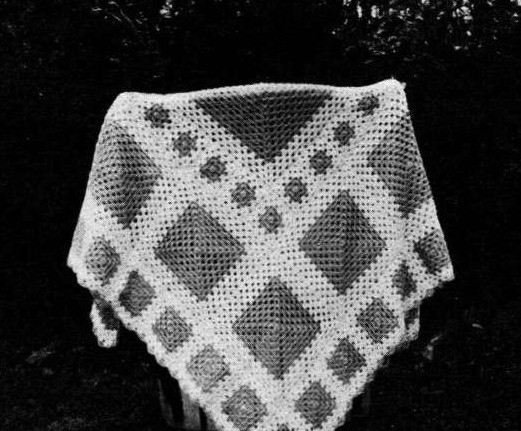
- First frame: sew two strips of four small squares and two strips of six. Attach the four-square strips to opposite sides of the center, then attach the six-square strips across the remaining two edges.
- Middle frame: join the twelve medium squares into two strips of two and two strips of four. Attach the shorter pair first, then the longer pair.
- Outer frame: join the thirty-six outer squares into two strips of eight and two strips of ten. Again, attach the shorter pair first and the longer pair last.
Lay each frame around the previous section before sewing. Match corners and group boundaries, and keep the seam tension flexible. The source gives an approximate 48-inch finished size, but its separate motif gauge can produce a different total after joining. Measure your own layout before adding the final frame; do not stretch smaller strips to force them into place.
Add the rose shell border
Join rose in a corner. Ch 3, then work 3 dc, ch 2, 4 dc in that corner. Along the side, alternate a sc in the next ch-1 space with a shell of (3 dc, ch 2, 3 dc) in the following ch-1 space. The source alternates corner treatments: work 3 sc in the next corner, an eight-dc split shell (4 dc, ch 2, 4 dc) in the next, then 3 sc in the final corner. Join to the starting ch 3 and fasten off. This alternating corner treatment is intentional in the original directions.
Weave remaining ends and block the square gently, keeping the seams straight. Fold along a diagonal to compare the drape with the source sample rather than trying to make the unfolded square look triangular.
Tips for a clean finish
- Label the four motif piles by round count; the 12-round middle squares are larger than the outer-frame squares.
- Finish complete strips before attaching them to avoid losing track of the corner squares.
- Check each frame flat before adding another so a joining error stays easy to correct.
Frequently asked questions
How many squares are needed altogether?
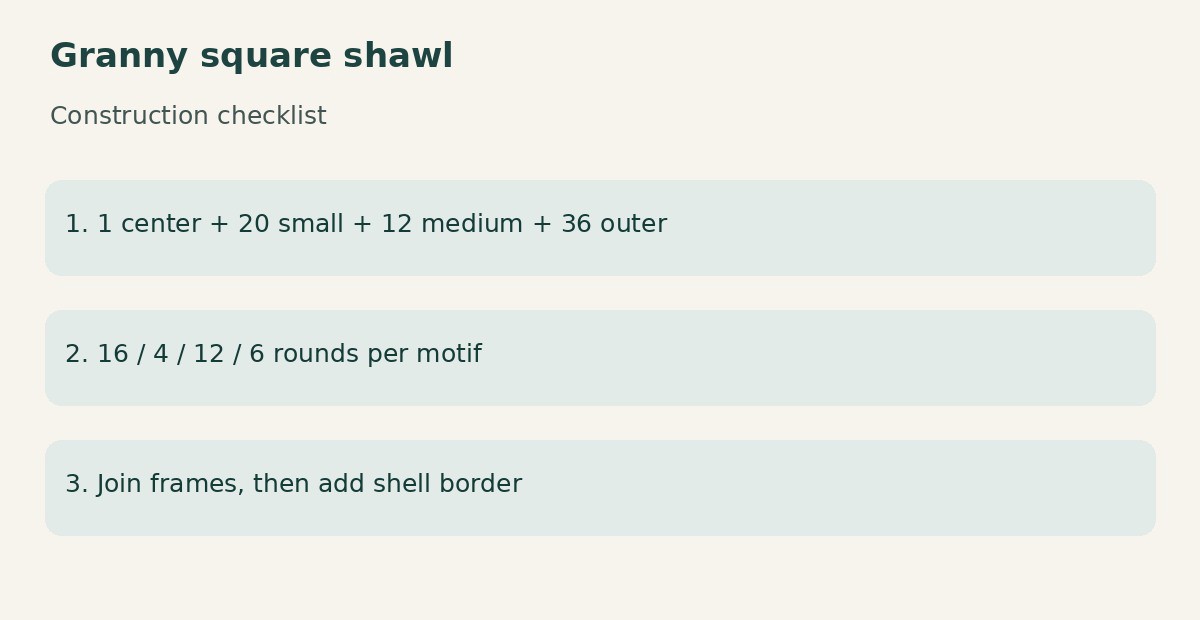
69: one center square, 20 small squares, 12 medium squares and 36 outer squares.
Why does the photograph look triangular?
The underlying piece is a square shawl. Folding it diagonally produces the triangular wearing shape.
More scarf and shawl ideas
Explore the Scarves & Shawls collection for more neckwear projects. Compare the yarn weight, width and construction before choosing your next pattern: an airy lace wrap and a dense winter scarf need different fabrics even when they use similar stitches.
Pattern source and credit
Based on Granny Square.pdf, Whole PDF. The readable source does not identify an individual designer. Photographs show the original source samples; construction checklists are editorial illustrations. The article reorganizes the source and adds practical explanations. Source ambiguities are identified where relevant; this is a document-based adaptation, not a claim of physical testing.
Open the original pattern in Drive to compare the instructions, source photographs and original layout.
Leave a Reply