
Kitty Hooded Scarf Crochet Pattern: Simple Cat-Ear Hood
· admin
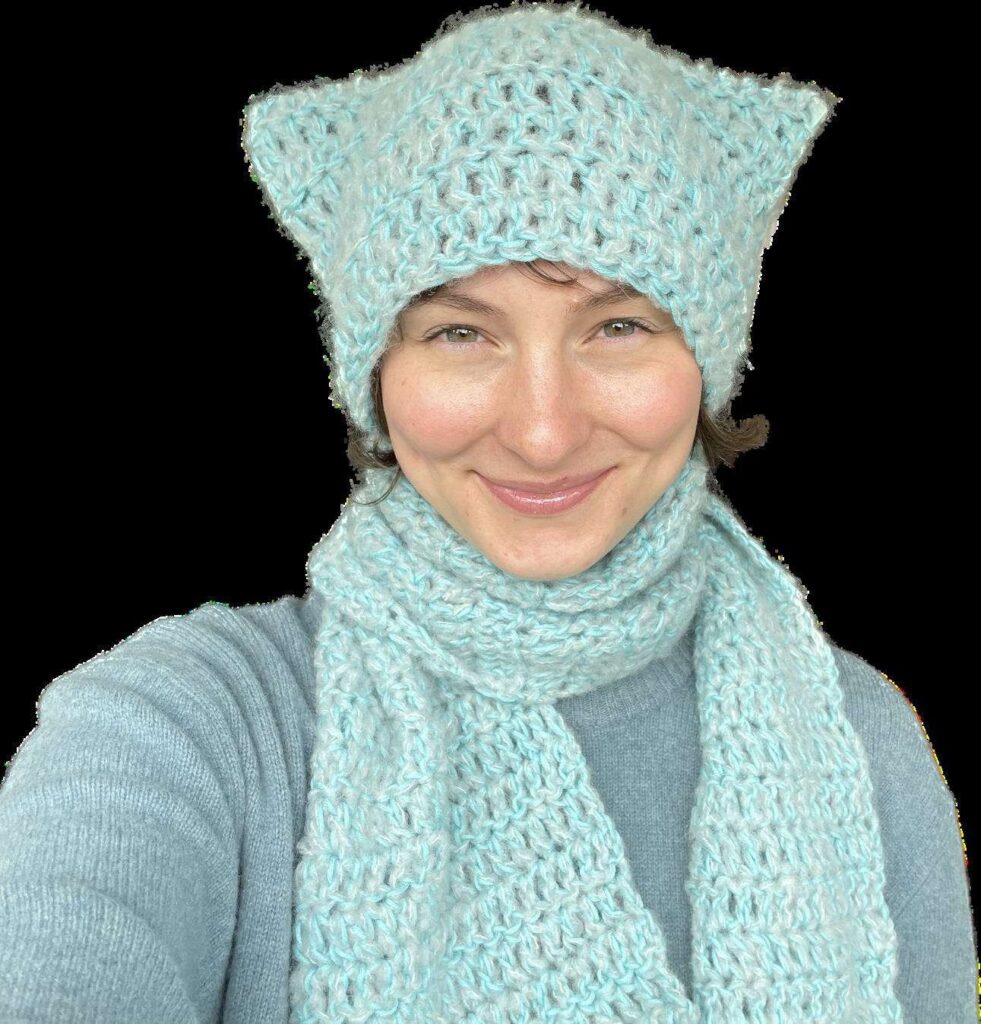
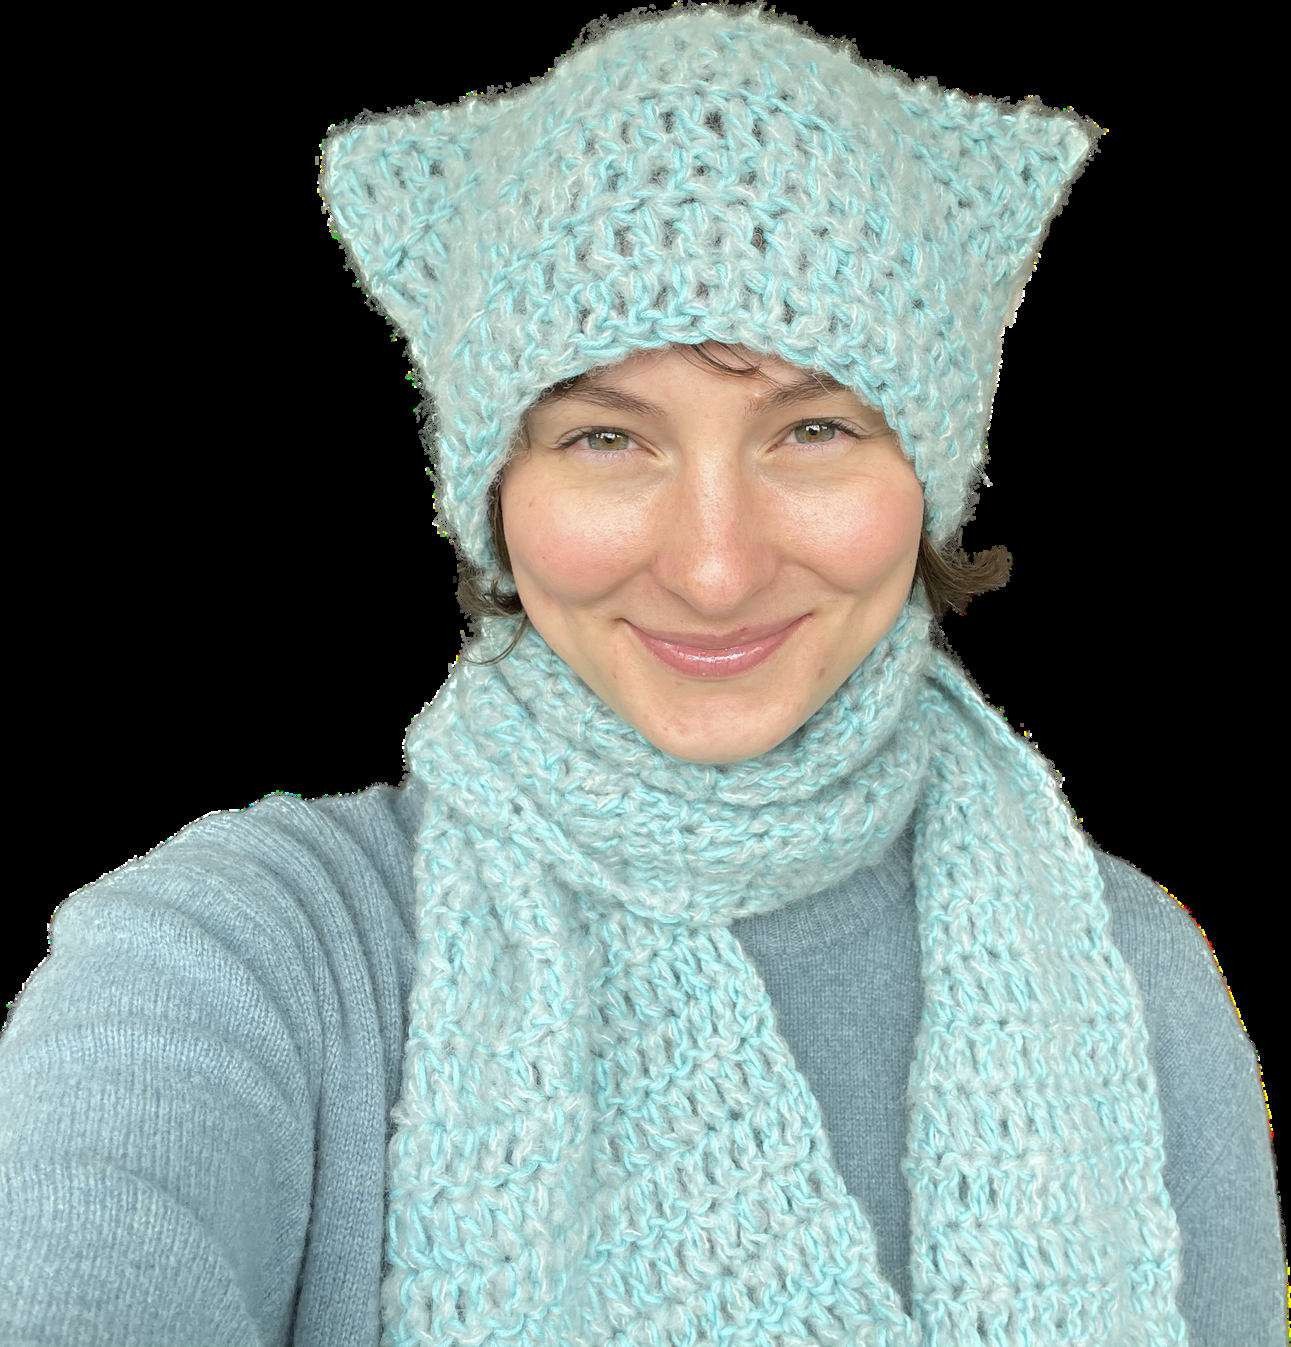
This kitty hooded scarf crochet pattern starts with an ordinary dc scarf, then adds a rectangular hood along one long edge. Folding and joining the hood creates the pointed cat-ear corners without separate ear pieces. The source is written to adapt to your own yarn, so the measurements are more useful than treating its sample stitch counts as universal.
Project at a glance
| Detail | Project information |
|---|---|
| Skill level | Easy rectangle construction |
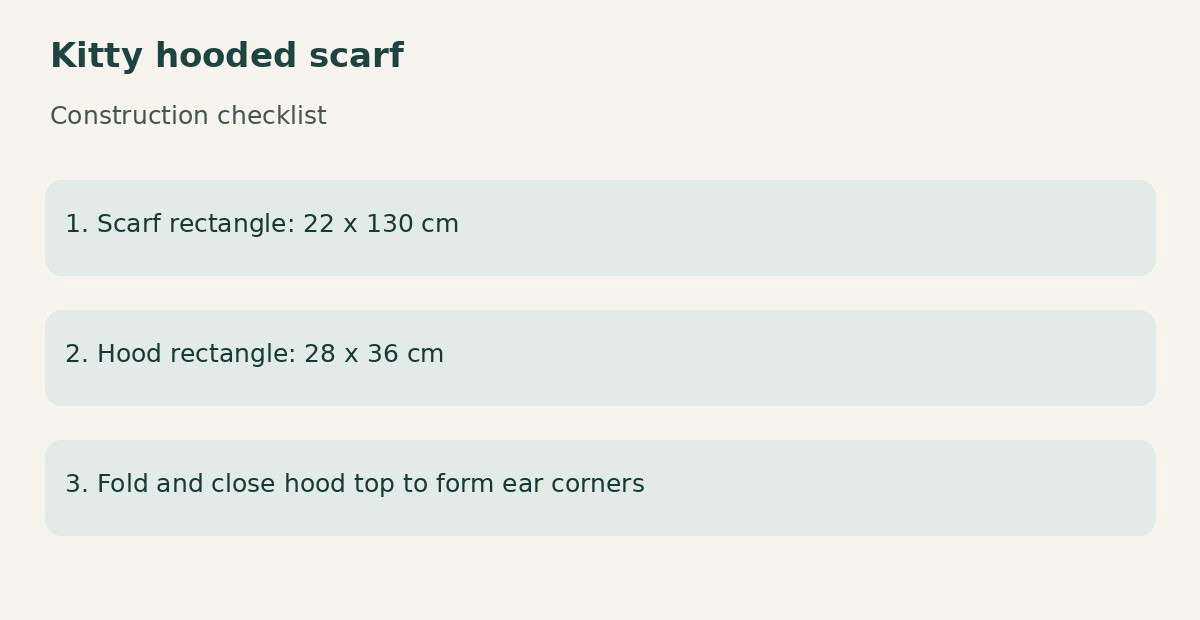
| Finished size | Sample scarf 22 × 130 cm; hood rectangle approximately 28 × 36 cm before folding |
| Technique | Crochet; US stitch terms in this article unless a source image is labeled otherwise |
| Construction | Follow the project stages below |
Materials and tools
- Yarn suitable for a soft scarf and hood; the sample holds two yarns together
- Source sample: Drops Cotton Merino with Brushed Alpaca Silk, about 3 skeins of each / approximately 300 g combined
- 7 mm hook for the source combination, or a hook suited to your chosen yarn
- Yarn needle, scissors and two removable markers
Stitches and pattern notes
ch = chain; sl st = slip stitch; sc = single crochet; hdc = half double crochet; dc = double crochet; tr = treble crochet; st = stitch; sp = space; RS/WS = right/wrong side. A bracket followed by × 3 means repeat the entire bracket three times.
The source allows different turning-chain conventions. This article consistently uses ch 2 as height only, not as a dc. Work one dc in every actual stitch, including the first and last. No fixed gauge is supplied: swatch and measure your chosen yarn combination before relying on the sample 20-stitch scarf width.
Crochet the scarf rectangle
Make enough chains for the desired width, then add two turning chains. The source sample uses 20 working stitches for approximately 22 cm. Dc in the third chain from the hook and across, giving 20 dc. Ch 2, turn and dc in every stitch. Continue until the scarf is about 130 cm long; the example uses approximately 65 rows. Fasten off and weave the ends securely.
For a different size, adjust the initial width and the measured length independently. A child’s scarf and an adult’s scarf should not automatically share the same length. Keep the fabric flexible enough to wrap, especially if you are using two strands together.
Place the hood markers
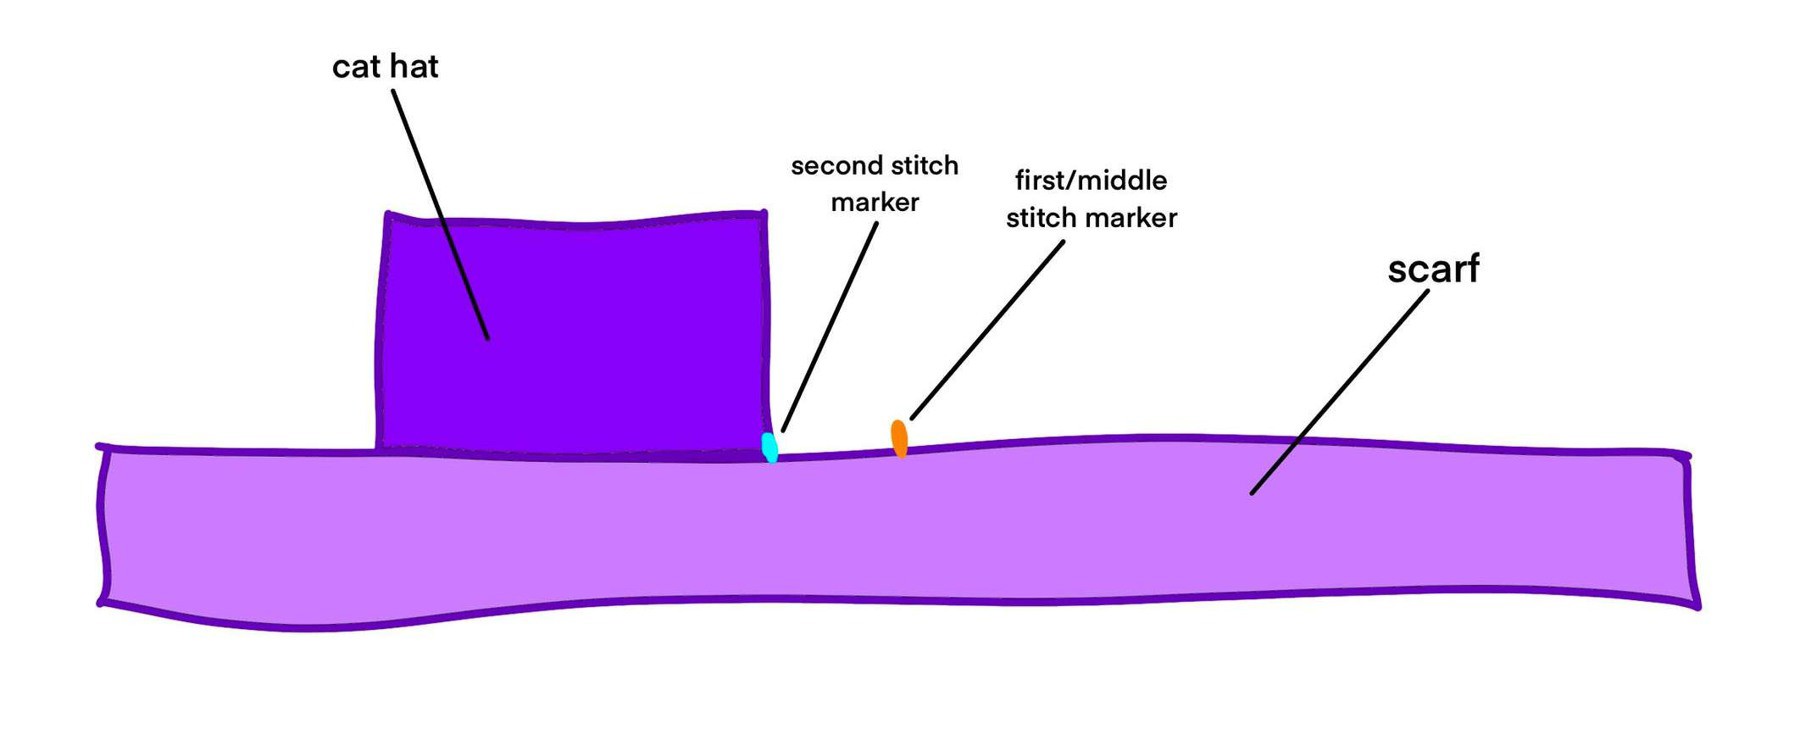
Lay the scarf flat and mark its midpoint. Place a second marker 11 cm to one side of the midpoint. This second marker is the hood starting point. Join yarn there and work along the scarf edge away from the midpoint marker. The source placement diagram shows the resulting hood slightly off-center along the scarf.
Build the hood rectangle
| Step | Instructions | Checkpoint |
|---|---|---|
| Hood setup | Work along approximately 28 cm of the scarf edge. The sample uses two dc per scarf-row end, across about 14 row ends. | About 28 dc in the sample |
| Hood rows | Ch 2 and turn; dc in every actual stitch. Keep both edges straight. | Same width each row |
| Hood height | Continue until the rectangle measures about 36 cm from its attachment edge. | About 18 rows in the sample |
The two-dc-per-row-end rule suits the source dc fabric, but your yarn may need an adjustment. Lay the attachment edge flat after several centimeters. If it waves, too many stitches may have been added; if it pulls the scarf inward, the edge may need more room. Match the measured 28 cm hood width instead of forcing a sample count into a different gauge.
Fold and close the hood
Fold the hood rectangle in half so its two upper edges meet, as shown by the dotted seam in the original pattern diagram. Join the top edge with slip stitches or a neat sewn seam, then turn the hood right side out. The two upper corners become the kitty-ear points. There are no separately crocheted ears to attach.
Try on the hood before securing the last seam tail. Check that the face opening is comfortable and that the scarf ends fall as intended. Weave in the ends, smooth the scarf and hood gently, and follow the yarn’s care instructions rather than flattening the pointed corners with heavy pressing.
Tips for a clean finish
- Mark the first and last dc of each hood row until the rectangle is established.
- Compare measured centimeters rather than copying row counts when changing yarn.
- Make the hood seam flexible; a tight seam can pull the cat-ear corners inward.
Frequently asked questions
Are the ears separate pieces?
No. The folded rectangular hood naturally creates two pointed upper corners.
Can I use one strand of yarn?
Yes. Choose a hook that makes a soft fabric, then swatch and use the target measurements to set your stitch and row counts.
More scarf and shawl ideas
Explore the Scarves & Shawls collection for more neckwear projects. Compare the yarn weight, width and construction before choosing your next pattern: an airy lace wrap and a dense winter scarf need different fabrics even when they use similar stitches.
Pattern source and credit
Based on Kitty Scarf.pdf, Whole PDF. The readable source does not identify an individual designer. Photographs show the original source samples; construction checklists are editorial illustrations. The article reorganizes the source and adds practical explanations. Source ambiguities are identified where relevant; this is a document-based adaptation, not a claim of physical testing.
Open the original pattern in Drive to compare the instructions, source photographs and original layout.
Leave a Reply