
Crochet Black-Eyed Susan Pattern with a Pot and Bumblebee
· admin
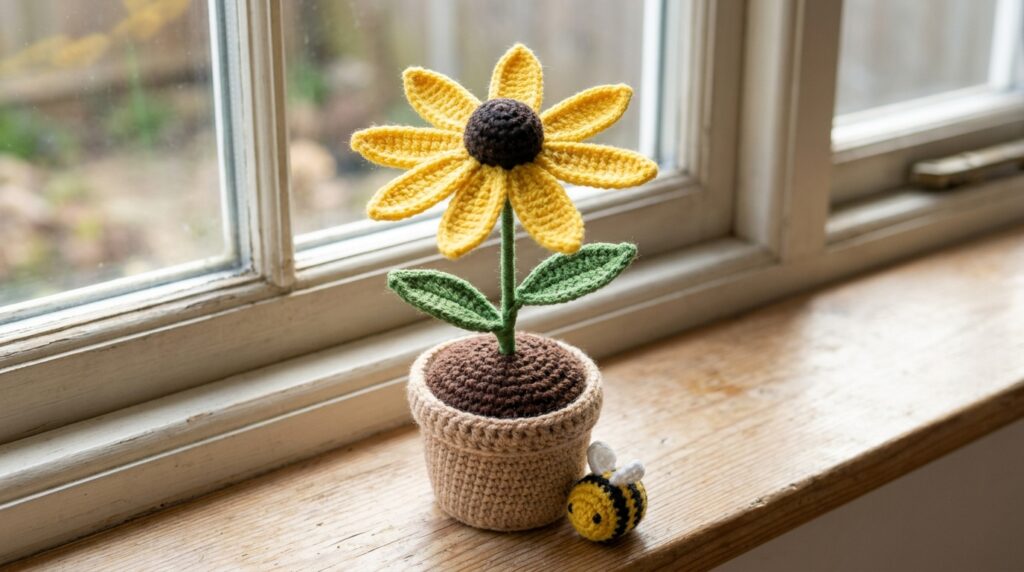
This crochet black-eyed Susan pattern makes a potted yellow flower with a dark raised center and a tiny bumblebee companion. The seven long petals are sewn around the center, two leaves balance the stem, and the flower fits into a stuffed soil insert inside a crocheted pot. The original Bumble Blossom design is by erinmaycrochet.
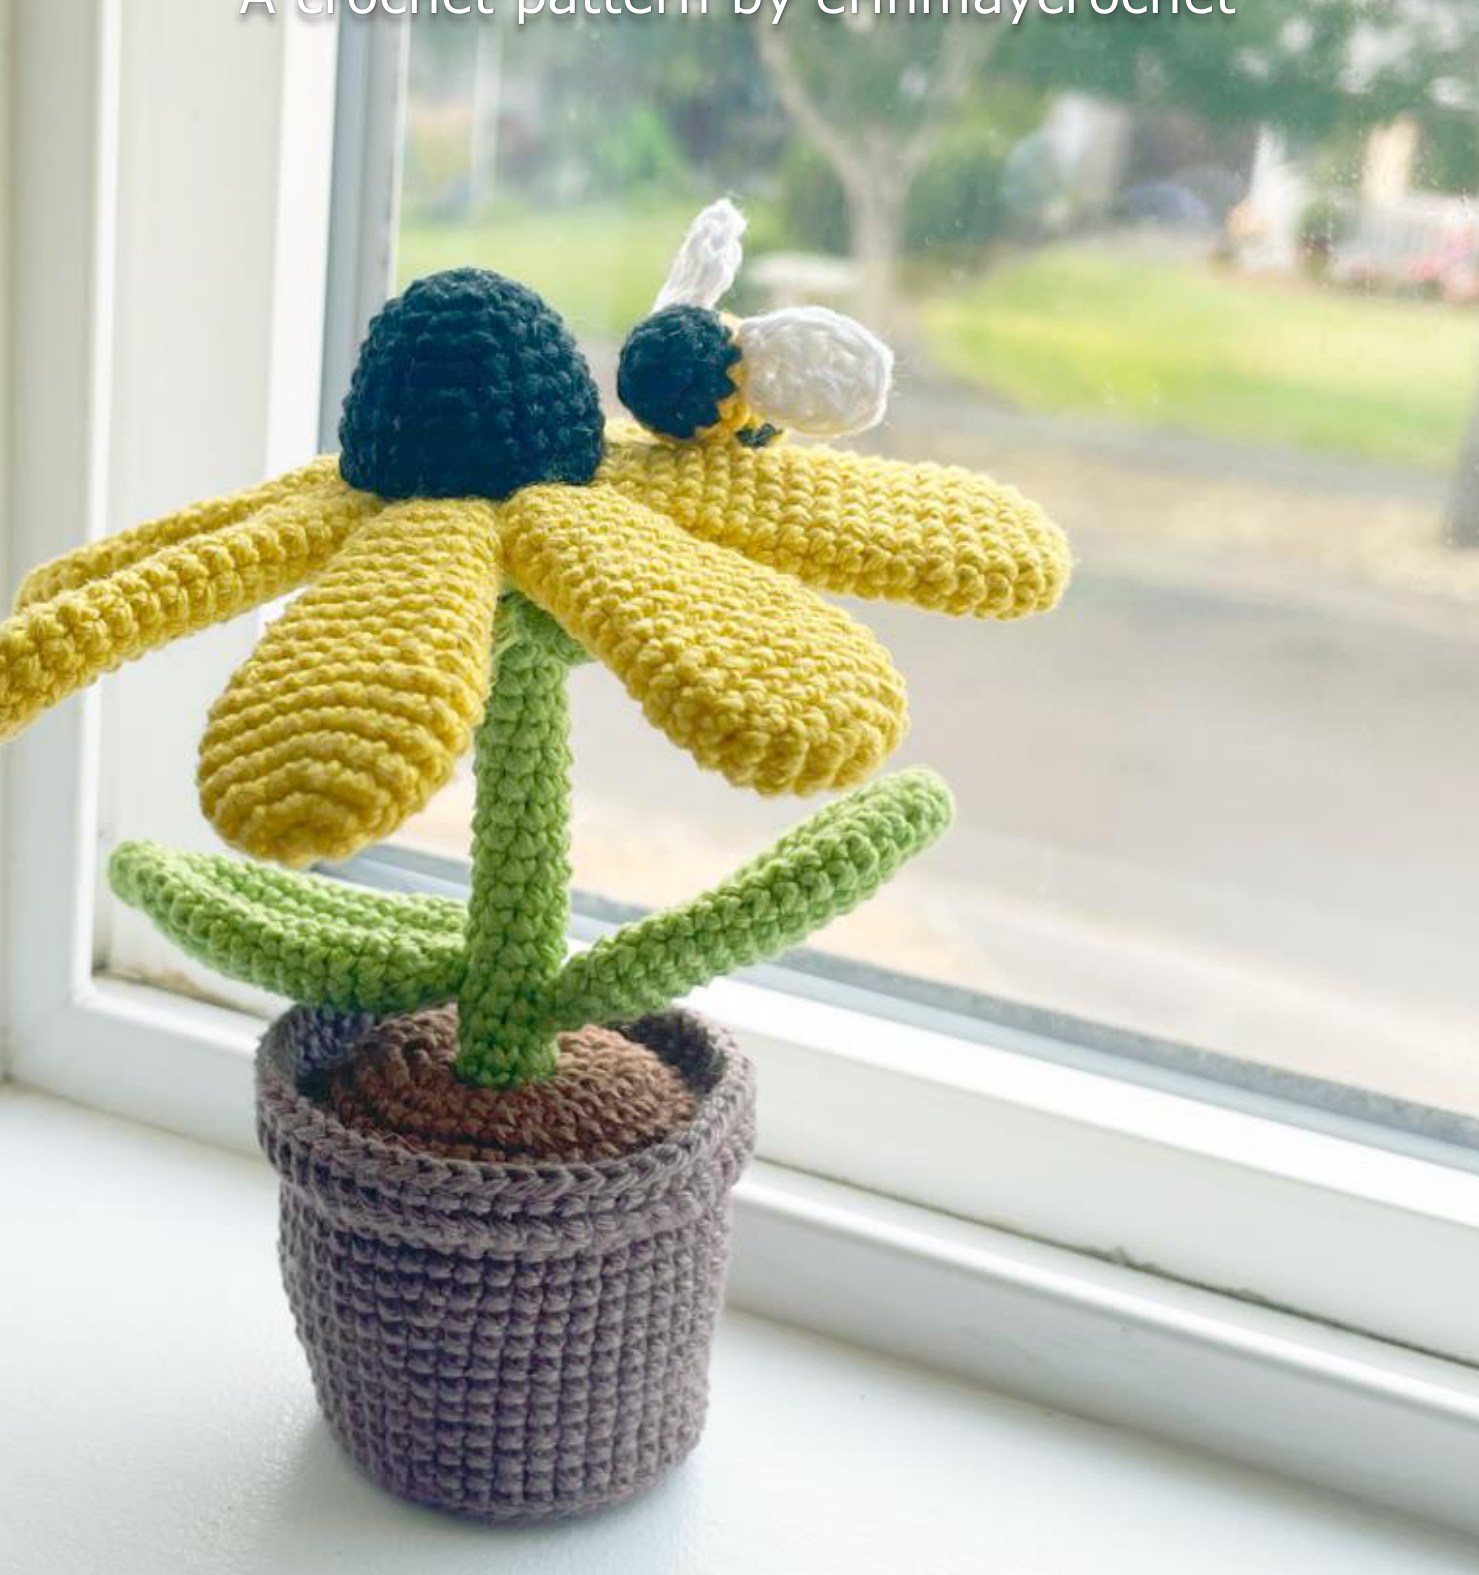
Crochet Black-Eyed Susan Pattern Materials
- Sport-weight yarn in green, yellow, black, white, brown and light brown; the source uses Schachenmayr Catania and less than one 125 m / 50 g ball of each color.
- A 2 mm hook, yarn needle, stitch marker and stuffing.
- A piece of cardboard to stabilize the pot base.
The source project measures approximately 12.5 cm tall and 10 cm across the petals. Match the yarn weight and hook if you want a similar scale; no separate numerical gauge is supplied.
Stitches and Pattern Notes
US terms are used here. Ch = chain, sl st = slip stitch, sc = single crochet, hdc = half double crochet, dc = double crochet, tr = treble crochet, MR = magic ring, inc = 2 stitches in one stitch, and dec = a decrease across two stitches. BLO means back loop only and FLO front loop only. Work the shaped pieces in rounds. Stitch totals appear in the right column. Leave sewing tails where assembly is required.
Stem and Sepals
| Round / step | Instructions | Count |
|---|---|---|
| 1 | Green yarn, 8 sc in MR. | 8 |
| 2-30 | Sc around; 29 rounds. Add stuffing from approximately Round 10 onward. | 8 |
| 31 | BLO, (sc, inc) 4 times. | 12 |
| 32 | Inc in every stitch. | 24 |
| 33 | (3 sc, inc) 6 times. | 30 |
| 34 | Sc around; fasten off invisibly. | 30 |
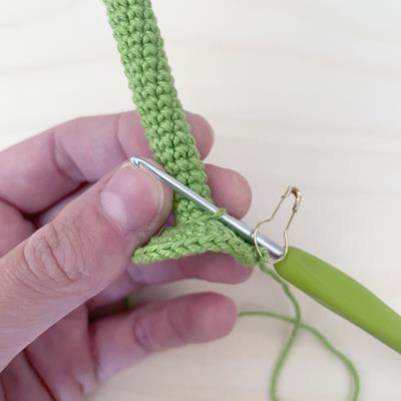
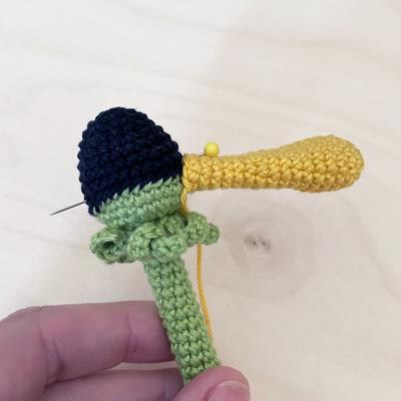
For the sepals, hold the stem with its bottom upward and rejoin green in the remaining loops of Round 31. Repeat twelve times: ch 9, work 8 sc back from the second chain, then sl st in the next remaining loop. Fasten off and hide the tails.
Black Flower Center
| Round / step | Instructions | Count |
|---|---|---|
| 1 | 6 sc in MR. | 6 |
| 2 | Inc around. | 12 |
| 3 | Sc around. | 12 |
| 4 | (sc, inc) 6 times. | 18 |
| 5 | Sc around. | 18 |
| 6 | (sc, inc, sc) 6 times. | 24 |
| 7 | Sc around. | 24 |
| 8 | (3 sc, inc) 6 times. | 30 |
| 9 | Sc around. Fasten off invisibly, retaining the sewing tail. | 30 |
Seven Yellow Petals
Make seven identical petals in yellow.
| Round / step | Instructions | Count |
|---|---|---|
| 1 | 6 sc in MR. | 6 |
| 2 | Inc around. | 12 |
| 3 | (sc, inc) 6 times. | 18 |
| 4-7 | Sc around for four rounds. | 18 |
| 8 | (2 sc, dec, 2 sc) 3 times. | 15 |
| 9-12 | Sc around for four rounds. | 15 |
| 13 | (3 sc, dec) 3 times. | 12 |
| 14-17 | Sc around for four rounds. | 12 |
| 18 | (sc, dec, sc) 3 times. Fasten off with a sewing tail. | 9 |
Two Green Leaves
| Round / step | Instructions | Count |
|---|---|---|
| 1 | 6 sc in MR. | 6 |
| 2 | Inc, 5 sc. | 7 |
| 3 | (sc, inc, sc) twice, sc. | 9 |
| 4 | (sc, inc, sc) 3 times. | 12 |
| 5 | (3 sc, inc) 3 times. | 15 |
| 6 | (2 sc, inc, 2 sc) 3 times. | 18 |
| 7-16 | Sc around for ten rounds. | 18 |
| 17 | (sc, dec) 6 times. | 12 |
| 18 | Dec 6 times. Fasten off with a sewing tail. | 6 |
Crochet the Light-Brown Pot
| Round / step | Instructions | Count |
|---|---|---|
| 1 | 6 sc in MR. | 6 |
| 2 | Inc around. | 12 |
| 3 | (sc, inc) 6 times. | 18 |
| 4 | (sc, inc, sc) 6 times. | 24 |
| 5 | (3 sc, inc) 6 times. | 30 |
| 6 | (2 sc, inc, 2 sc) 6 times. | 36 |
| 7 | (5 sc, inc) 6 times. | 42 |
| 8 | BLO, sc around. | 42 |
| 9-11 | Sc around for three rounds. | 42 |
| 12 | (13 sc, inc) 3 times. | 45 |
| 13-15 | Sc around for three rounds. | 45 |
| 16 | (7 sc, inc, 7 sc) 3 times. | 48 |
| 17-19 | Sc around for three rounds. | 48 |
| 20 | FLO, (7 dc, 2 dc in next stitch) 6 times. | 54 |
| 21 | Sc around. Fasten off invisibly. | 54 |
Soil Insert with a Stem Socket
Using brown, make the socket first: Round 1, 6 sc in MR; Round 2, inc around (12); Rounds 3-14, sc around (12). Fasten off invisibly. Hold the opening upward and rejoin brown to continue with the soil surface. Keep the wrong side of the stitches facing the underside of the soil.
| Round / step | Instructions | Count |
|---|---|---|
| 15 | (sc, inc) 6 times. | 18 |
| 16 | (sc, inc, sc) 6 times. | 24 |
| 17 | (3 sc, inc) 6 times. | 30 |
| 18 | (2 sc, inc, 2 sc) 6 times. | 36 |
| 19 | (5 sc, inc) 6 times. | 42 |
| 20 | (3 sc, inc, 3 sc) 6 times. Leave a sewing tail. | 48 |
Make the Bumblebee
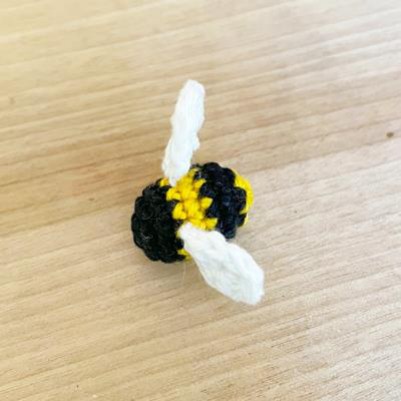
For the body, begin with black: 6 sc in MR, then 6 inc (12), then one round of 12 sc. Change to yellow for Rounds 4-5, 12 sc each. Change to black for Rounds 6-7, 12 sc each. Change to yellow for Round 8, dec 6 times. Fasten off and close the remaining stitches.
Make two white wings: ch 4; starting in the second chain, sc, hdc, 5 dc into the end chain, then hdc and sc along the other side. There are 9 stitches around the wing. Leave tails to sew each wing onto the body between Rounds 4 and 5.
Assemble the Flower and Pot
- Place the black center on the expanded top of the stem and sew around its edge, adding stuffing before the final stitches close.
- Pin seven petals around the seam between the center and stem. Sew each in place close to its neighbors.
- Sew the leaves to the stem around stem Round 11.
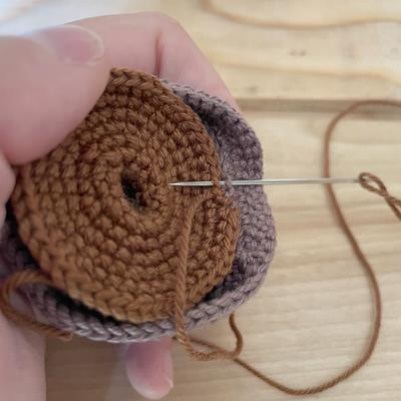
- Place cardboard inside the pot base. Sew the soil edge into the unused loops behind pot Round 20, adding stuffing before the last section closes.
- Check that the stem socket stays centered, then insert the flower and arrange the bee beside the bloom.
More Crochet Projects
For another project, try our crochet bluebell flowers or explore a wired crochet lily with buds.
Pattern and Photo Credits
Bumble Blossom: Black Eyed Susan by erinmaycrochet, copyright 2021. The original pattern and reference photographs are credited to erinmaycrochet. This is an editorial adaptation of the supplied pattern, with the original designer credited. Reference photographs show the source project.
Leave a Reply