
Easy Crochet Ribbed Cactus Pattern in Three Sizes
· admin
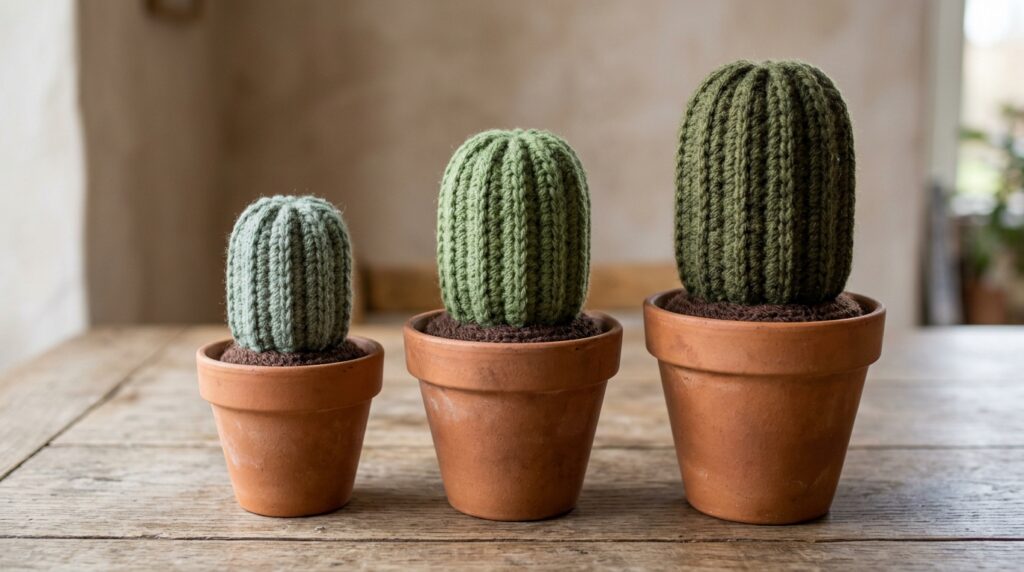
This crochet ribbed cactus is made from a small rectangle rather than a shaped spiral. Back-loop single crochet creates the ridges; joining the short ends turns the panel into a tube, and gathering the top produces the rounded cactus shape. The supplied design gives small, medium and large starting chains so you can make a group with different heights.
Crochet Ribbed Cactus Materials
- Worsted-weight yarn in cactus colors; the source uses Caron Simply Soft in Heather.
- A 3.25 mm crochet hook, size D/3.
- Polyester fiberfill, a darning needle and scissors.
- Small display pots sized to your finished cactus bodies.
Before you begin
Use US terms. Sc means single crochet, ch means chain and BLO means work in the back loop only. The source marks the design easy. Hook choice matters less than getting a close fabric that keeps stuffing inside. No finished dimensions or exact yarn quantity are provided, so choose the display pots after making the cactus bodies.
Choose a panel size
| Size | Foundation and first row | Stitches per row |
|---|---|---|
| Small | Ch 11; sc in the second chain from the hook and across. | 10 sc |
| Medium | Ch 16; sc in the second chain from the hook and across. | 15 sc |
| Large | Ch 21; sc in the second chain from the hook and across. | 20 sc |
Work the ribbing
Continue in rows of sc through the back loop only, maintaining the stitch count for the size you selected. Turn after each row and use a turning chain without counting it as a stitch. For the panel used here, work 18 rows in total, including the first row. Each row should have 10, 15 or 20 sc depending on size.
The number of stitches across the row controls the height of the cactus. The number of rows controls the distance around it once the panel is joined. Count the rows before closing the tube so all your cacti have a consistent construction.
Join and close the cactus
- Bring the foundation edge and final-row edge together. Sew them to form a ribbed tube. Work neatly along the seam so the ridges continue around the cactus.
- Thread a yarn tail through the upper edge of every other row. Pass the tail through those stitches two or three times and draw the opening closed. Secure the gathered end.
- Fill the body with polyester stuffing. Add it gradually so the top is rounded and the sides stay ribbed.
- Gather the lower opening using the same method. Secure the tail and weave it into the body.
Set up the potted display
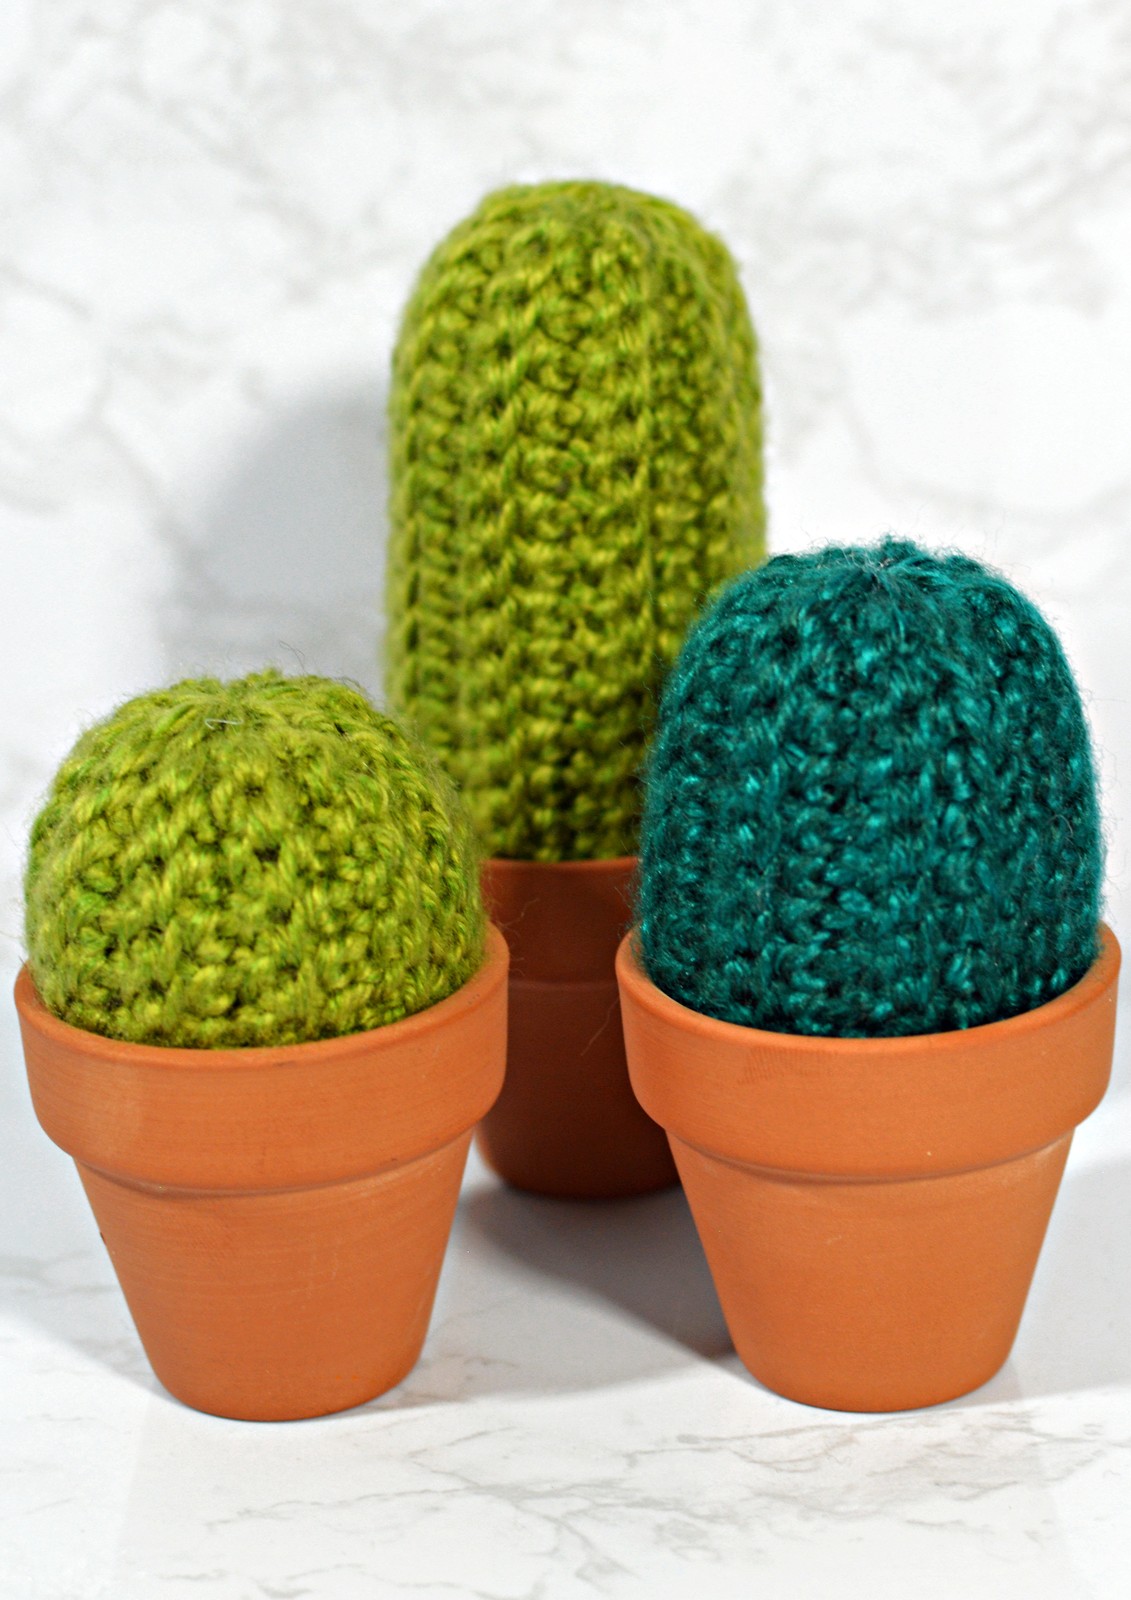
Sit each completed cactus in a small pot that supports its lower section. Make a group using the three panel sizes and more than one green shade if desired. The source mentions adding a flower but does not include a separate flower pattern; the cactus bodies shown here are complete without that optional decoration.
Check the outline before finishing: a rounded top and straight lower section will help the cactus sit naturally in its display pot. Adjust the stuffing rather than stretching the top seam to change the shape.
Questions before you finish
Do I need increases and decreases?
The cactus body is shaped by sewing and gathering a flat panel. The supplied body instructions do not require increase or decrease rows.
Why are there three starting chains?
They give rows of 10, 15 or 20 sc, producing different body heights while using the same ribbed-panel method.
More Crochet Flowers and Plants
For another handmade botanical project, try our crochet bonsai tree pattern or crochet watermelon coleus plant.
Design credit
Original design and reference photographs: Codi Booher / Knit Grit. Find the designer or original tutorial. This article is an editorial adaptation of the supplied pattern.
Leave a Reply