
How to Crochet an Easy Rose: Free Pattern, PDF & Video
· admin
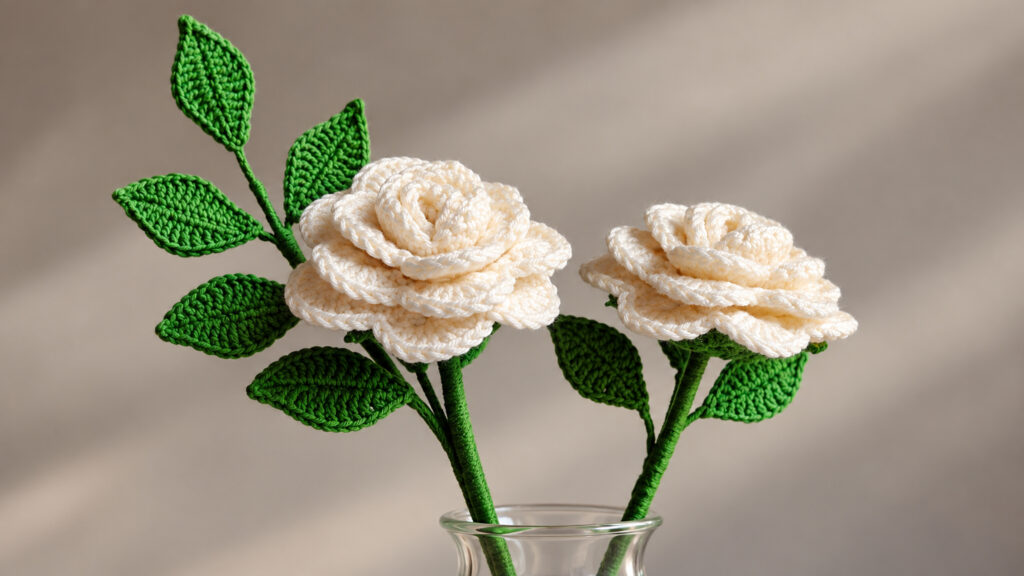
Make a full crochet rose with a scalloped petal strip, a five-point green calyx, shaped leaves and a wrapped stem. This step-by-step written companion follows Sahar Elkady’s Easy Rose video tutorial. It uses US crochet terms; the original close-up video is at the end, and you can download our free illustrated PDF after the instructions.
Pattern at a glance: 68 foundation chains · 67 single crochets · 22 open V stitches · 22 shells · 22 rounded petals · a 20-stitch calyx with five points · optional leaves built from 12 chains. The flower can be made in cream as shown or in your preferred rose color.
Materials
- Flower-color yarn. The original tutorial lists Himalaya Everyday Super Lux in cream, color 73402, with a 3.00 mm hook.
- Green yarn for the calyx, leaves and stem. The creator lists Alize Cotton Gold, color 126, with a 2.00 mm hook.
- Yarn needle, scissors, a bamboo stick or floral stem, thin floral wire, craft glue, and green wrapping tape or yarn.
These are the materials in the video description. If you substitute yarn, use a suitable hook and expect the finished rose and leaves to change size.
US crochet abbreviations
- MR: magic ring; ch: chain; st: stitch; sl st: slip stitch
- sc: single crochet; hdc: half double crochet; dc: double crochet
- tr: treble or triple crochet. The video captions write tc for this stitch; inc: two stitches in one stitch.
Step 1: Work the long petal foundation
With your flower-color yarn, make a slip knot and ch 68. Starting in the second chain from the hook, work 67 sc across. Ch 2 for the next row. Check the count now: the even foundation makes the later V stitches line up. The demonstration reaches this foundation around 0:55.
Step 2: Make 22 open V stitches
For Row 2, work one dc at the starting edge. Then repeat skip 2 stitches, (dc, ch 2, dc) in the next stitch a total of 22 times. Finish with ch 2 as the tutorial shows. Each V has a central ch-2 space that will hold the next row’s shell.
Checkpoint: count 22 ch-2 openings. Do not tighten the chain spaces too much or the petal strip may pull inward when you roll it.
Step 3: Build the 22 shells
In Row 3, work (2 dc, ch 2, 2 dc) in each V-stitch ch-2 opening. Repeat across all 22 openings and finish with ch 2. The new ch-2 space at the center of every shell gives you a clear place for the rounded petal in the next row.
Step 4: Crochet the rounded petal edge
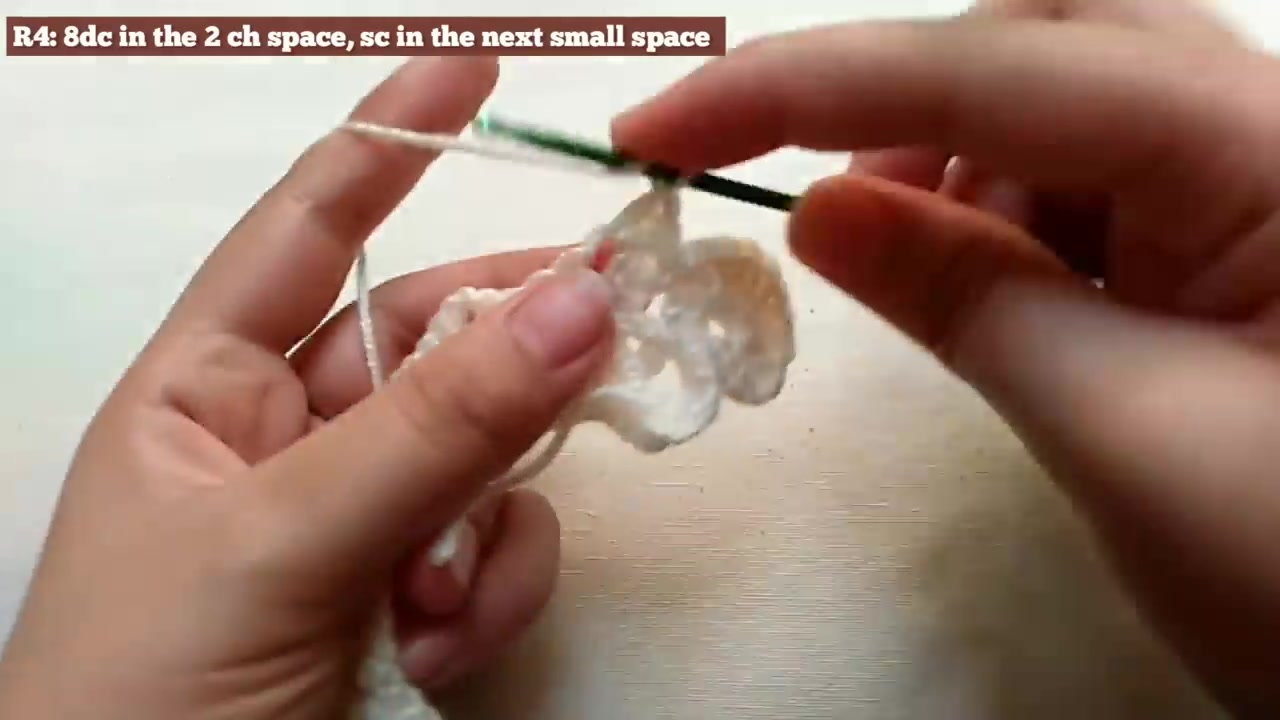
In Row 4, work 8 dc in each shell’s ch-2 space, followed by 1 sc in the small gap between shells. Repeat to create a line of 22 scallops. Finish with a sl st, cut the yarn and leave a long tail for fastening the rose. The close-up of this row begins near 7:30.
Step 5: Roll and secure the flower
Begin at one end of the narrow foundation edge. Roll the first few scallops closely to make a center bud, then continue wrapping the remaining strip around it. Let the outer scallops open a little more to form the outer petals. Keep the narrow foundation edge aligned underneath the flower.
Use the long tail to stitch through several layers on the underside so the spiral cannot unwind. Position the flower on a bamboo stick or floral stem as shown in the video. Pause around 11:45 to compare the rolling process with your work.
Step 6: Crochet the five-point green calyx
- Round 1: With green yarn, make a MR and work 10 hdc into it. Join with a sl st and ch 2.
- Round 2: Work two hdc into each stitch for 20 hdc. Join with a sl st and ch 2.
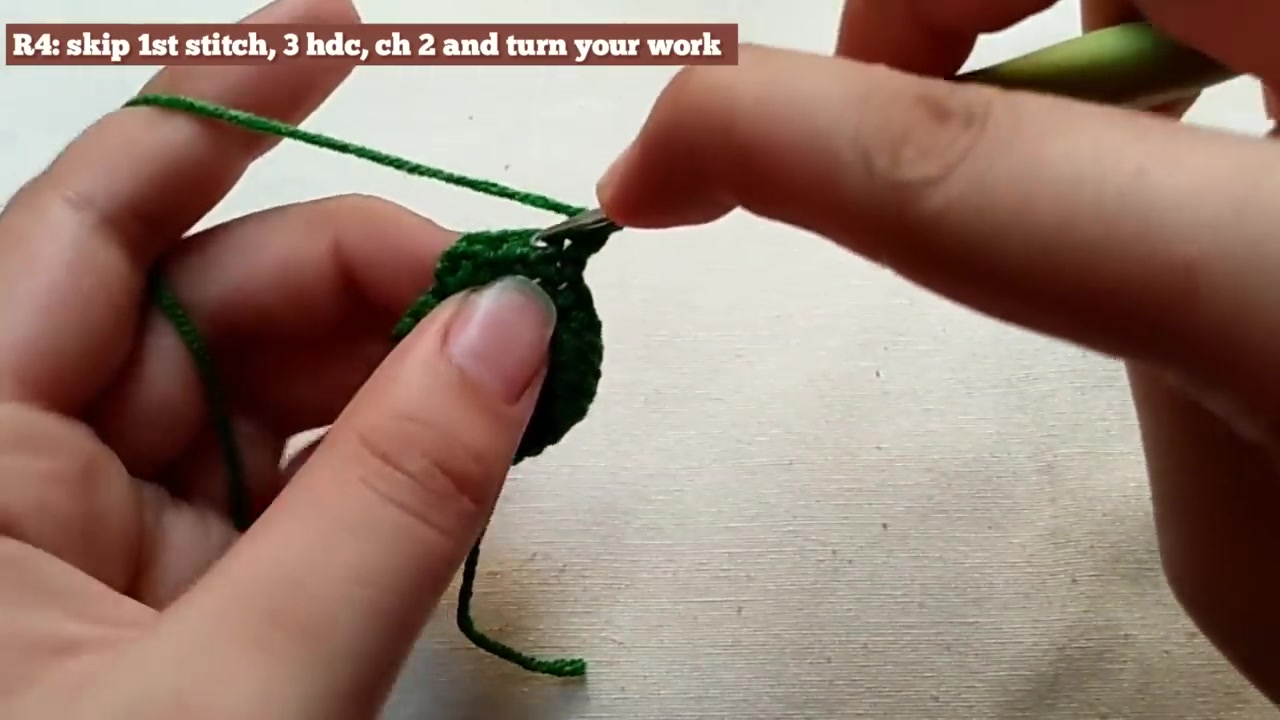
- One point: Work 4 hdc across the next four base stitches; ch 2 and turn. Skip the first stitch, work 3 hdc; ch 2 and turn. Skip the first, work 2 hdc; ch 2 and turn. Skip the first, work 1 hdc, ch 1 and fasten off.
- Rejoin at the next group of four base stitches and repeat until you have five tapered points. The 20-stitch circle divides into five groups of four.
Arrange the calyx below the rose so its points sit around the underside. The creator uses glue to attach it in the demonstration; secure it well before wrapping the stem.
Step 7: Crochet a pointed leaf
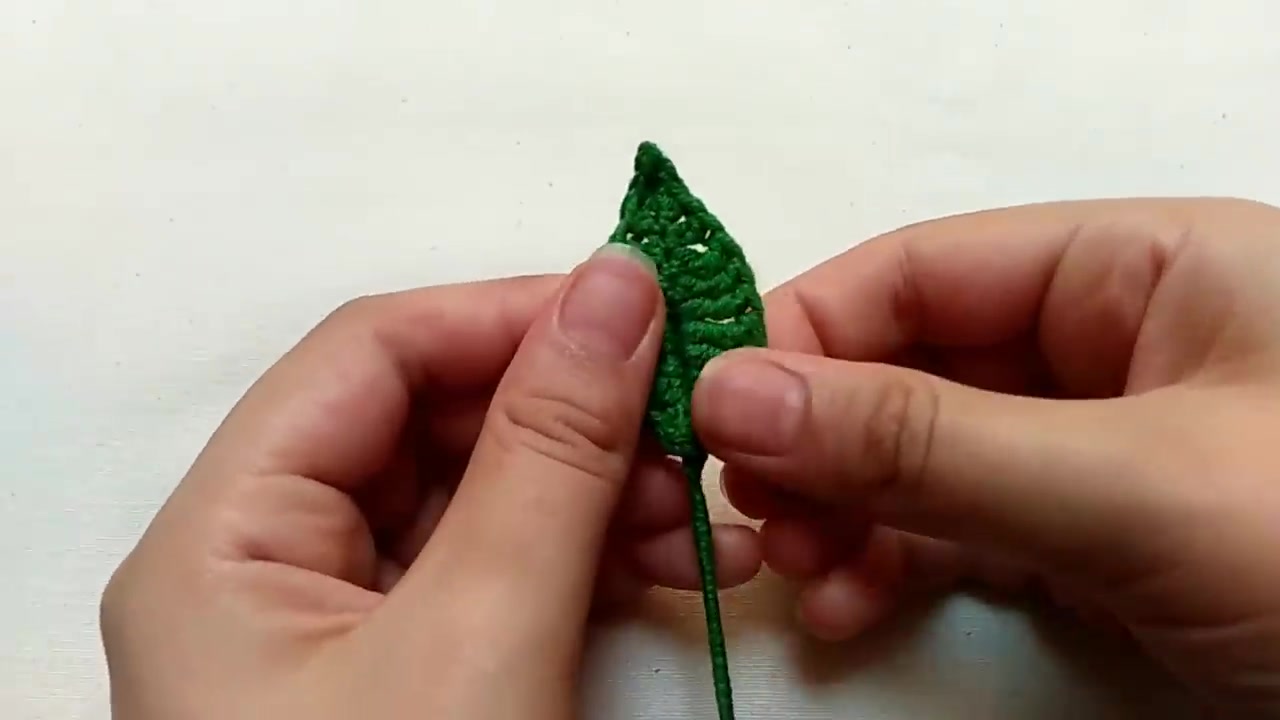
With green yarn, ch 12. From the second chain, the first side shown in the video is sc, hdc, dc, 5 tr, dc, hdc. The stitch heights rise and fall to make the leaf widest near the middle. At the end chain, the caption shows 2 sc, ch 1, sl st, sc to turn around the point. Work back along the opposite side with hdc, dc, 5 tr, dc, hdc, sc; finish with a sl st and ch 1.
The maker works with thin floral wire to hold the leaf’s shape. Repeat for more leaves. The close-up around 23:00–25:30 is useful for the exact hook placement at the tip and on the reverse side of the chain.
Step 8: Assemble the rose and wrap the stem
Fix the flower to the bamboo stick or stem, nest the five-point calyx underneath, and attach the leaves using their wire ends. Wrap the visible stem and joins with green tape or yarn. Tuck in or secure all loose ends. Adjust the petals and leaves until the flower looks balanced from the front and side.
Quick count check: 67 sc at the base; 22 V stitches; 22 shell spaces; 22 rounded scallops; 20 hdc in the calyx base; five calyx points.
Download the free illustrated rose PDF
Use the eight-page illustrated companion as you work. It includes the stitch counts, step photos from the video, calyx shaping, leaf instructions and assembly checkpoints. This written guide is an independent companion to Sahar Elkady’s tutorial.
Prefer to keep the pattern in your downloads? Get the free Easy Crochet Rose PDF product.
Watch the original Easy Rose video tutorial
Follow the complete demonstration by Sahar Elkady. The creator’s video shows the hook movements for the petals, green calyx, wired leaves and final stem assembly. All instructional screenshots above come from that video.
Leave a Reply