Aran Crochet Cushion Cover with Cables and a Button Back
· admin
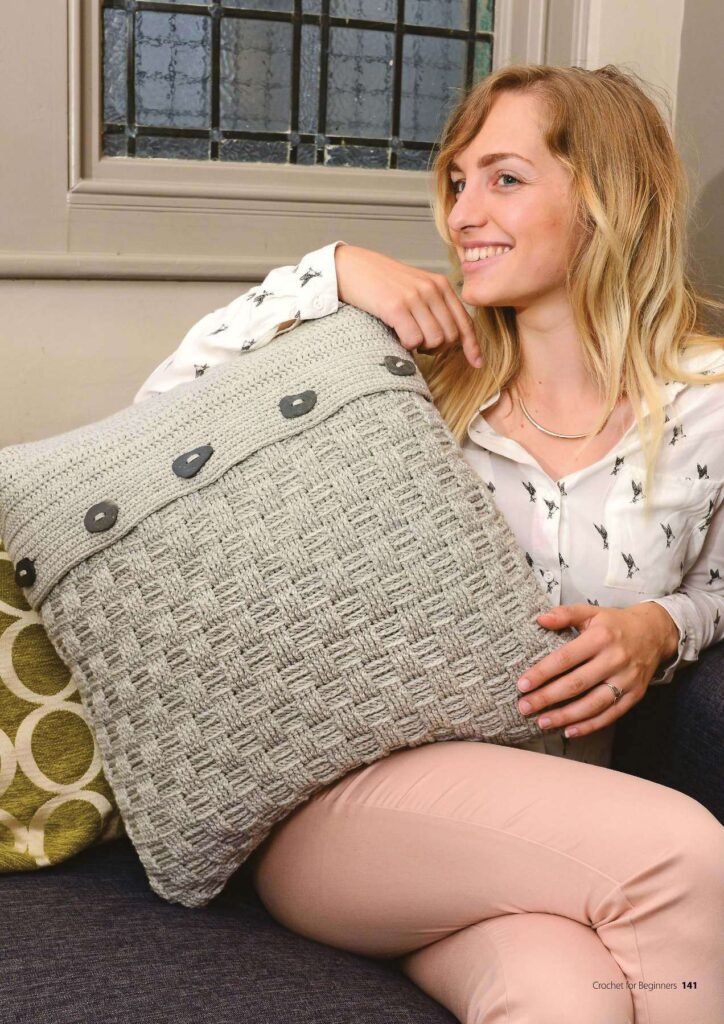
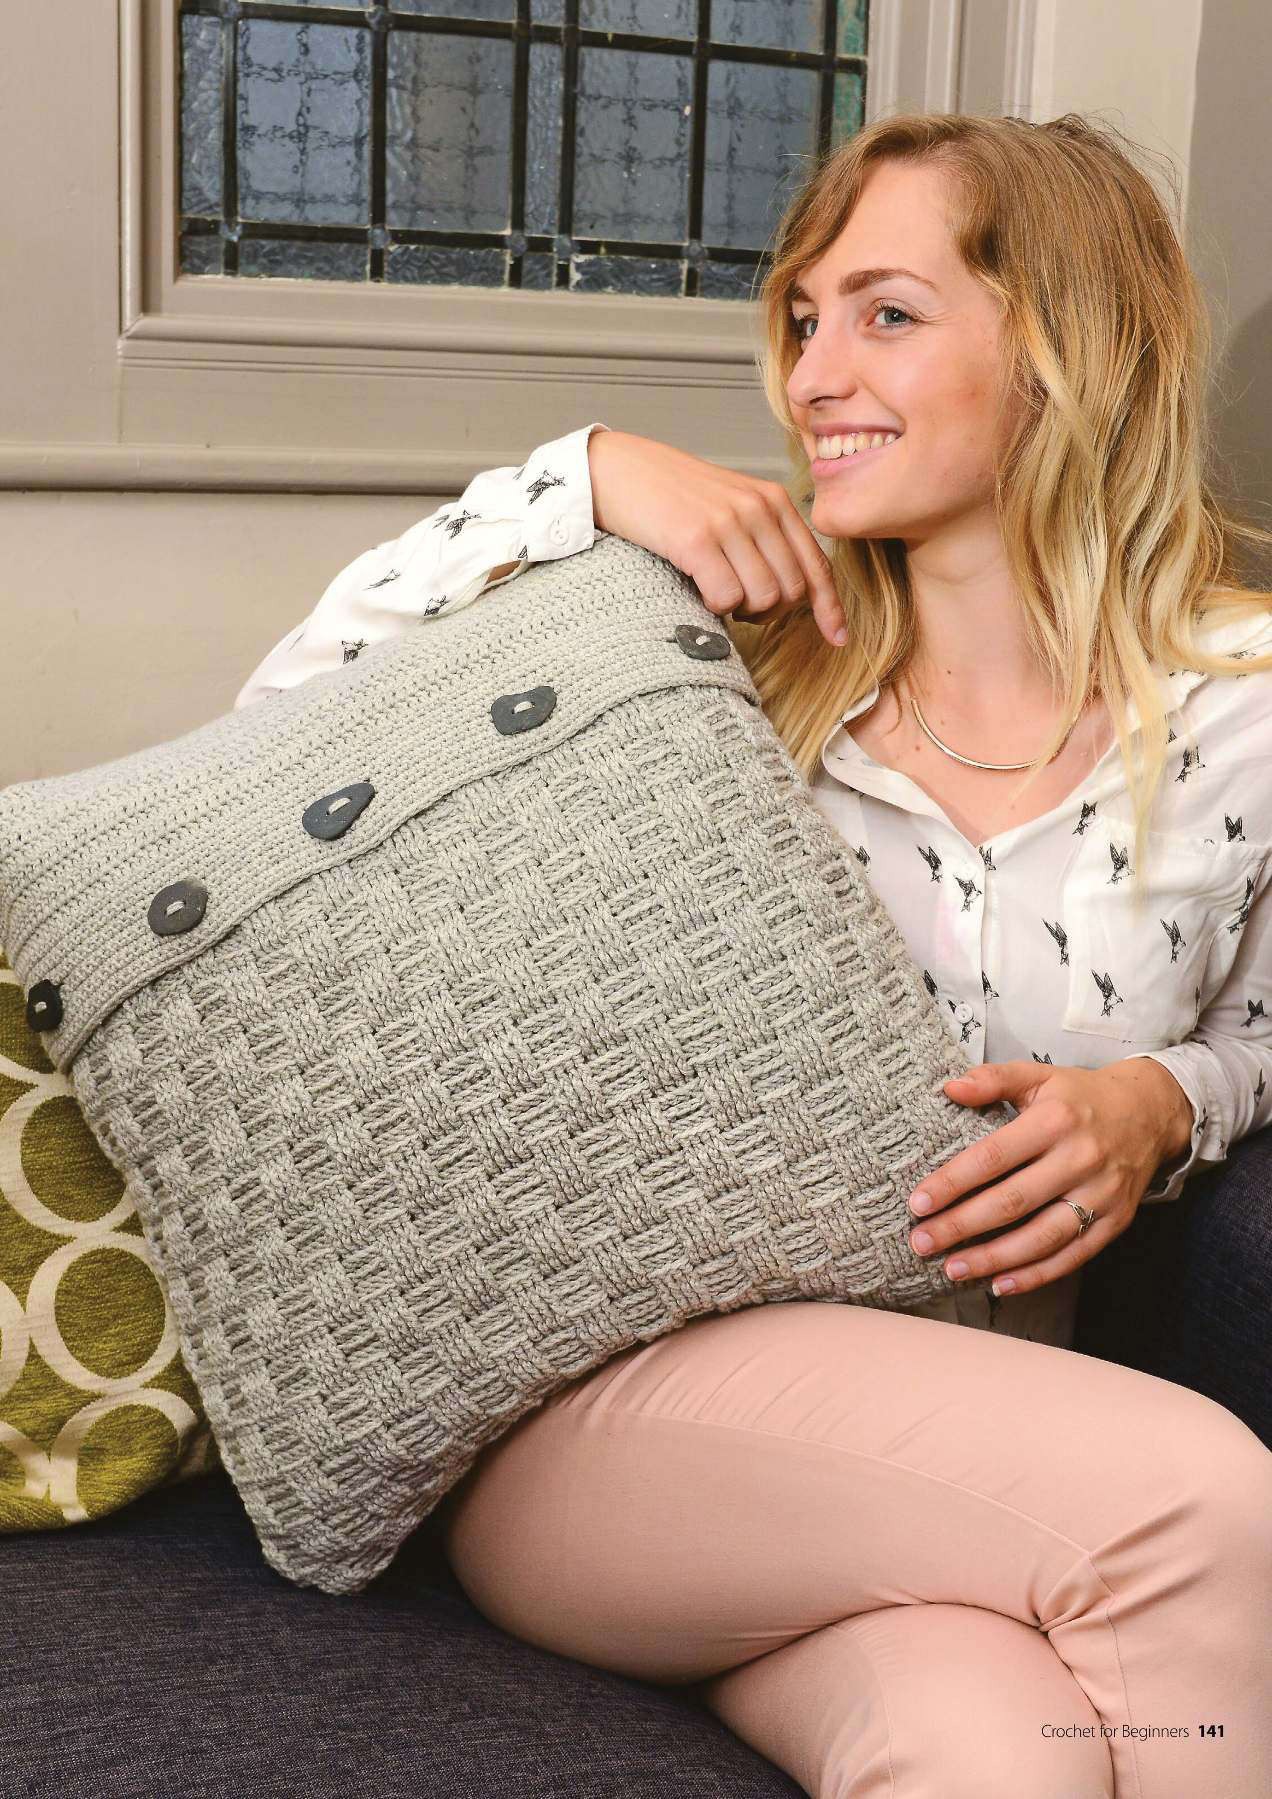
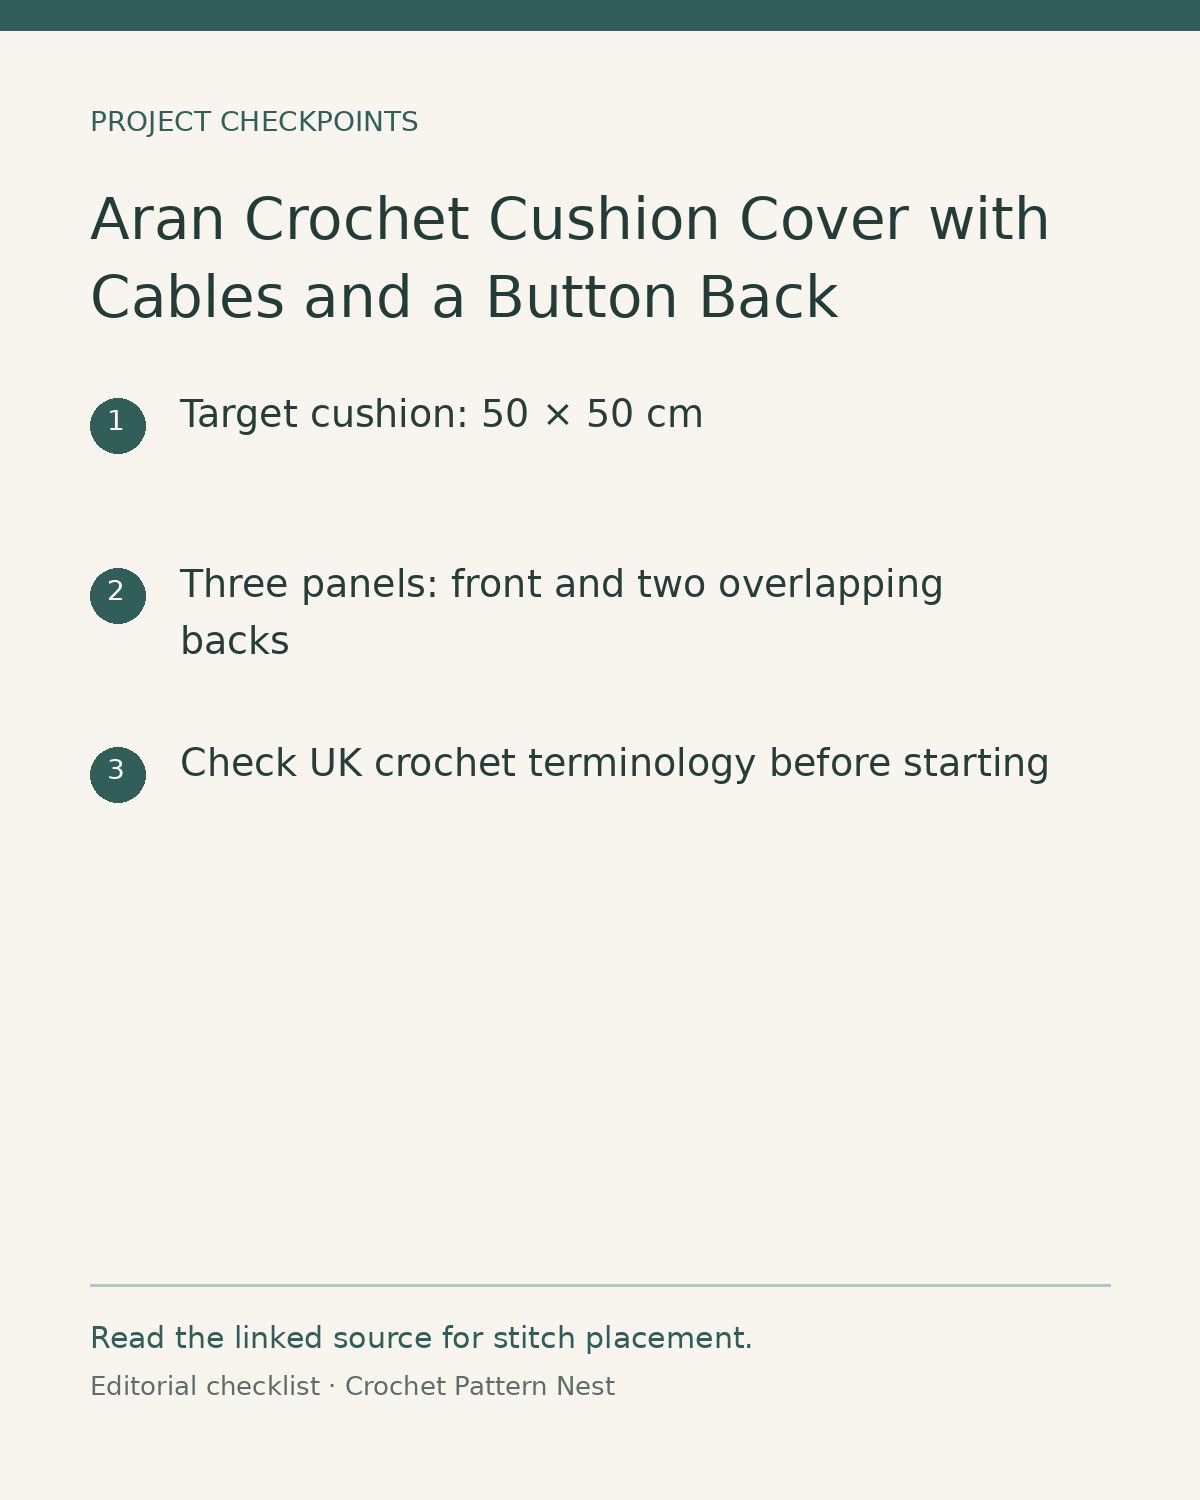
An Aran crochet cushion cover can bring cable-like texture to a sofa without knitting a single row. Donna Jones combines crossed post stitches and raised bobbles on the front, then uses a basketweave panel and a buttoned overlap on the back. It is a substantial textured project for a 50 cm square cushion. This construction guide maps the four source pages and explains the separate stitch gauges, panel counts and terminology that matter before you begin.
What to gather
The source uses Sublime Extra Fine Merino Worsted, 100% merino wool, in Salty Grey (010). It lists thirteen 50 g balls at 100 m / 109 yd per ball. You also need a 4.5 mm hook, a 50 × 50 cm cushion pad, locking markers, a tapestry needle and five 2.5 cm buttons with matching sewing thread.
Use the metric hook size when shopping: some of the printed US letter references are inconsistent. The materials specify a 50 cm cushion pad, equivalent to approximately 20 inches. The earlier measurement line’s 30-inch conversion is a printing error; it should not be used to select the insert.
Read the UK terminology first
The book uses UK crochet terms. UK dc corresponds to US single crochet, UK htr to US half double crochet, UK tr to US double crochet, and UK dtr to US treble crochet. Keep the original UK instructions beside you rather than translating one abbreviation differently in separate panels.
C2F crosses a pair of post stitches at the front. C6F crosses two groups of three. The MB bobble joins five partially completed tall stitches at the top. Work a small practice swatch with these operations before starting the full front, because a cable pulled too tightly can distort the surrounding fabric.
Swatch the two main fabrics
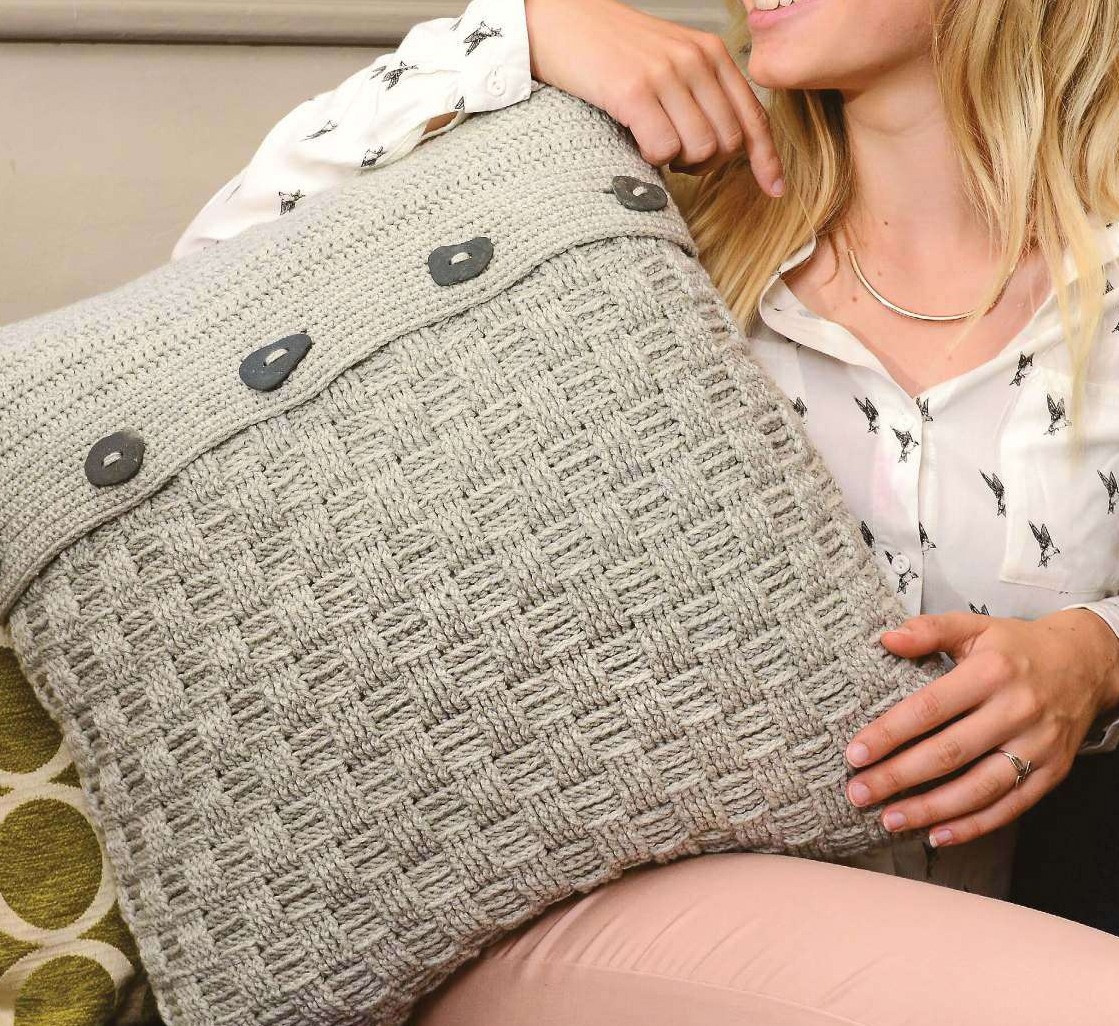
The source gives 16 stitches and nine rows per 10 cm over UK treble crochet. Its basketweave gauge is 18.5 stitches and 13.5 rows per 10 cm with the same 4.5 mm hook. Those are different fabrics and different gauges. The back therefore needs a different starting width in stitches from the cable front.
Plan the three panels
- Front: begin with ch 87. The foundation creates 85 counted stitches, including the turning-chain convention. The cable and bobble layout follows the twelve-row sequence on printed pages 140–142. The source completes three full repeats and another ten pattern rows, giving 46 pattern rows plus the foundation.
- Lower back: ch 96 for a 94-stitch foundation. Work the eight-row basketweave sequence, which alternates groups of front- and back-post stitches. After the first sequence, repeat it five more times, then work its first four rows.
- Upper back: ch 83 for 82 UK dc. The first section creates a firm button band with five four-chain buttonholes. The remaining section changes to taller stitches. Follow printed page 143 for this transition.
The exact cable placements and alternating post-stitch rows remain in the linked original. This article is a construction and source-reading guide, not a newly tested replacement for that detailed pattern. One special-stitch label in the source also describes a taller stitch inconsistently, so compare its definition with the surrounding row and seek designer clarification if the fabric does not match.
Block and assemble
Weave in the ends and block the panels according to the wool label. Let them dry fully before judging the fit. Mark the front sides approximately 19 cm from the top and the lower back approximately 7 cm from its top, as directed in the source. Arrange the back panels with an overlap, matching the outside edges to the front.
Pin the perimeter and check the button band before sewing. Seam the outer edges with right sides facing inward, turn through the back opening and sew each button opposite its hole. Test the cushion insert inside before making the button stitches permanent. A removable cover is easier to wash and reblock than a closed cushion with stuffing sewn directly inside.
Frequently asked questions
Is this pattern written in US crochet terms?
No. The source uses UK terms; the article includes a conversion guide to help you read it consistently.
What insert should I buy?
The specified insert is 50 × 50 cm, approximately 20 × 20 inches. The printed 30-inch conversion is inconsistent.
Why do the panels have different stitch counts?
The cable, basketweave and firm button-band fabrics have different stitch gauges. Their counts are designed for separate panels.
Original source and more crochet projects
Design credit: Donna Jones, Aran cushion cover; Crochet for Beginners, printed pages 140–143. This article explains the supplied source and its construction; it does not claim an independently tested sample. The photographs are from that source, and the checklist is an editorial reading aid.
Open the original pattern in Drive. Source location: Printed pages 140-143; PDF pages 136-139. Keep the original instructions and diagrams beside you when working the project.
For another project, explore Anima Floris crochet coasters, or Strand Basket pattern.
Leave a Reply