
Crossover Baby Cardigan: Crochet Construction Guide
· admin
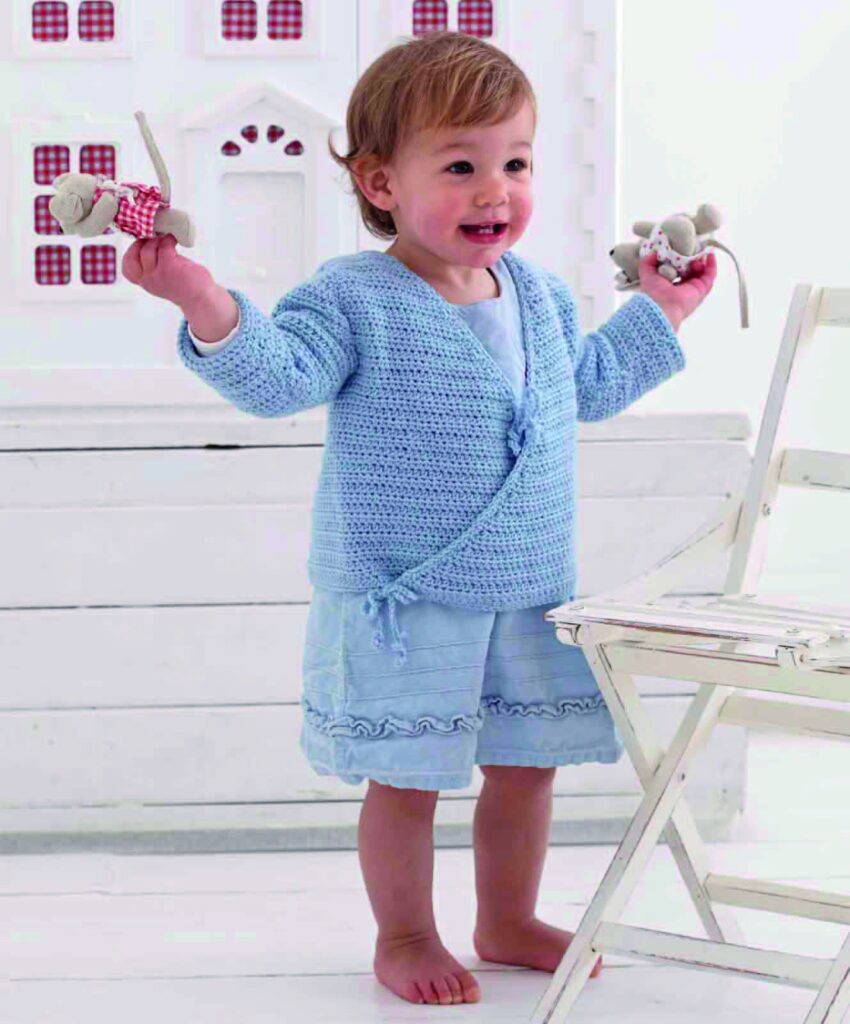
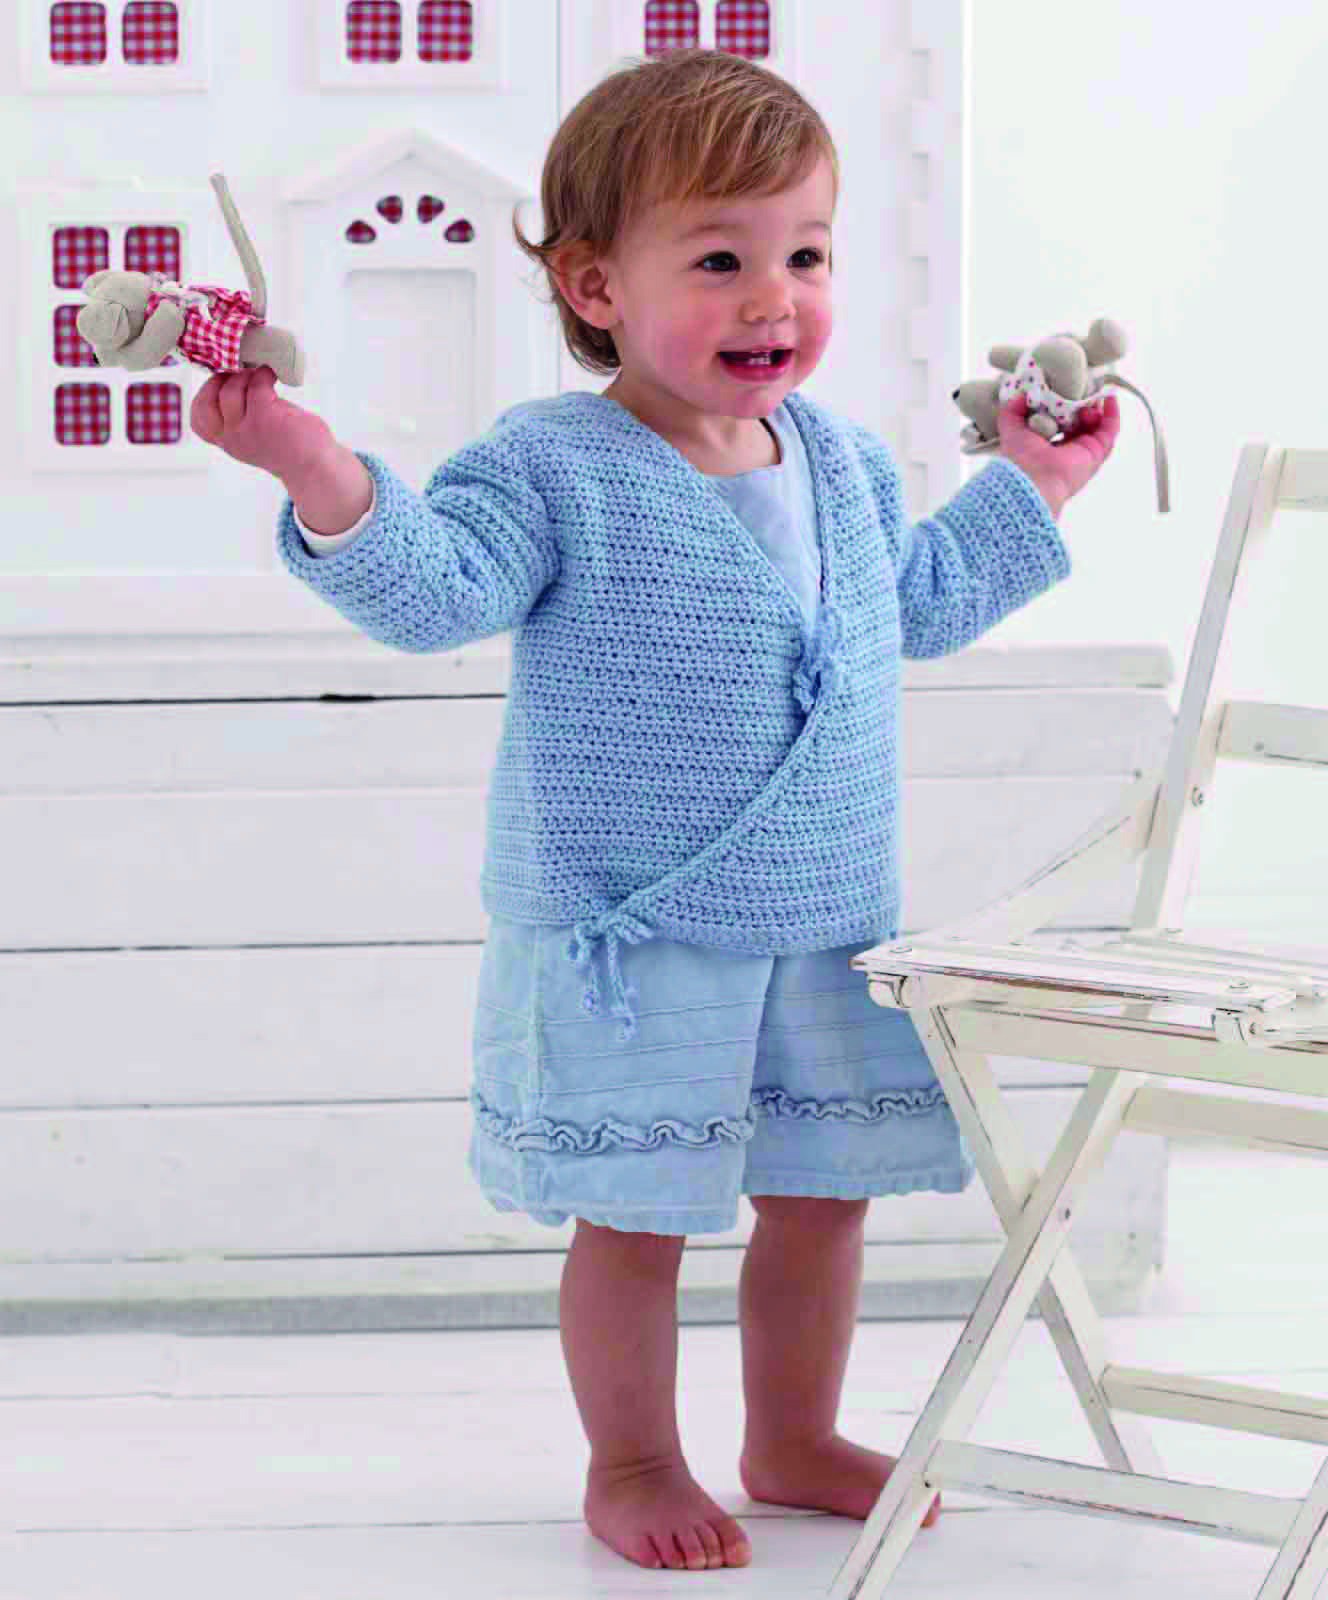
This crossover baby cardigan has two overlapping fronts and crocheted ties instead of a standard button band. The lower fronts and back begin together in one wide piece, then separate at the armholes. The source uses half double crochet for the dense fabric and separate sleeves. Several printed counts do not match their abbreviated decrease lines, so this article is a construction guide to read beside the original pattern.
Project details
| Skill level | Intermediate; check source count inconsistencies |
|---|---|
| Size | Source 12–18 months. |
| Hook | 4 mm |
| Source | Baby’s Crossover Cardigan, Crochet Colors Theory, printed pages 230–233 / PDF pages 232–235. |
Materials and gauge
Four balls of the source sport/fine wool-blend yarn, 4 mm hook, needle, markers or temporary sewing pins and scissors. Source sample: Debbie Bliss Baby Cashmerino, 125 m / 50 g. Gauge: 18 stitches × 13 rows per 10 cm.
Make a gauge sample first
The source gauge is eighteen stitches and thirteen rows per ten centimeters in the garment fabric. Its age label is twelve to eighteen months. Check the intended chest and arm length before starting; a broad wrap front should not be judged only by its flat lower width.
Use US terms. Hdc2tog combines two stitches into one by leaving five loops on the hook before closing. The source also omits or includes edge stitches around its turning chain in ways that affect some totals. Keep the actual stitches marked at both ends of the sample before applying the garment’s shaping sequence.
Understand the one-piece lower body
Chain 150 and work from the third chain for 148 hdc. The next row remains at 148. The source then gives shaping rows that reduce the piece toward a listed 108 stitches before the armhole division. However, an abbreviated hdc2tog alone removes one stitch while some printed totals fall by two. That discrepancy should be resolved against the original rows rather than silently adding a different decrease placement.
Mark the proposed divisions before continuing: the source front sections begin around twenty-five stitches, with four skipped stitches at each armhole and a forty-nine-stitch back. Lay the piece flat and identify its two outside slopes. The cardigan’s crossed fronts depend on those slopes, so a generic rectangle is not a substitute for the printed body.
Shape the fronts and back
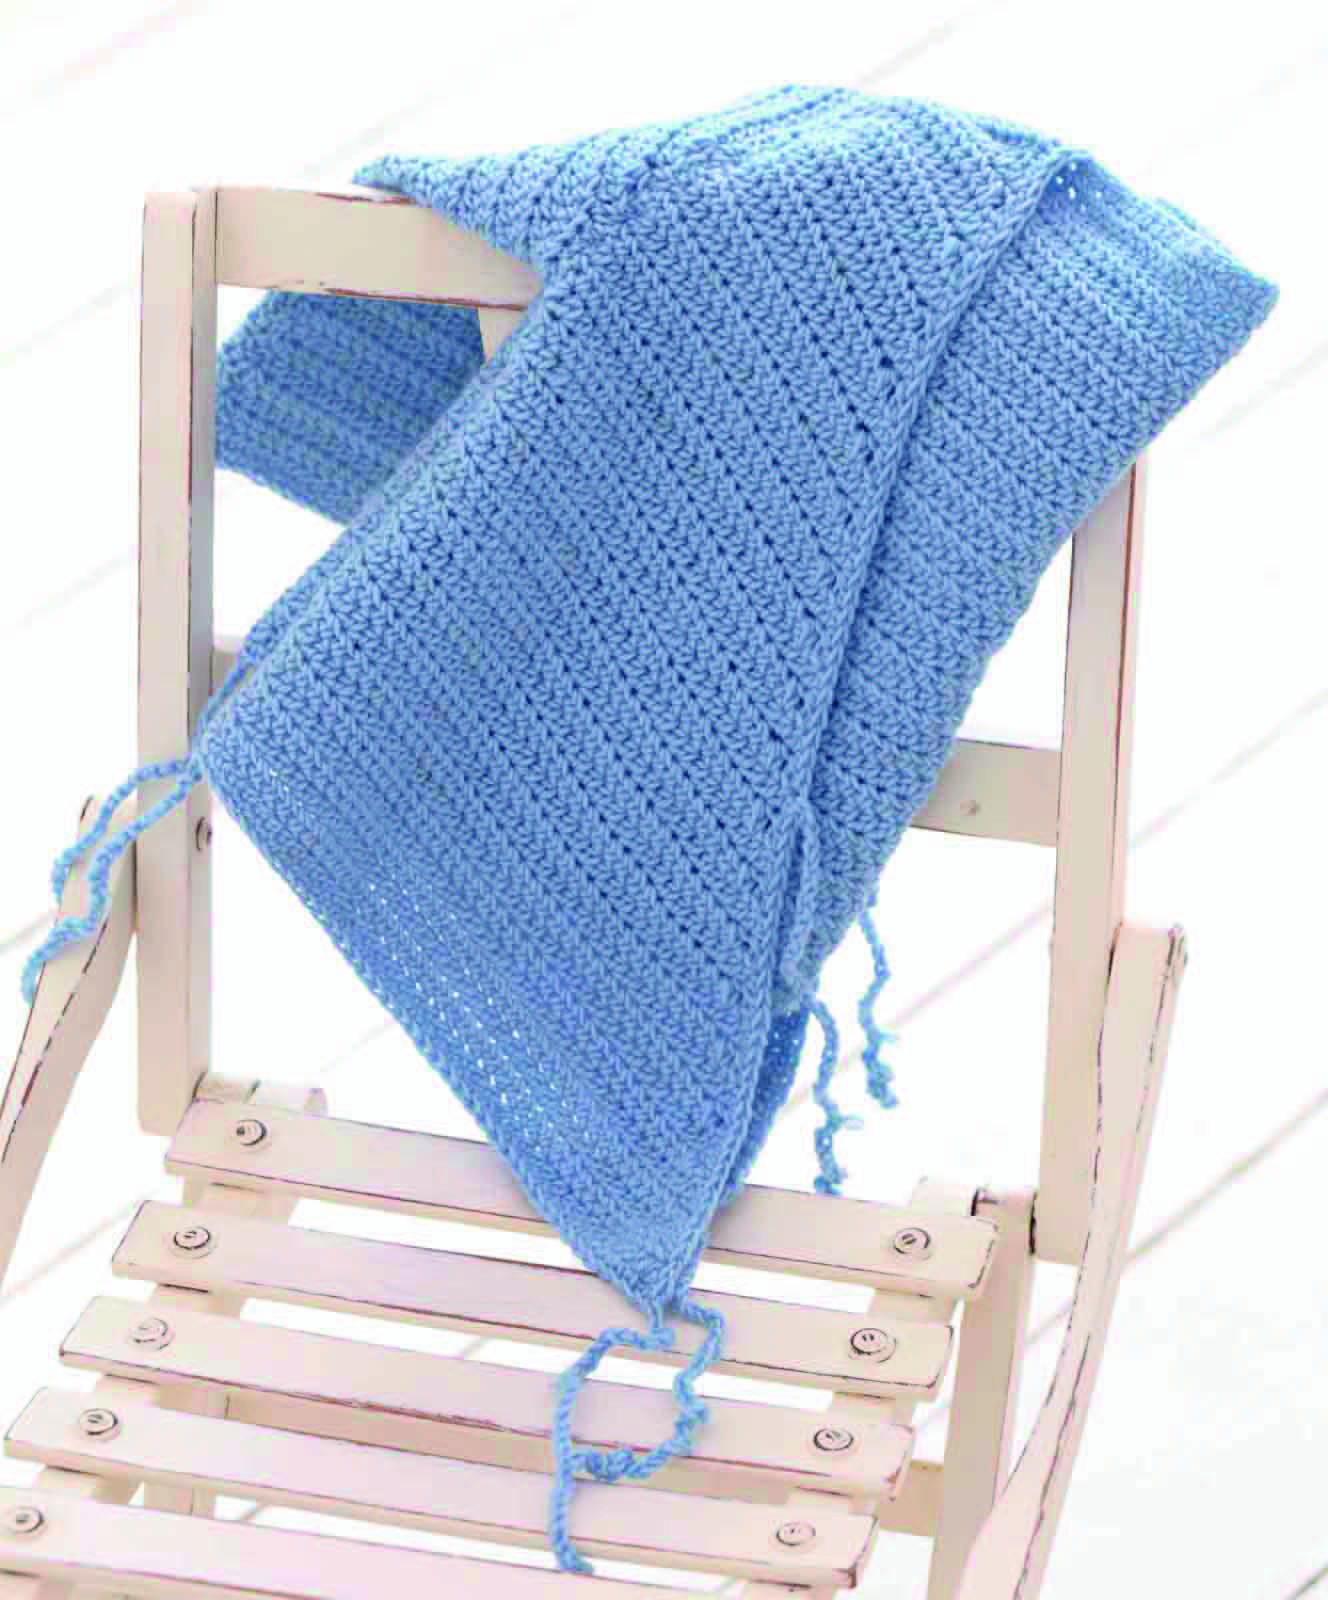
The first front alternates shaping and return rows until its shoulder is about eleven stitches wide. The back works straight at forty-nine stitches through row 38, then forms two ten-stitch shoulders with twenty-nine center stitches skipped for the neck. The second front mirrors the first, with its own turning-chain wording and a final shoulder line listed as ten stitches.
Those ten/eleven shoulder labels are another reason to compare the actual seam edges before sewing. Use the source’s two front sections separately instead of repeating the first front unchanged on the other side. This guide provides the structure and checkpoints, not an invented replacement grading chart.
Make the sleeves
Each sleeve begins with chain 31 and twenty-nine hdc. The source increases gradually through thirty-five stitches, then reaches thirty-seven and thirty-nine before sleeve-cap shaping. Row 27 slip stitches across six stitches before working the central cap section. Later rows taper that section toward twelve stitches.
Check the actual sleeve length and the armhole circumference together. A sleeve that reaches the right row number but is much wider than the opening will not set neatly. Leave long tails for the cap seams and keep the two sleeves flat beside each other while checking their shape.
Assemble, edge and position the ties
Sew the shoulders, close the sleeve seams and pin the caps into the armholes with the sleeve seam at the underarm and cap center at the shoulder. Ease the fabric evenly before whipstitching it in place. Work sc around the garment, using about three sc over two hdc row ends on the sloping fronts as specified in the source.
The source uses chain-forty ties at the lower front ends and further points where the fronts overlap. Position them only after trying the wrap arrangement flat. Secure their bases, keep them away from the neck opening and remove the garment for unattended sleep.
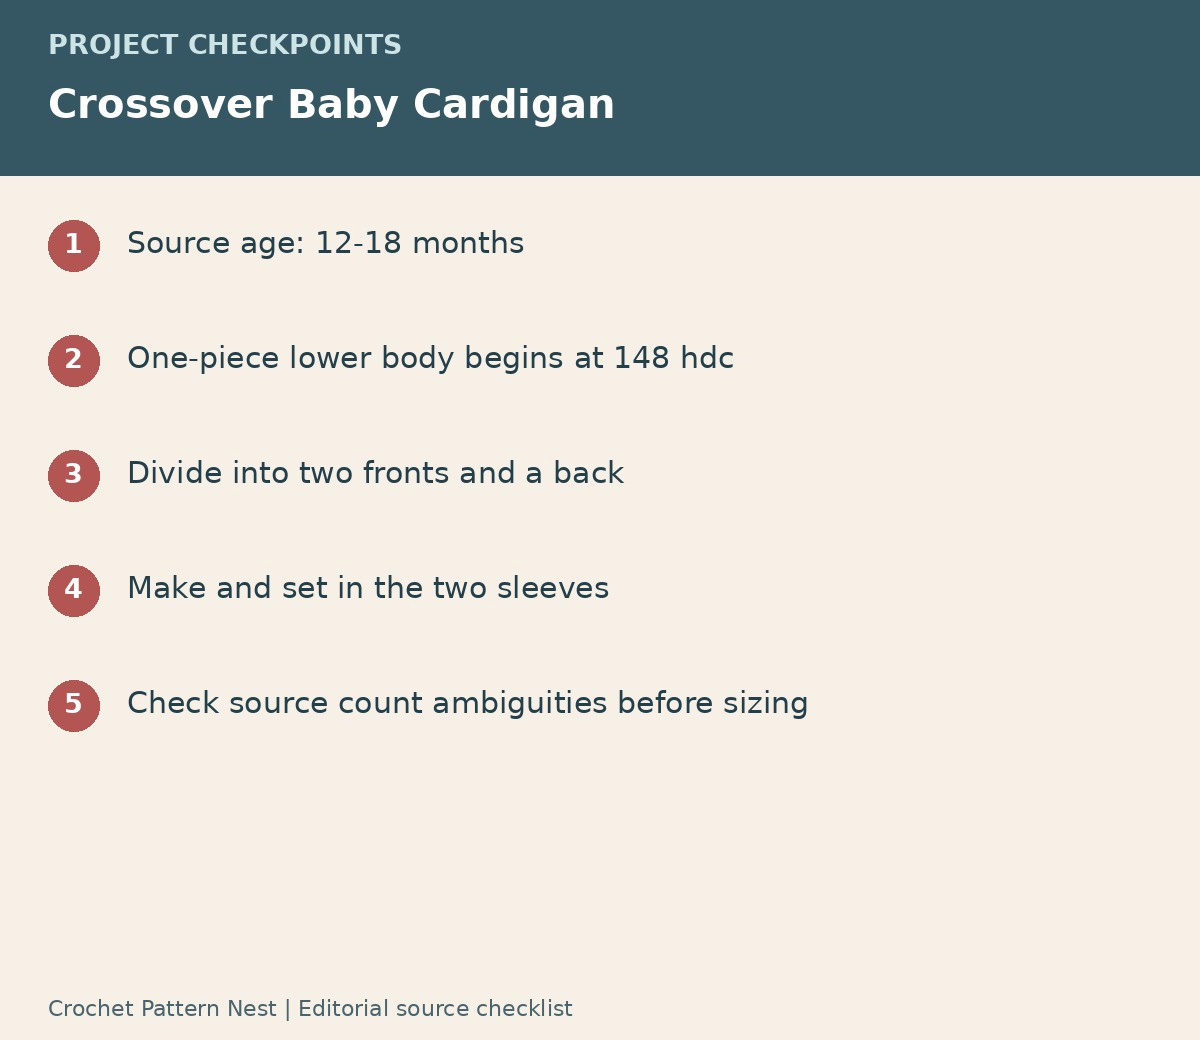
Record any resolved edge-count interpretation with your project. The photographs show the intended wrap shape, while the original rows remain necessary for the exact front and sleeve-cap sequence. Keeping that distinction clear prevents a construction guide from being mistaken for a fully corrected, physically tested pattern.
Frequently asked questions
Is the lower body made in separate panels?
No. It begins as one wide piece and divides into fronts and back at the armholes.
Why is this called a construction guide?
Some decrease lines and printed counts disagree. The guide identifies the structure and flags those points without inventing a new size chart.
When should I place the ties?
After the cardigan is assembled and the overlapping fronts can be checked in their actual positions.
Pattern and photograph credits
Baby’s Crossover Cardigan, Crochet Colors Theory, printed pages 230–233 / PDF pages 232–235. Photographs show the supplied source projects. Crops, rotated photographs and editorial checklists are identified in their captions. Any stitch-count or terminology clarification is identified in the relevant section.
Open the original [BONUS 2] Crochet Colors Theory.pdf pattern reference in Drive — Printed pages 230-233; PDF pages 232-235. Keep the original pages beside this guide for the detailed diagrams and any section specifically referenced above.
Leave a Reply