
Striped Crochet Pixie Bonnet in Two Baby Sizes
· admin
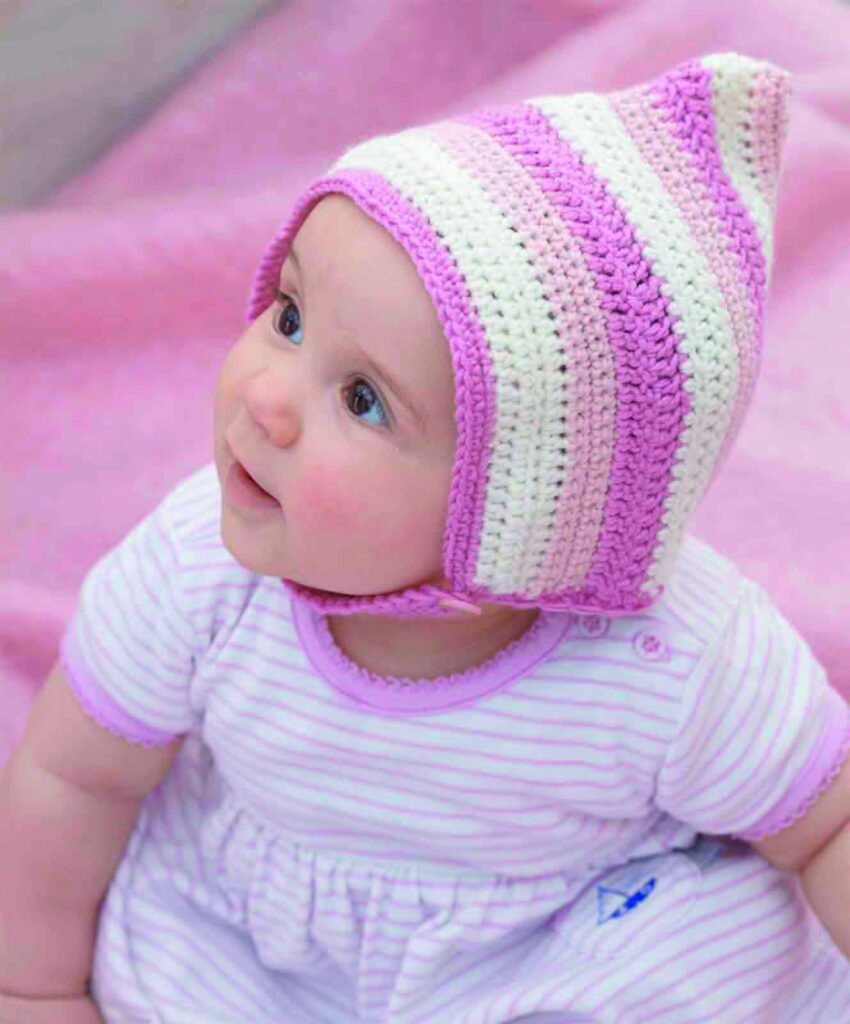
This striped crochet pixie bonnet begins as a flat rectangle. After the rear seam is sewn, a simple edge shapes the face and neck, with a crocheted chin strap at one lower corner. The stripes alternate half double crochet, single crochet and double crochet for a subtle change in texture as well as color.
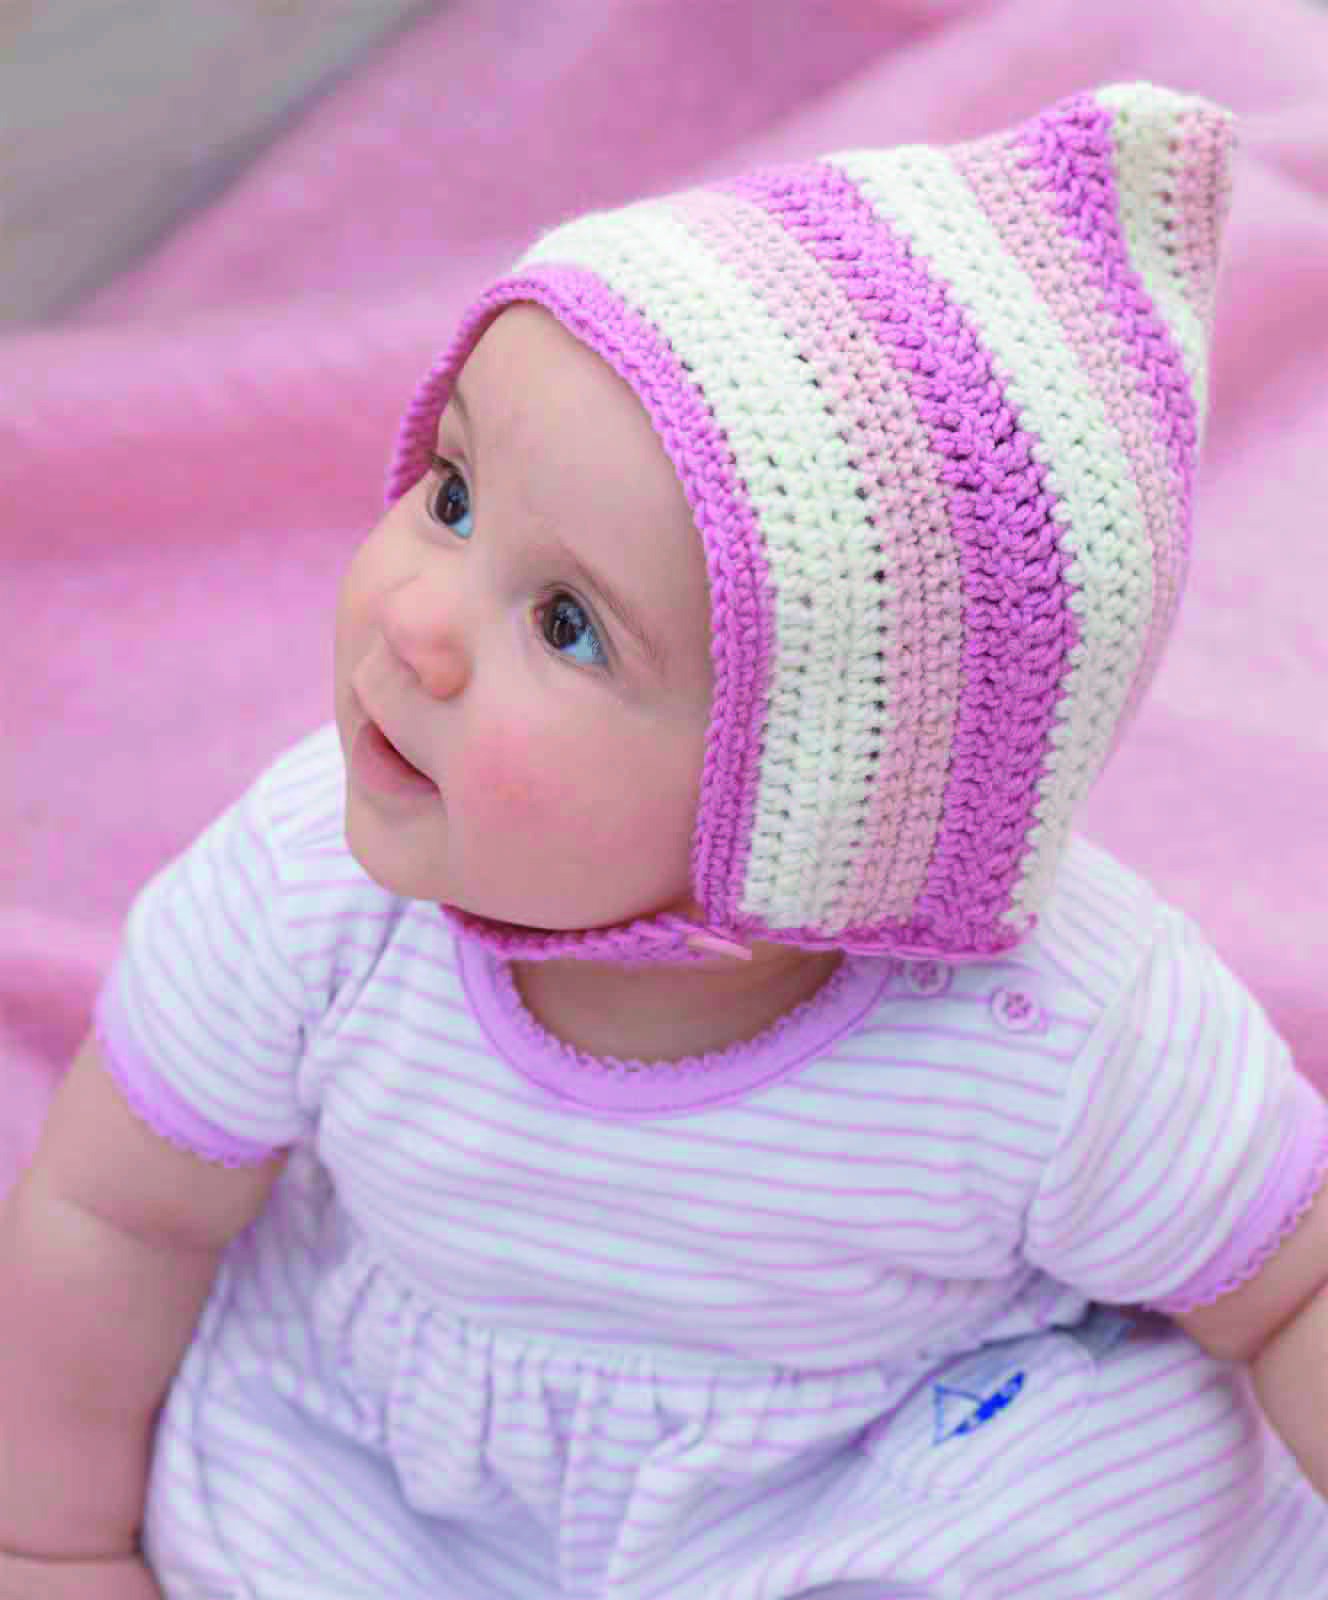
Project details
| Skill level | Confident beginner |
|---|---|
| Size | 0–3 and 3–6 months; source rectangle depth 15 or 16 cm. |
| Hook | 4 mm |
| Source | Baby Bonnet, Crochet Colors Theory, printed pages 190–191 / PDF pages 192–193. |
Materials and gauge
DK baby yarn in three colors, 4 mm hook, needle, scissors and the source’s approximately 15 mm button. Sample yarn: Debbie Bliss Baby Cashmerino in ecru and two pinks. Gauge: 18 sc per 10 cm.
Select one size column
For the smaller 0–3 month version, chain 56 and work 54 hdc beginning in the third chain. For 3–6 months, chain 62 and work 60 hdc. Keep that selected width throughout the rectangle; do not switch between the two counts at a color change. The ages are source labels, so compare the actual dimensions with the intended wearer.
| Source size | Foundation | Row width | Depth |
|---|---|---|---|
| 0–3 months | 56 chains | 54 stitches | 15 cm |
| 3–6 months | 62 chains | 60 stitches | 16 cm |
Work the mixed-stitch stripes
Use US terms. Rows 1–3 are hdc in color A. Rows 4–7 are sc in color B. Rows 8–9 are dc in color C. Use chain 2 to bring hdc to height, chain 1 for sc and chain 3 for dc, preserving the same actual stitch width rather than adding an extra stitch at the edge.
Repeat that nine-row stripe sequence for rows 10–18. Here, repeating the sequence means repeating its stitch and color arrangement, not starting another foundation chain. Rows 19–21 return to color A and hdc. Change to color B and continue in sc until the selected depth is reached.
Fold and sew the rear seam
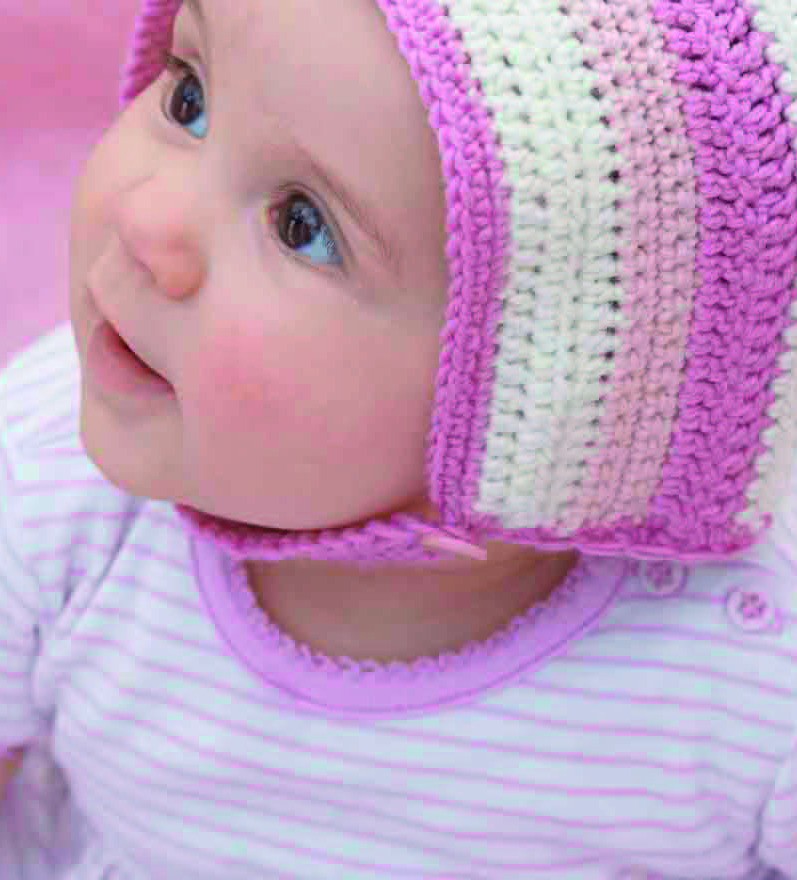
Lay the rectangle flat and identify the face opening before folding. Fold in half and sew the top edge that becomes the back of the bonnet. This makes the characteristic small pixie point. Match corresponding rows so the stripes meet rather than stepping up on one side.
Use the same yarn color as the seam area and avoid pulling the seam shorter than the fabric. Try the folded shape gently against the intended head measurement before adding the edge. Correcting the rectangle width is easier now than after the chin strap is finished.
Make the strap and first edging round
With color C, chain 20 for the strap and attach at the lower bonnet corner. Work sc evenly around the face, adding three sc at the turning corner as shown in the source. Continue along the lower neck edge and join. Spread stitches evenly across row ends without forcing the same number into every change of stitch height.
Shape the neck and buttonhole
On the next round, work sc along the strap foundation, three sc at its far end and return along the unused chain loops. Continue evenly around the face opening. Across the neck, repeat (sc2tog, sc) to draw the lower edge in. Work back along the strap toward its center turning stitch, then chain 3 and skip the next sc to make the buttonhole before finishing the remaining strap stitches.
Sew the button opposite the loop after checking how the strap closes. It should not pull the face edge inward or sit tightly against the neck. Secure all stitching and remove the bonnet for sleep or unattended wear.
Check the final shape
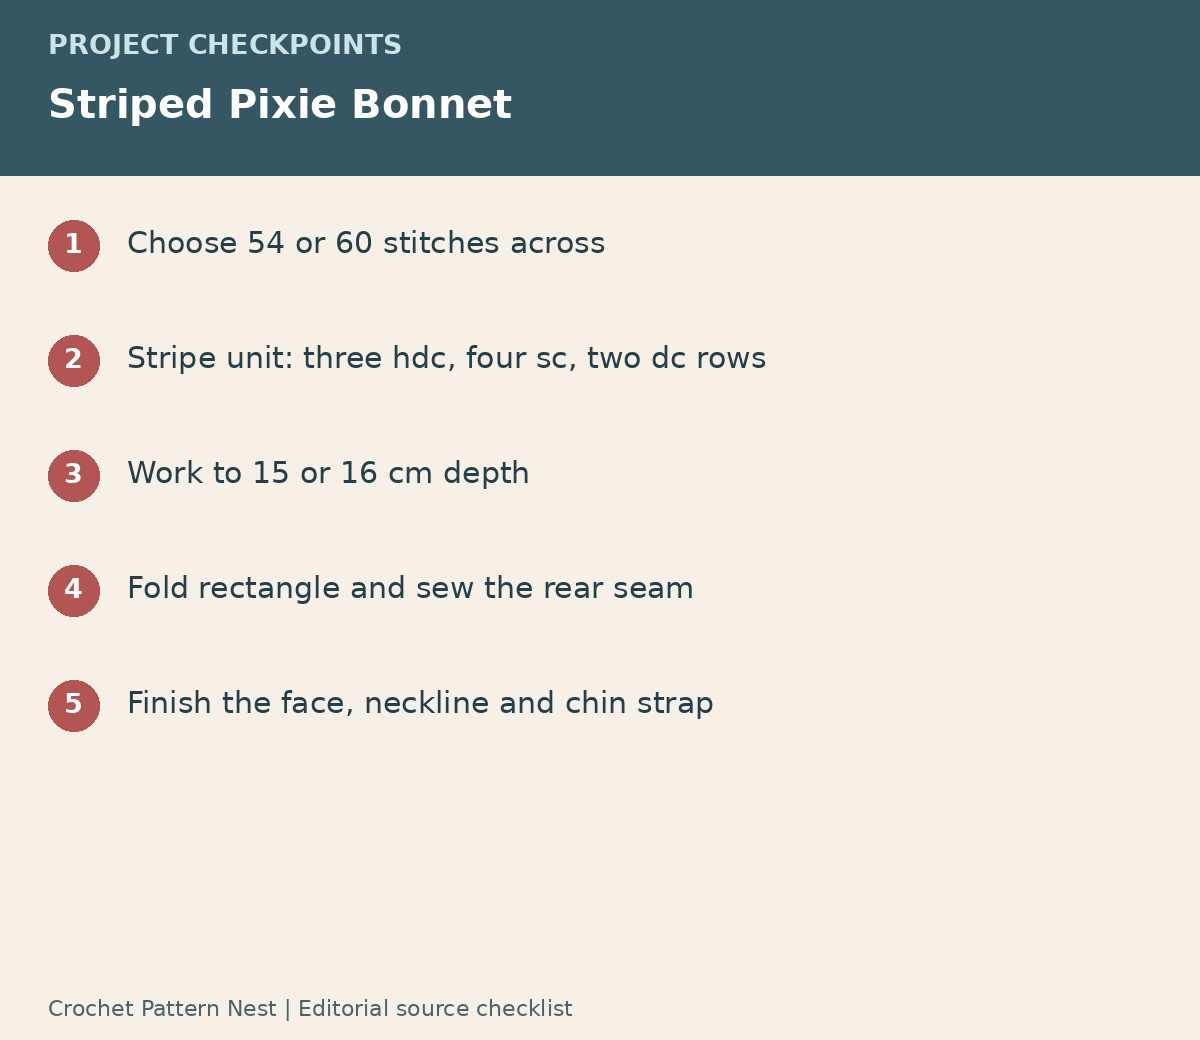
Weave in the color tails along their own stripes and smooth the seam with your fingers. If the face edging flares, its row-end stitches may be too crowded; if it puckers, too few were added. Use a small sample of the stripe sequence to test a yarn substitution before making the full rectangle.
Frequently asked questions
Is the bonnet crocheted in the round?
The main bonnet is a flat rectangle. Only the finishing edge and strap travel around the assembled shape.
What creates the pixie point?
The folded rectangle and sewn rear seam create the point without a separate shaped crown.
Do I repeat the foundation at row 10?
No. Repeat the nine-row color and stitch sequence while preserving the same row width.
Pattern and photograph credits
Baby Bonnet, Crochet Colors Theory, printed pages 190–191 / PDF pages 192–193. Photographs show the supplied source projects. Crops, rotated photographs and editorial checklists are identified in their captions. Any stitch-count or terminology clarification is identified in the relevant section.
Open the original [BONUS 2] Crochet Colors Theory.pdf pattern reference in Drive — Printed pages 190-191; PDF pages 192-193. Keep the original pages beside this guide for the detailed diagrams and any section specifically referenced above.
Leave a Reply