Crochet Pumpkin House: A Hollow Pumpkin With a Witch Hat Roof
· admin
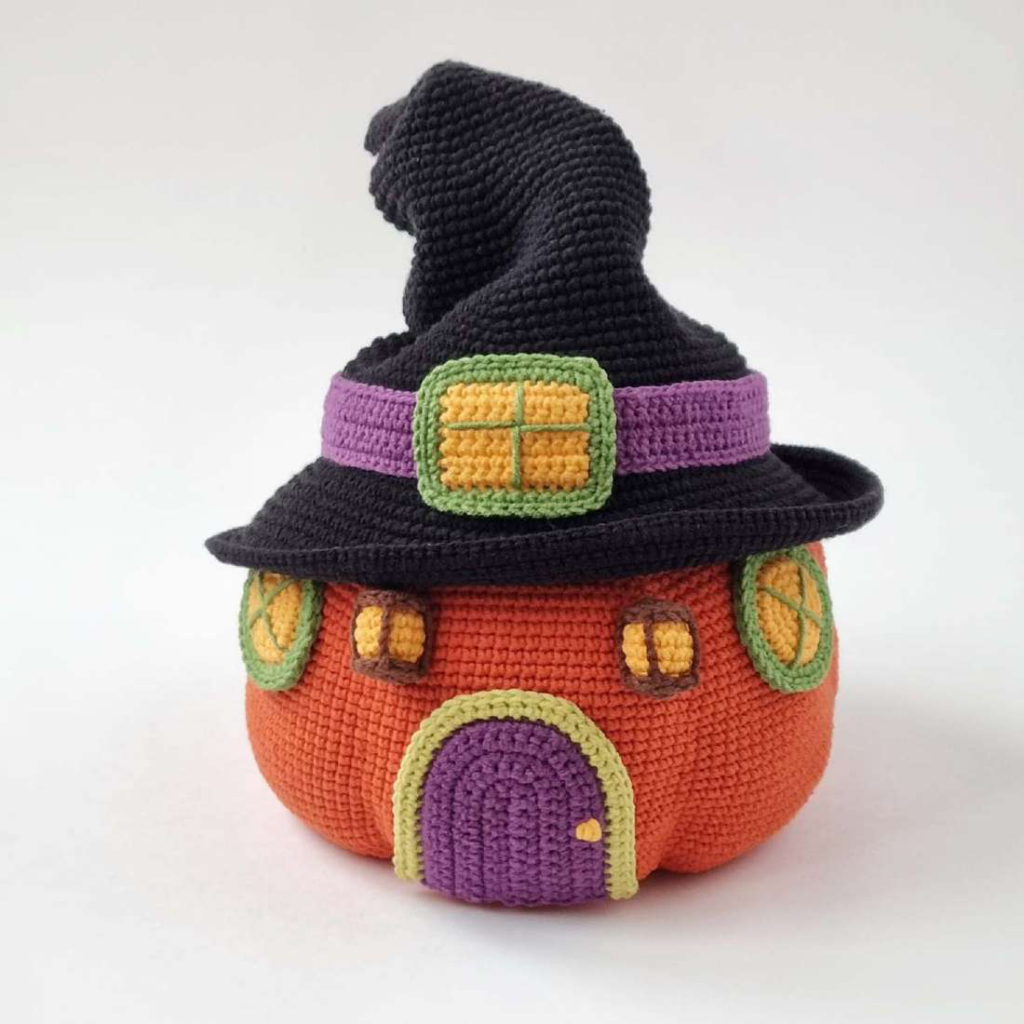
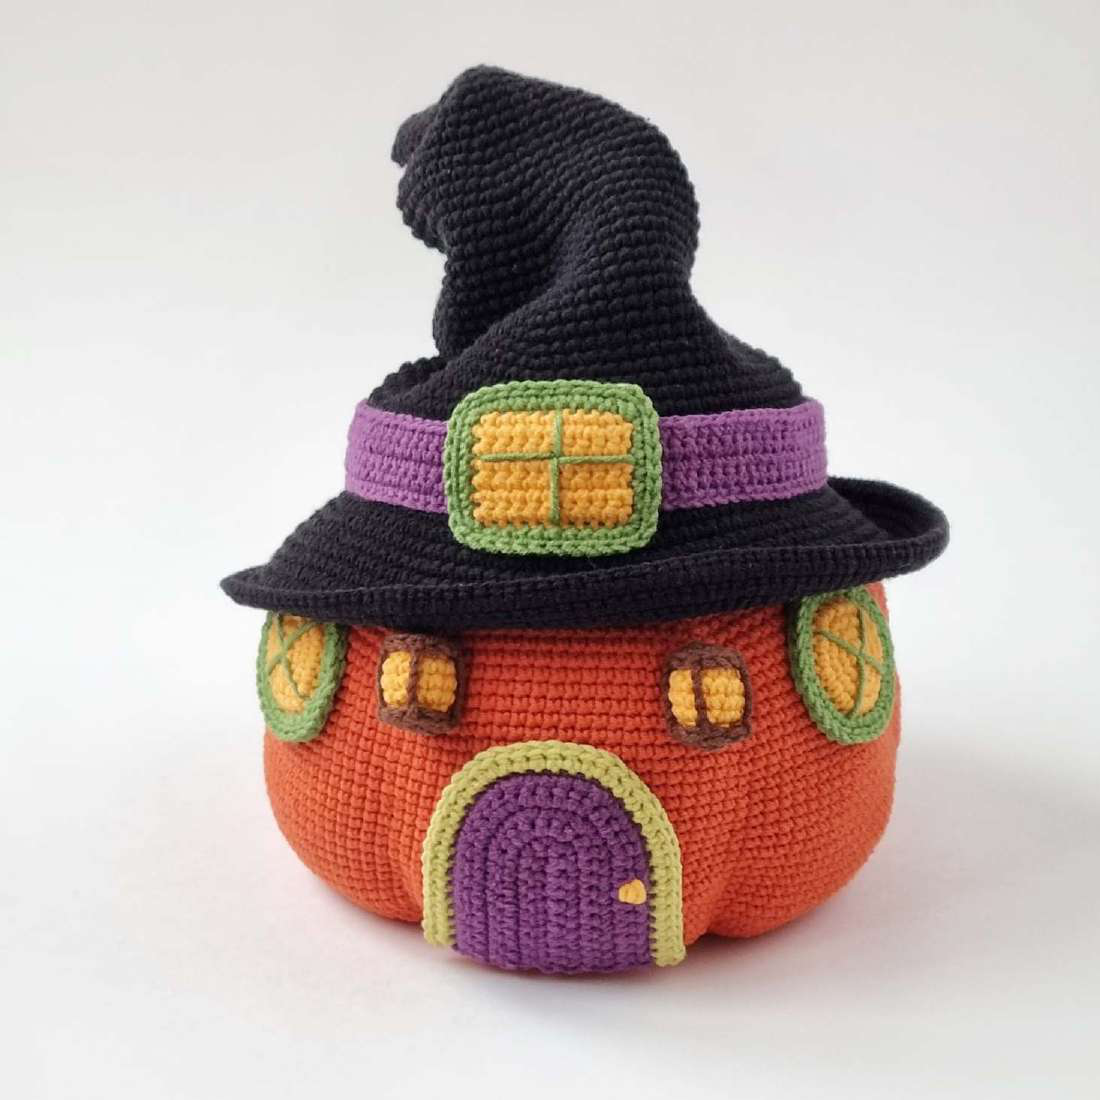
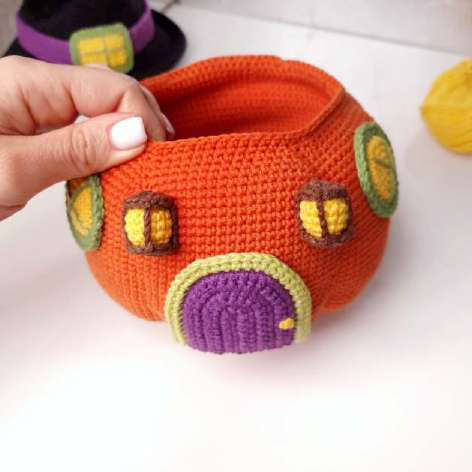
Turn a hollow crochet pumpkin into a little Halloween house, complete with a crooked witch hat roof, windows, a curved door and tiny lanterns. The double wall keeps the opening usable for a decorative display. This tutorial covers the house; the source’s extra miniature treats are separate projects.
Project at a glance
| Detail | What to expect |
|---|---|
| Skill level | Experienced |
| Finished size | Not specified in the source; depends on yarn and tension |
| Pattern language | English; stitch terms explained below |
| Construction | See the component and assembly sections |
Materials and tools
- YarnArt Jeans, 160 m/50 g: two balls terracotta; one black; scraps yellow, orange, green, purple, brown, white and beige
- 2.25 mm hook, stuffing, stitch markers, tapestry needle
- Optional enclosed flexible reinforcement for the brim
Stitches and pattern notes
Unless stated otherwise, this article uses US crochet terms. ch = chain; sl st = slip stitch; sc = single crochet; hdc = half double crochet; dc = double crochet; inc = 2 stitches in one stitch; dec = work 2 stitches together; MR = magic ring; BLO/FLO = back/front loop only. Numbers in the final column are the finished stitch counts.
Make the inner pot and outer wall separately from a shared base, then join their top edges. Work in spirals. The roof remains a separate lid. The source uses fishing line for reinforcement; if used, enclose smooth ends securely. Do not heat or melt reinforcement against the yarn.
Make the inner pot
| Round / row | Instructions | Count |
|---|---|---|
| 1 | 6 sc in MR | 6 |
| 2 | Inc × 6 | 12 |
| 3–14 | For each successive round, repeat (n sc, inc) × 6, with n increasing from 1 to 12. | 18 → 84 |
| 15 | BLO: (13 sc, inc) × 6 | 90 |
| 16 | (14 sc, inc) × 6 | 96 |
| 17 | (15 sc, inc) × 6 | 102 |
| 18–37 | Sc around | 102 |
| 38 | (15 sc, dec) × 6 | 96 |
| 39 | (14 sc, dec) × 6 | 90 |
| 40 | (13 sc, dec) × 6 | 84 |
Add the outside wall
Return to the 84 unused front loops at the round 14/15 boundary. Keep the pot’s opening free as you work upward.
| Round / row | Instructions | Count |
|---|---|---|
| 1–7 | (n sc, inc) × 6, using n = 13 through 19 on successive rounds. | 90 → 126 |
| 8–30 | Sc around | 126 |
| 31–37 | (n sc, dec) × 6, using n = 19 down to 13. | 120 → 84 |
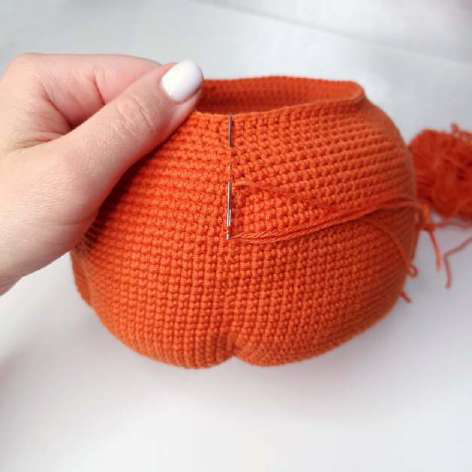
Place a light, even layer of stuffing between the walls. Match the two 84-stitch rims and join with 84 sc through both layers. Make six evenly spaced vertical shaping lines from the base to the rim. Tighten a little at a time to form lobes, checking that the inner pot stays open.
Crochet the pointed roof
| Round / row | Instructions | Count |
|---|---|---|
| 1 | 6 sc in MR | 6 |
| 2 | (sc, inc) × 3 | 9 |
| 3 | Sc around | 9 |
| 4–25 | Alternate an increase round (n sc, inc) × 3 with one plain round. Use n = 2 through 12. | 12 → 42 |
| 26 | (13 sc, inc) × 3 | 45 |
| 27 | (14 sc, inc) × 3 | 48 |
| 28 | Sc around | 48 |
| 29 | (15 sc, inc) × 3 | 51 |
| 30 | (16 sc, inc) × 3 | 54 |
| 31 | Sc around | 54 |
| 32 | (17 sc, inc) × 3 | 57 |
| 33 | (18 sc, inc) × 3 | 60 |
| 34 | Sc around | 60 |
| 35–46 | (n sc, inc) × 3, with n = 19 through 30. | 63 → 96 |
| 47–51 | Sc around; add enclosed reinforcement if desired. | 96 |
| 52 | FLO: (11 sc, inc) × 8 | 104 |
| 53–61 | (n sc, inc) × 8, with n = 12 through 20. | 112 → 176 |
Shape the crooked point by running a thread along the marker line and drawing it up gradually. Pin the bend before securing the thread. For the purple band, ch 96 and work five rows of 95 sc, turning with ch 1. Wrap it around the cone above the brim and sew in place.
Door, windows and lanterns
Arched door
Ch 11. Work 9 sc from the second chain, 3 sc in the end chain, then 9 sc along the underside: 21 stitches. Turn after each following row. Rows 2–6 are 9 sc, three repeats of (n sc, inc), then 9 sc, using n = 0, 1, 2, 3 and 4 respectively; the totals are 24, 27, 30, 33 and 36. For n = 0, work an increase alone. Add the olive slip-stitch outline, leaving the bottom edge free, then border the arch with 9 sc, (5 sc, inc) × 3, 9 sc: 39. Finish with the source’s slip-stitch edging and a yellow embroidered knob.
Windows
For each round window, work 6 sc in MR, inc × 6, (sc, inc) × 6, then (2 sc, inc) × 6: 24. Outline in green slip stitches, then work (3 sc, inc) × 6: 30; finish with slip stitches. Embroider the crossed window bars. Make two. The attic window is a yellow rectangle: ch 11, work 10 sc for seven rows. Add green slip stitches, a sc border with three sc at each corner, and an embroidered cross.
Two small lanterns
In yellow, start with 6 sc in MR, increase to 12, and work three rounds of 12. Stuff lightly, decrease to close, and secure. Make two brown circular caps per lantern, each with rounds of 6 and 12 sc. Sew one to each end. Four vertical brown wrapped lines form the cage around the yellow center.
Arrange and assemble the house
Set the roof on the pot before positioning the attic window. Pin the door low on the front and place the circular windows beside it. Keep stitches on the outer layer so the inner cavity stays neat. Attach the lanterns last. Remove all pins, secure thread tails inside the wall where possible, and check that the roof lifts without catching the decorations.
Tips for a neat finish
- Count both rims before joining; both need 84 stitches.
- Shape the six lobes with gradual tension rather than a single hard pull.
- Keep the roof removable and the hollow interior free of stuffing.
Frequently asked questions
Does this include the miniature sweets?
No. This article follows the house construction and its exterior details only.
Can I skip reinforcement?
Yes, for a softer decorative roof. The brim’s stiffness will depend on the yarn and tension; support it during display if necessary.
More Halloween crochet ideas
Build a coordinated seasonal display with our Halloween crochet collection. For another small project, explore the crochet ghost tutorial or browse these Halloween coaster ideas.
Pattern source and credit
This article is based on Pumpkin House.pdf. Designer not named in the readable source text. The project photographs come from that source and show its original samples. The text has been organized into an article with additional explanations; any editorial clarification is identified where it matters. This is a document-based adaptation, without a claim that we physically tested the finished project.
Open the original pattern reference for the source photographs and original layout.
Leave a Reply