
Crochet Ghost in a Pumpkin Pattern in Plush Yarn
· admin
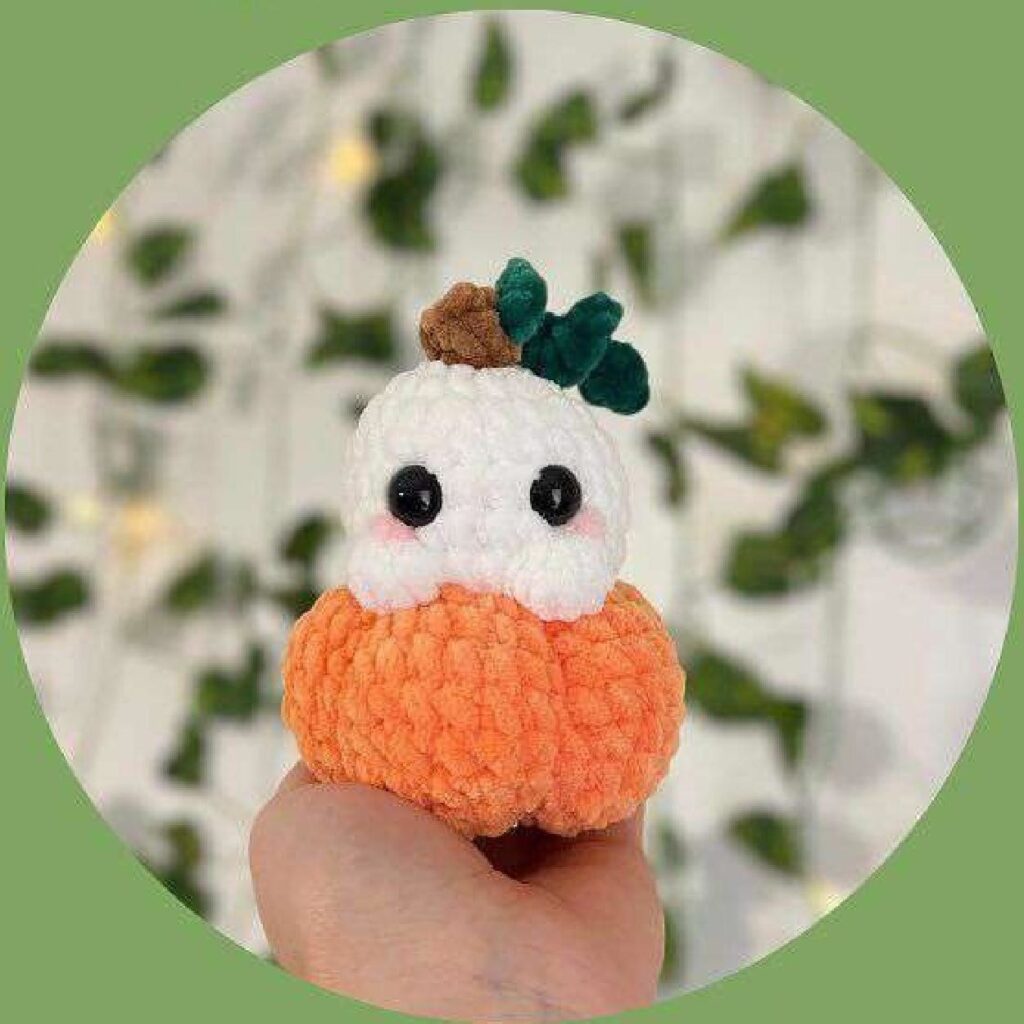
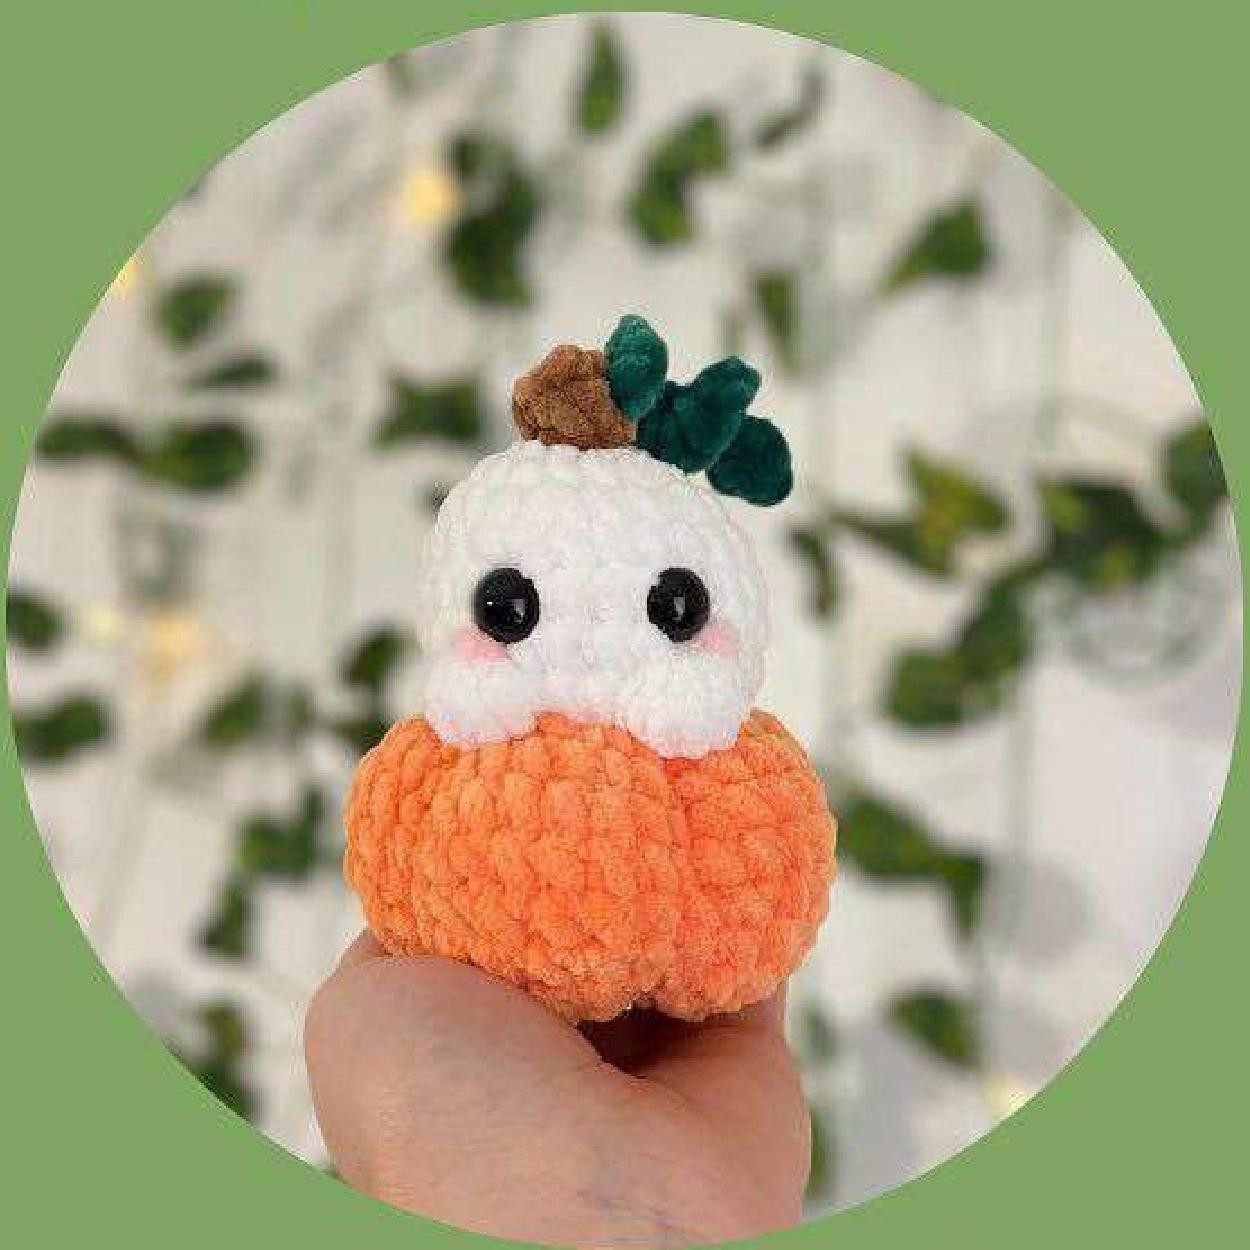
A tiny white ghost rises from a rounded plush pumpkin in this low-sew Halloween project. The stem, ghost and pumpkin are worked as one continuous piece, with bobble stitches forming the little arms. After closing the base, a long orange tail draws the pumpkin into lobes. A green tendril and embroidered blush are optional finishing details.
Project at a glance
| Detail | What to expect |
|---|---|
| Skill level | Confident beginner: continuous rounds and bobble stitches |
| Finished size | No finished measurement is specified |
| Pattern language | English; stitch terms explained below |
| Construction | See the component and assembly sections |
Materials and tools
- Brown, white and orange plush yarn; source uses Parfait Chunky
- 4.5 mm hook in the source
- 12 mm eyes or embroidered eyes
- Fiberfill, marker, yarn needle and scissors
- Optional pink for blush and green for a tendril
Stitches and pattern notes
Unless stated otherwise, this article uses US crochet terms. ch = chain; sl st = slip stitch; sc = single crochet; hdc = half double crochet; dc = double crochet; inc = 2 stitches in one stitch; dec = work 2 stitches together; MR = magic ring; BLO/FLO = back/front loop only. Numbers in the final column are the finished stitch counts.
Use US crochet terms. The stem begins first, even though it sits at the very top of the finished project. The white FLO increase expands directly from the brown stem; the later orange FLO increase expands directly from the ghost. Keep the round marker on the back so the face can be centered above the bobble arms. A six-loop bobble can be made with five unfinished dc in one stitch plus the existing loop, then a final pull-through of all six loops.
Stem and ghost
One-piece ghost and pumpkin
| Round / row | Instructions | Count |
|---|---|---|
| 1 | In brown, 4 sc in MR. | 4 |
| 2–3 | Sc around. | 4 |
| 4 | Change to white; FLO work 3 sc in every stitch. | 12 |
| 5 | (sc, inc) × 6. | 18 |
| 6 | (2 sc, inc) × 6. | 24 |
| 7–9 | Sc around. | 24 |
| 10 | 9 sc, bobble, 4 sc, bobble, 9 sc. | 24 |
| 11 | 12 dec. | 12 |
| 12 | Change to orange; FLO work 3 sc in each stitch. | 36 |
| 13–15 | Sc around. | 36 |
| 16 | (4 sc, dec) × 6. | 30 |
| 17–18 | Sc around. | 30 |
| 19 | (3 sc, dec) × 6. | 24 |
| 20 | (2 sc, dec) × 6. | 18 |
| 21 | (sc, dec) × 6. | 12 |
| 22 | 6 dec. | 6 |
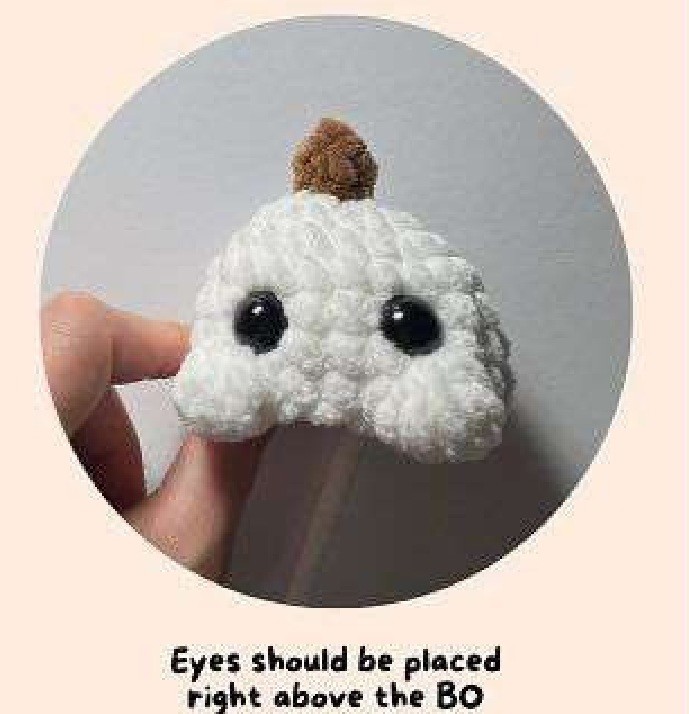
Place the eyes between Rounds 8–9 with two or three visible stitches between them. The bobbles should sit below and to either side of the face. Push them outward before the opening becomes too small. Begin filling the ghost while it is still accessible, then fill the pumpkin generously enough to support its rounded shape. Keep the narrow white-to-orange transition distinct.
Close and shape the pumpkin ribs
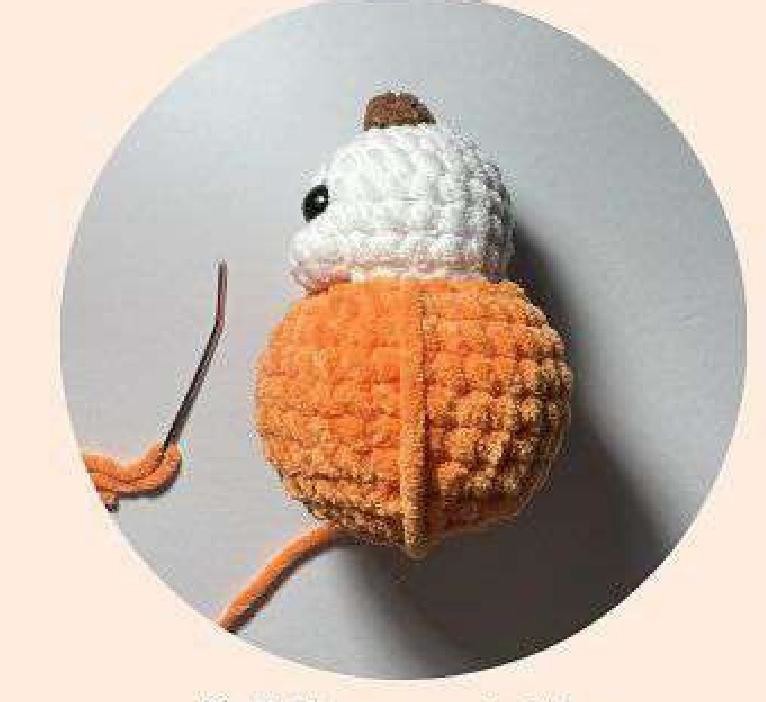
Fasten off with a very long orange tail. Pass the needle through the front loops of the final six stitches and gather the opening closed. Bring the needle up through the center to the point where the ghost meets the pumpkin. Lay the yarn down the outside and insert it back through the same bottom-center opening. Draw the loop snugly to make one indentation.
Repeat around the pumpkin, spacing the grooves about five or six stitches apart. The source uses five ribs, but describes five or six as an option. Build each indentation gradually: pushing the stuffing into the neighboring lobe with a finger helps the thread sink in without snapping. Return through the same bottom center for every rib so the base stays tidy. Secure the tail inside the filling once the lobes look balanced.
Optional tendril and blush
Join green yarn into a stitch beside the brown stem and chain 8. From the second chain, work 3 sc in each of the seven remaining chains, for 21 sc total. The source prints 24, but seven chains with three stitches each total 21; use 21 for the written chain-8 version. Add or remove chains for a different curl length. Fasten off and secure the ends near the stem.
For blush, embroider two small pink horizontal marks just below and to the side of the eyes, about one stitch wide. Keep the embroidery light enough that it rests on the plush surface without flattening the ghost’s face. Check all ends and remove the marker before displaying the finished piece.
Working with plush yarn
Count stitches by touch as well as sight, especially around the bobbles and front-loop expansions. Keep the magic ring relaxed until all four starting stitches are in place, then tighten it gently. If a strand begins shedding at a join, stop and secure it before the next round. A different plush yarn may require a different hook and eye size; preserve the round counts but judge the fabric by whether stuffing stays inside.
Tips for a neat finish
- Check that both arms face outward before fitting the eyes.
- Fill the ghost before the pumpkin opening becomes narrow.
- Leave more shaping tail than you think you need; ribbing uses several passes through the body.
- Pull ribbing firmly but gradually to protect chenille yarn from breakage.
Frequently asked questions
Is the ghost sewn into a separate pumpkin?
No. The stem, ghost and pumpkin are worked in one piece with two FLO expansion rounds.
How many stitches does the tendril have?
The chain-8 version gives seven worked chains × 3 sc = 21 stitches. The source’s printed 24 is an arithmetic mismatch.
Can I omit the blush and curl?
Yes. Both are optional decorations and do not affect the one-piece structure.
More Halloween crochet ideas
Build a coordinated seasonal display with our Halloween crochet collection. For another small project, explore the crochet ghost tutorial or browse these Halloween coaster ideas.
Pattern source and credit
This article is based on Plush-Ghost-in-Pumpkin-.pdf.pdf. Ghost in Pumpkin by @tinkeringcrochet. The project photographs come from that source and show its original samples. The text has been organized into an article with additional explanations; any editorial clarification is identified where it matters. This is a document-based adaptation, without a claim that we physically tested the finished project.
Open the original pattern reference for the source photographs and original layout.
Leave a Reply