
Crochet Diamond Spiderweb Earrings Pattern
· admin
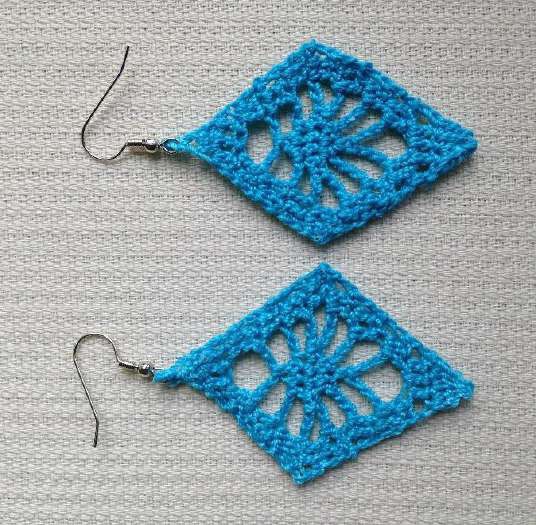
These diamond spiderweb crochet earrings turn fine cotton thread into a light, open accessory for Halloween. Each earring grows from a narrow point, opens around a tiny web and tapers back to an upper attachment point. Blocking and stiffening are part of the construction: without them, the threadwork can fold instead of holding its diamond outline.
Project at a glance
| Detail | What to expect |
|---|---|
| Skill level | Intermediate |
| Finished size | Approximately 2 inches, excluding the earring hook |
| Pattern language | English; stitch terms explained below |
| Construction | See the component and assembly sections |
Materials and tools
- Size 10 cotton crochet thread
- 1.5 mm hook
- Two fishhook earring findings and small jewelry pliers
- Fabric stiffener suitable for cotton thread, blocking pins and a protected pinning surface
- Tapestry needle and scissors
Stitches and pattern notes
Unless stated otherwise, this article uses US crochet terms. ch = chain; sl st = slip stitch; sc = single crochet; hdc = half double crochet; dc = double crochet; inc = 2 stitches in one stitch; dec = work 2 stitches together; MR = magic ring; BLO/FLO = back/front loop only. Numbers in the final column are the finished stitch counts.
Make two identical diamonds. These instructions use US terms and are worked in turned rows. Beginning ch 2 counts as one dc throughout. A chain-space instruction means work into the open arch, not into every individual chain. The unused foundation chains from Row 1 remain as the lower end of the design. Do not cut them off.
Crochet each diamond
Diamond spiderweb: make two
| Round / row | Instructions | Count |
|---|---|---|
| 1 | Ch 5; work 2 dc into the third chain from the hook. Leave the remaining chains unused and turn. | Lower point |
| 2 | Ch 2, dc into its base, dc in next dc, 2 dc in the last dc; turn. | Widening row |
| 3 | Ch 2, dc into its base, dc in next dc, ch 5, skip next dc, dc in next dc, 2 dc in last dc; turn. | Open web begins |
| 4 | Ch 2, dc in next 2 dc, ch 4, sc in the ch-5 space, ch 4, dc in next 3 dc; turn. | Central anchor |
| 5 | Ch 2, dc in next 2 dc, ch 4; sc in next ch-4 space, in the central sc and in the last ch-4 space; ch 4, dc in next 3 dc; turn. | 3 central sc |
| 6 | Ch 2, dc in next 2 dc, ch 4; sc in next ch-4 space, each of the next 3 sc and the last ch-4 space; ch 4, dc in next 3 dc; turn. | 5 central sc |
| 7 | Ch 2, skip next dc, dc in next dc, dc in next ch-4 space, ch 4; skip one sc, sc in next 3 sc, ch 4; skip one sc, dc in next ch-4 space, dc in next dc, skip one dc, dc in next dc; turn. | Taper begins |
| 8 | Ch 2, skip next dc, dc in next dc, dc in ch-4 space, ch 4; skip one sc, sc in next sc, ch 4; skip one sc, dc in ch-4 space, dc in next dc, skip one dc, dc in last dc; turn. | 1 central sc |
| 9 | Ch 2, skip next dc, dc in next dc, dc in ch-4 space, ch 1; skip central sc, dc in next ch-4 space, dc in next dc, skip one dc, dc in last dc; turn. | Upper web closes |
| 10 | Ch 2, skip next dc, dc in next dc, dc in ch-1 space, dc in next dc, skip one dc, dc in last dc; turn. | Upper taper |
| 11 | Ch 2; work an unfinished dc into each of the next 4 dc, then yarn over and close all 5 remaining loops together. Fasten off. | Upper point |
In the last row, make each unfinished dc by yarning over, drawing up a loop in the indicated stitch, then drawing through two loops only. Retain its final loop until all four stitches have been started. Closing them together creates the pointed upper end. Keep both diamonds facing the same way while comparing their size.
Block and stiffen the earrings
Weave in the ends without drawing the chain arches tight. Lay each diamond on a protected blocking surface, place the top and bottom points first, then pin the side corners to the same width. Open the small chain spaces with your fingers. Use the stiffening product according to its label and let the pieces dry fully before removing the pins. A lighter stiffener produces a flexible lace earring; a stronger coating gives a firmer outline. Avoid coating the metal findings.
Attach the earring findings
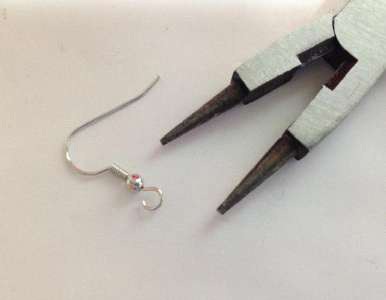
Using jewelry pliers, open each finding sideways, pass it through the topmost crochet attachment point and close it completely. Catch two thicknesses of thread for strength, as advised in the source collection. Compare the hanging direction of the pair before fastening the second hook. If you use an additional jump ring, check that its ends meet without a sharp gap.
Color and wearing ideas
The source sample is blue, which makes the web easy to see. Black thread gives a classic Halloween accessory, silver-grey emphasizes the web structure, and purple works with a witch-inspired outfit. Keep the same thread size and hook for a matched pair. Larger yarn can produce an attractive ornament, but it changes the scale and weight enough that the source’s two-inch earring measurement no longer applies.
Tips for a neat finish
- Pin both earrings side by side so their top-to-bottom length matches.
- Use only enough stiffener to hold the open spaces; thick pools obscure the fine thread.
- Keep the Row 1 unused chains intact until the piece is finished and compared with the source photo.
- Store flat and reshape after hand washing if the stiffener is washable.
Frequently asked questions
Are the other earrings in the overview included here?
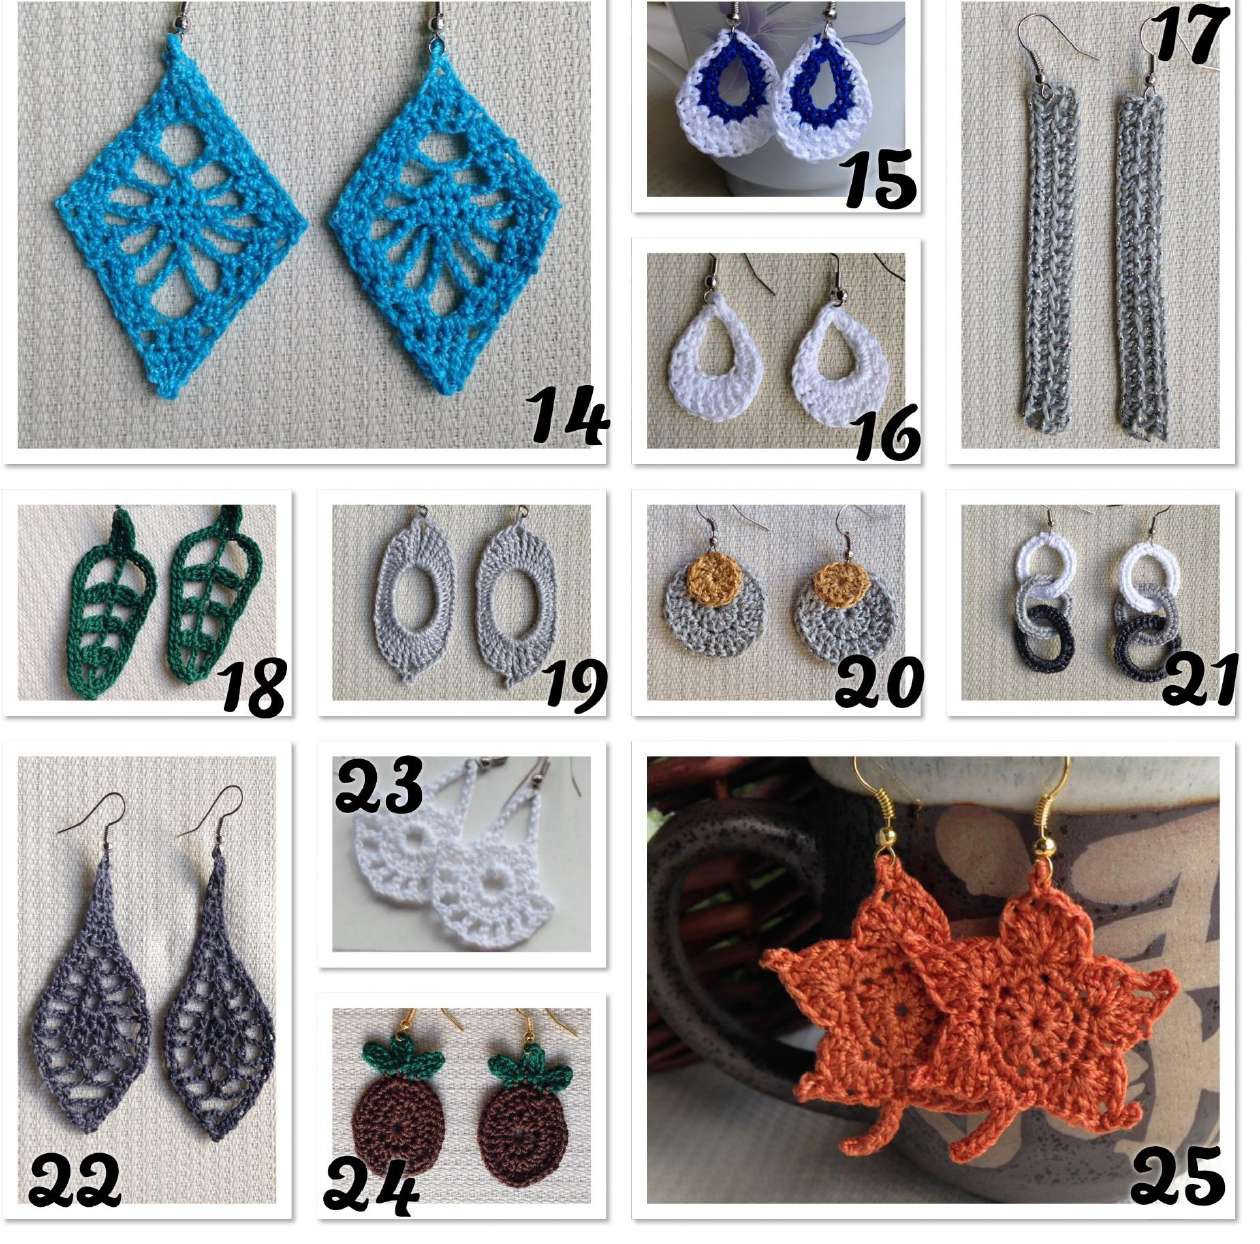
No. This article covers design 14 only; the overview is shown as collection context.
Can I skip stiffening?
The source recommends shaping and stiffening every design. The thin diamond web may otherwise fold when worn.
Does ch 2 count as a stitch?
Yes, throughout this design. Include it when finding the first and last dc of a row.
More Halloween crochet ideas
Build a coordinated seasonal display with our Halloween crochet collection. For another small project, explore the crochet ghost tutorial or browse these Halloween coaster ideas.
Pattern source and credit
This article is based on 25 Crochet Earrings Volume 1.pdf. Design 14, Diamond Spider Web, from Crochet Mon Cherie’s 25 Earrings to Crochet. The project photographs come from that source and show its original samples. The text has been organized into an article with additional explanations; any editorial clarification is identified where it matters. This is a document-based adaptation, without a claim that we physically tested the finished project.
Open the original pattern reference for the source photographs and original layout.
Leave a Reply