
Join-as-You-Go Crochet Baby Blanket with 168 Motifs
· admin
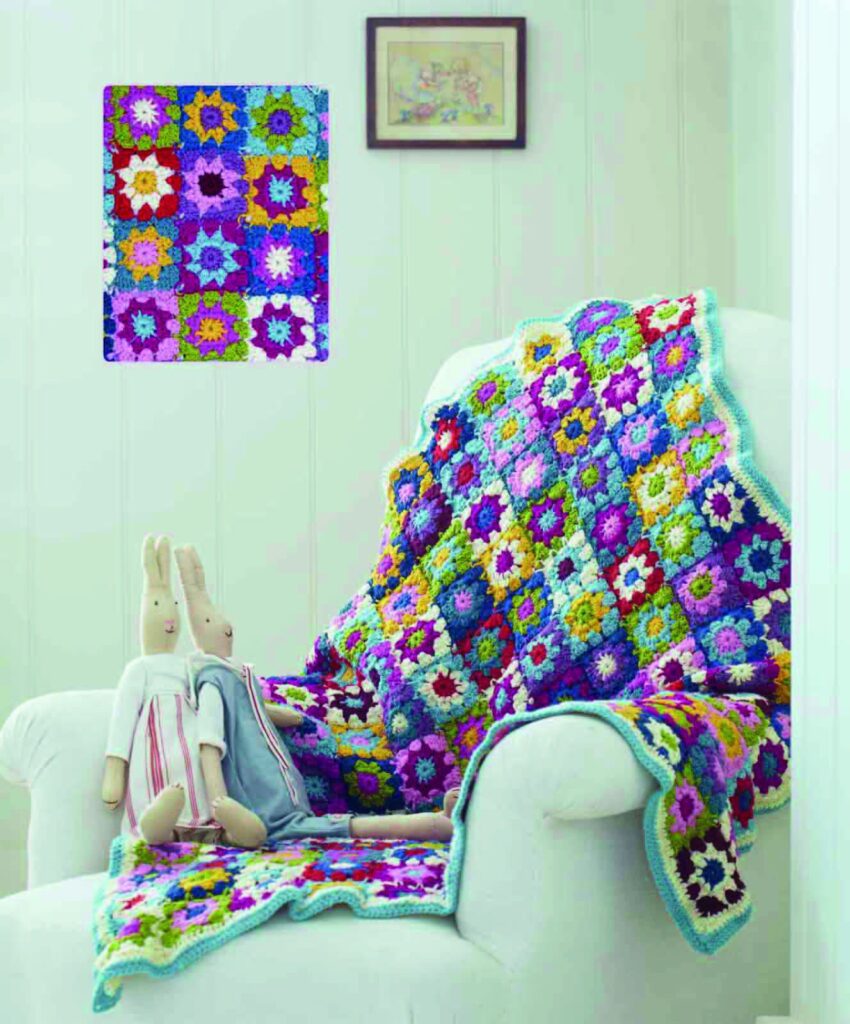
This join-as-you-go crochet baby blanket begins each motif as a colorful circle and squares it in the third round. Stitching between the posts lets the small petal groups separate, while slip-stitch connections link the motifs as they are finished. The original sample uses one hundred and sixty-eight squares and a two-round outer border.
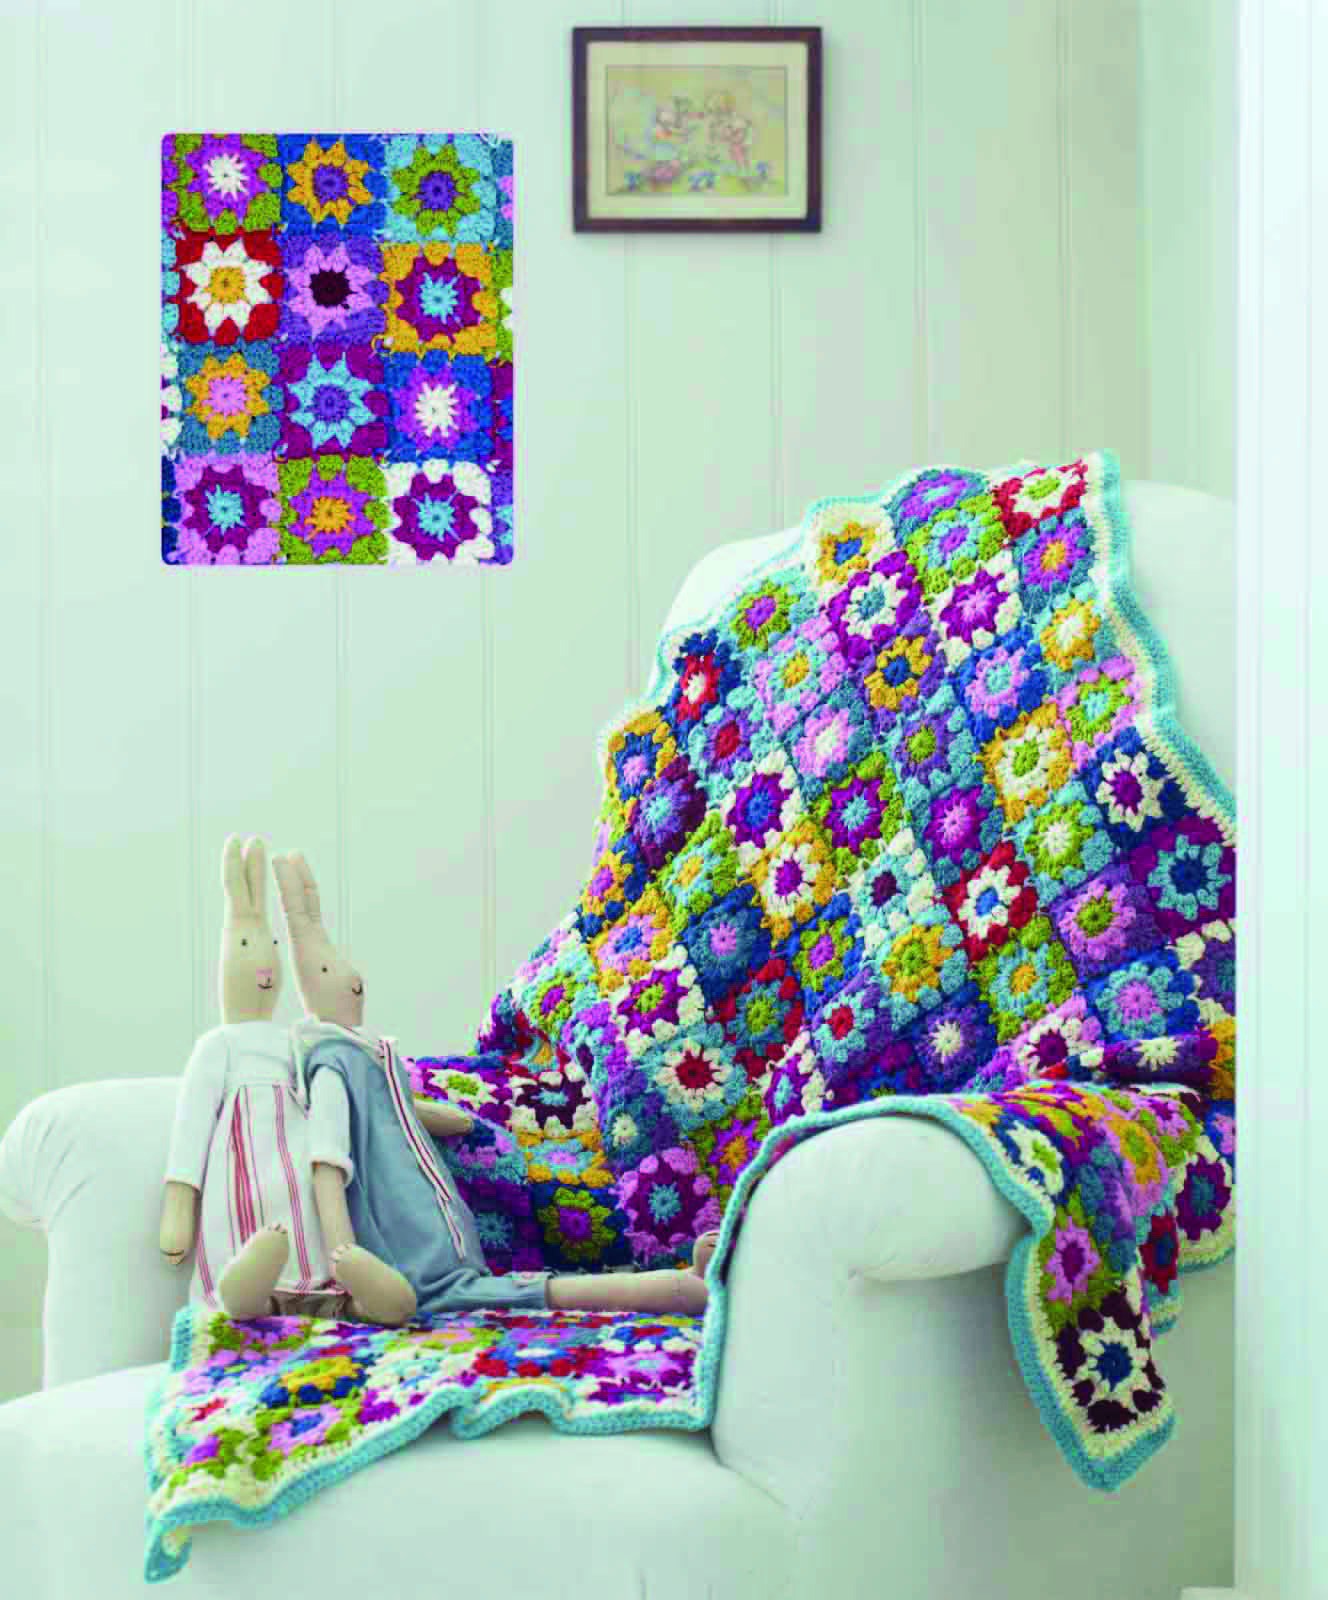
Project details
| Skill level | Intermediate |
|---|---|
| Size | Approximately 92 × 107 cm in the source sample. |
| Hook | 4 mm |
| Source | Baby Blanket, Crochet Colors Theory, printed pages 148–151 / PDF pages 150–153. |
Materials and gauge
DK wool or wool-blend yarn in a coordinated palette, 4 mm hook, tapestry needle and scissors. The source uses Rowan Pure Wool DK with a main edging shade and contrasting motif colors.
Plan the palette and a joining sample
Make two complete sample squares before committing to the full layout. The first shows the standalone border, and the second shows how replacing chains with slip-stitch joins changes the edge tension. Choose colors for the two circular rounds and a third color for the squaring round. Keep the yarn weight consistent across the palette.
All stitch names here use US terms. In this project, working between posts means inserting into the gap below the stitch tops rather than under the top V. This placement matters for the open flower-like appearance; it is not front-post dc worked around one individual post.
Make the circular center
- Chain 4 and join to form a ring. Chain 3 as the first dc and add eleven dc. Join for twelve stitches and fasten off.
- Join the second color between two dc posts. Work two dc into each gap, including the starting chain 3 as the first dc. Close with twenty-four dc.
- Change to the squaring color and continue working into the spaces between posts.
Keep the joins tight enough to close the round but not so tight that the first gap disappears. Count all twelve first-round gaps before making the twenty-four-stitch outer circle.
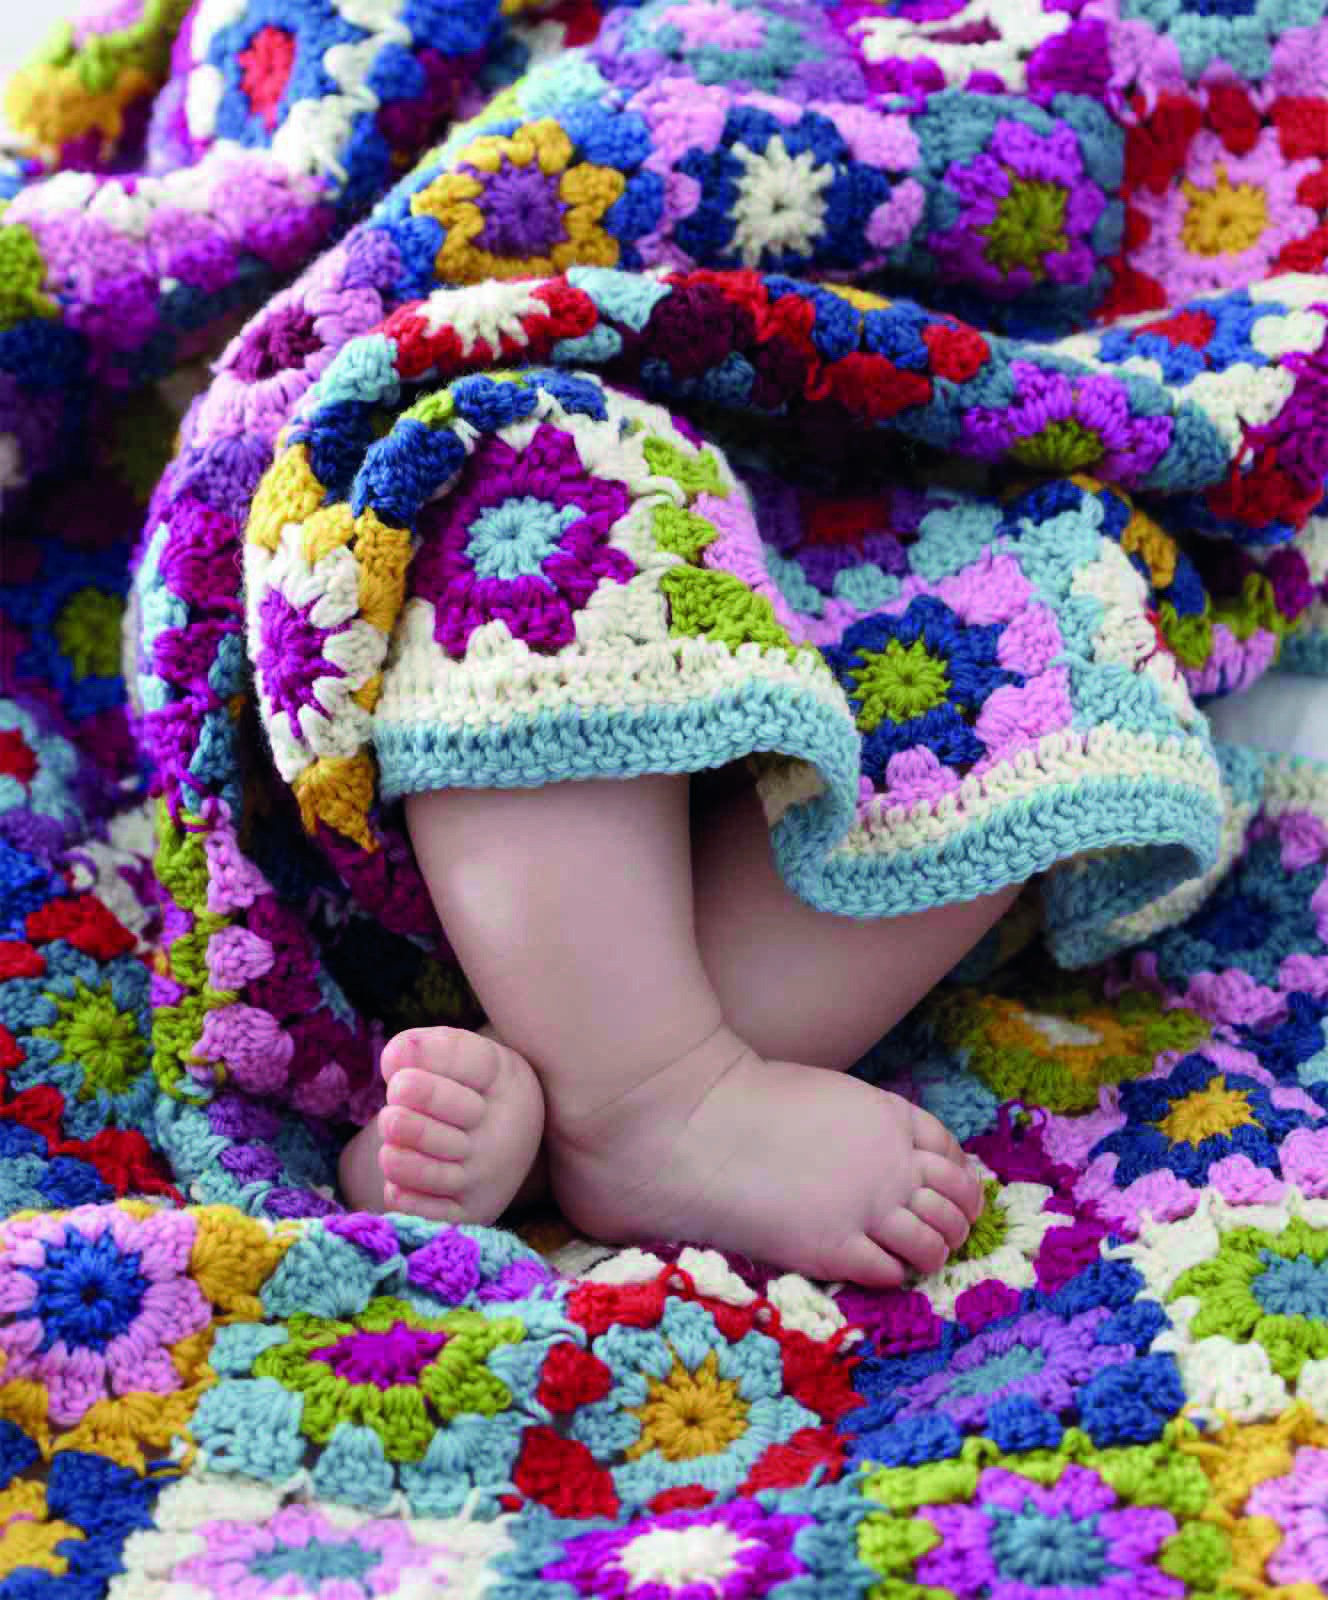
Square the first motif
Make a corner with (3 dc, chain 3, 3 dc) into one designated gap. Chain 1, skip three stitch positions and work a three-dc side group. Chain 1 and skip three positions to the next corner. Continue around with four corners and one side group between each pair of corners. Join and fasten off.
This first completed square becomes the reference for the others. A marker in each chain-three corner is useful when you begin joining several squares together. The original instructions include separate layouts for joining against one, two or three completed neighbors; follow the matching pictured case at a junction.
Replace chains with joins
When a new square reaches a shared corner, replace its chain-three space with chain 1, a slip stitch into the neighbor’s corner and chain 1. On a shared side, replace the chain-one separation with a slip stitch into the corresponding neighbor space. Continue the dc groups in their original positions.
At a point where several completed squares meet, the source links the relevant corner spaces in sequence. Do not pull all four corners into a tight knot. Lay the developing blanket flat after adding each small group and loosen an over-tight join before it is surrounded by more motifs.
Add the two-round outer edge
For border round 1, use (3 dc, chain 3, 3 dc) at each outer blanket corner. Along the sides, work dc into each dc and chain-one space, adding the source’s two dc in the motif corner spaces encountered along the edge. This fills the gaps between neighboring motifs.
Round 2 uses the same outer corner group and one dc into each stitch along the sides. Change border color if desired, fasten off and weave the tails into their matching rounds. The border should support the motif layout without pulling the blanket into a bowl.
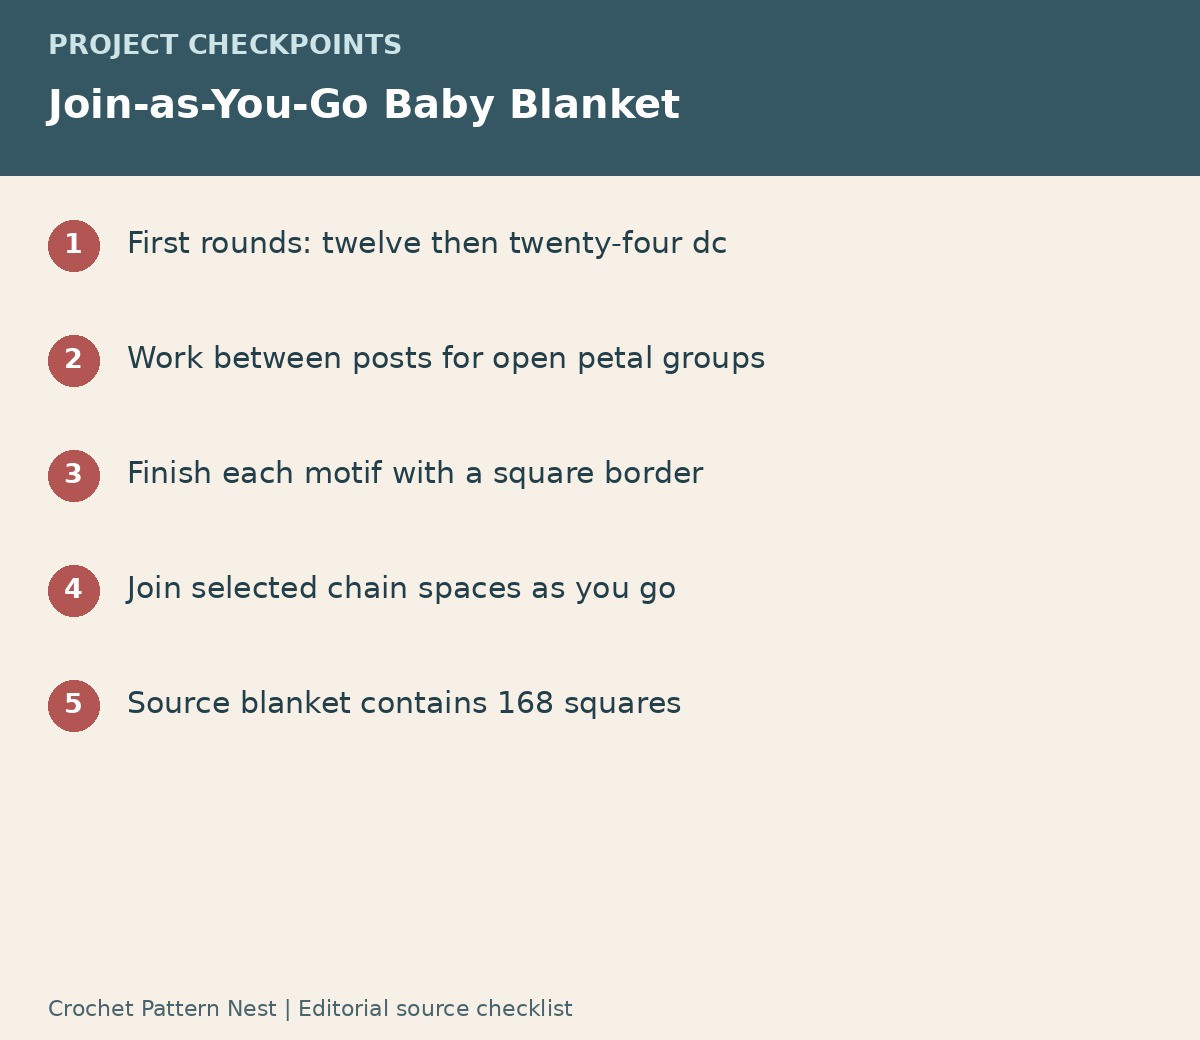
Finish the full blanket
The source total is 168 motifs. Use the original photograph to plan the arrangement or record your own grid before joining. Finished dimensions depend on the blocked motif size and join tension. Weave ends as you go, then shape the completed blanket using care appropriate to the chosen fiber.
Frequently asked questions
Are the circles sewn into separate squares?
No. The third round squares each circle, and that same round makes the join-as-you-go connections.
What does between-post placement mean?
Work into the gaps between the previous round’s stitches rather than their top loops. It is different from wrapping around an individual post.
How many motifs are in the original?
One hundred and sixty-eight, followed by two rounds of border.
Pattern and photograph credits
Baby Blanket, Crochet Colors Theory, printed pages 148–151 / PDF pages 150–153. Photographs show the supplied source projects. Crops, rotated photographs and editorial checklists are identified in their captions. Any stitch-count or terminology clarification is identified in the relevant section.
Open the original [BONUS 2] Crochet Colors Theory.pdf pattern reference in Drive — Printed pages 148-151; PDF pages 150-153. Keep the original pages beside this guide for the detailed diagrams and any section specifically referenced above.
Leave a Reply