
Crochet Hanging Succulent with Puff-Stitch Strands
· admin
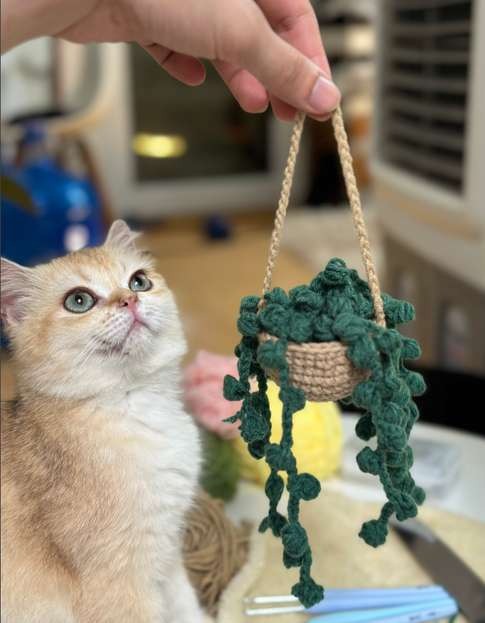
This crochet hanging succulent uses raised puffs spaced along chain stems. Seven to nine strands spill over a small beige pot, with a green insert hiding the stuffing. It is the third car-hanging design in the supplied files and has a bead-like outline that differs from the fern and flowering vines.
Project details
| Skill level | Confident beginner to intermediate |
|---|---|
| Finished size | Miniature ornament; the source gives no finished dimensions. |
| Hook | 2.5–3 mm |
| Pattern source | Car hanging 3, supplied five-page PDF. |
Materials
Superfine beige or brown yarn for the pot, pine-green yarn for the succulent, 2.5–3 mm hook, a little stuffing, needle, marker and scissors.
Read the puff-stitch note first
The supplied file shows the puff being made but does not state a fixed yarn-over count in its text. For a consistent working version, use a three-draw-up puff throughout: yarn over, insert into the indicated chain and pull up a loop three times, then yarn over and draw through the seven loops. This is an editorial stitch definition for clarity. If following a different puff shown in your source copy, keep the same version across all strands.
Use US terms. The pot is single crochet, the insert uses half double crochet before its final sc round, and the succulent combines chains, puffs and slip stitches. Keep the loops of each puff at the same height; a few oversized puffs can make one strand substantially heavier than the others.
Work the mini pot
| Round | Instruction | Count |
|---|---|---|
| 1 | 10 sc in a magic ring. | 10 |
| 2 | Add five evenly spaced increases. | 15 |
| 3–6 | Continue adding five stitches each round. | 20, 25, 30, 35 |
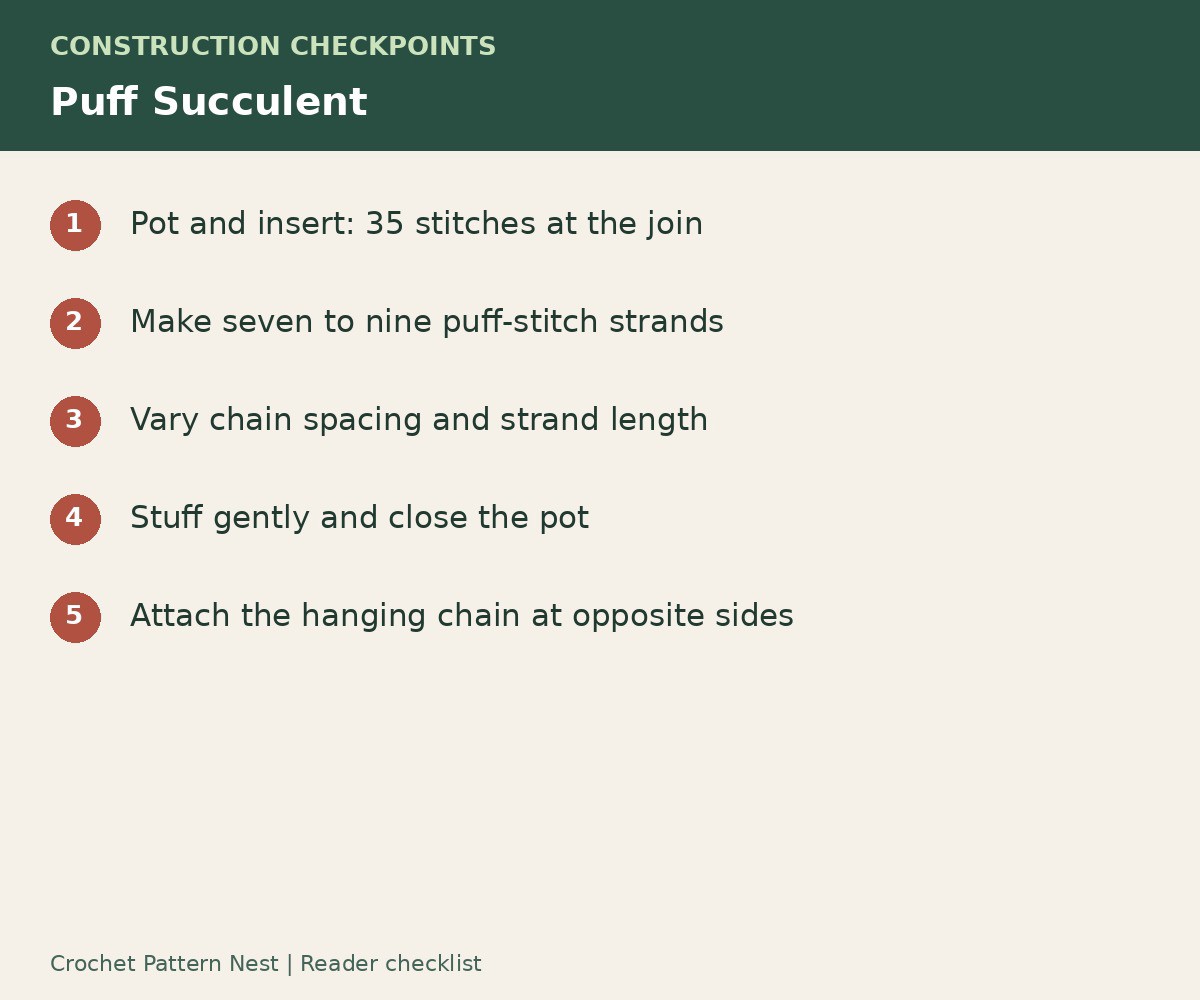
| 7–10 | Sc without increasing. | 35 |
Move the marker at every round so the joining stitch is not counted as part of the wall. The cup should be firm enough to hold its shape before stuffing. If the edge spreads outward, check for an accidental extra increase rather than trying to pull it into shape with the top seam.
Make the green insert
Work 10 hdc into a magic ring. Increase in every stitch for 20, then repeat (hdc, inc) ten times for 30. The fourth round is (5 sc, inc) five times, giving 35 stitches. Leave a long tail. Match the disc to the opening of the pot before sewing on the strands.
Build the hanging strands
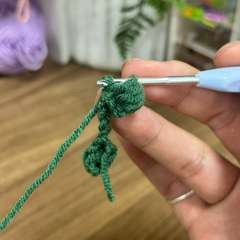
Begin a strand with chain 4. Work a puff into the third chain from the hook and a slip stitch into the next chain. Continue by chaining 8, making a puff into the third chain from the hook and slip stitching into the next chain. Repeat that chain-eight unit until the strand reaches the desired length.
The unused part of each chain-eight section becomes the space between the raised succulent beads. Do not work single crochet back across all eight chains; that would turn the airy stem into a dense strip. Keep the puff anchoring consistent and gently draw each puff into shape before moving on.
Make seven to nine strands, mixing shorter and longer ones. Lay them side by side and compare the spacing. The source does not prescribe one exact repeat count for every strand, so you can vary the lengths while retaining the same puff-and-chain construction.
Join the plants and close the pot
Pin the upper ends of the strands around the center of the insert. Spread the longer trails to different sides and keep a few shorter ones closer to the top. Sew the ends securely into the disc without covering the final 35-stitch edge needed for closing.
Add a modest amount of filling to the pot. Place the green insert on top and sew matching stitches around the rim. Keep the seam loose enough to preserve the circle. If the insert bows upward sharply, remove some filling before completing the seam.
The source uses a hanging chain of 60 chains attached at opposite sides. Suspend the pot before weaving in the last ends and adjust the attachment if the heavier strands make it tilt. A balanced pair of attachment points works better than tightening one side of the chain.
Shape and care
Separate the individual trails with your fingers so the puffs do not bunch into one mass. Clip only the woven-in yarn tails, never the small chain bridges. Follow the yarn label for care and allow the stuffed pot to dry fully after any spot cleaning. The source gives no tested finished size, washing setting or exact yarn consumption.
Frequently asked questions
How many strands are used?
The source suggests seven to nine. Their lengths can vary while keeping the same puff-and-chain unit.
Why is the puff stitch explained separately?
Its wrap count is not specified in the source text. The three-draw-up version here is identified as an editorial choice so it is not confused with a verified source count.
Should the insert be stuffed?
The filling goes inside the pot beneath the green disc. The strands themselves remain unstuffed.
Source and project reference
Car hanging 3, supplied five-page PDF. This article is a source-based crochet guide with its own explanations and clearly identified editorial clarifications. Project photographs and the original diagrams shown here come from the supplied source, with crops described in their captions.
Open the original Car hanging 3.pdf reference in Drive — Whole PDF. Keep the original charts with your project, especially where this guide points to a pictured construction step.
Leave a Reply