Lovely Crochet Collar Pattern: Scalloped Neck Accessory
· admin
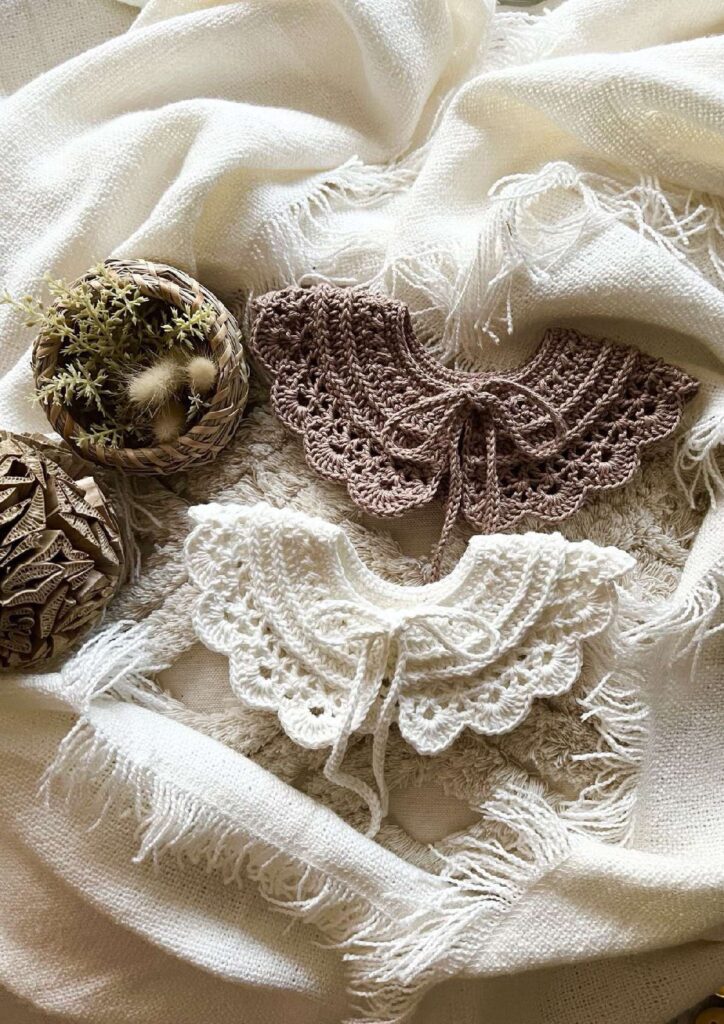
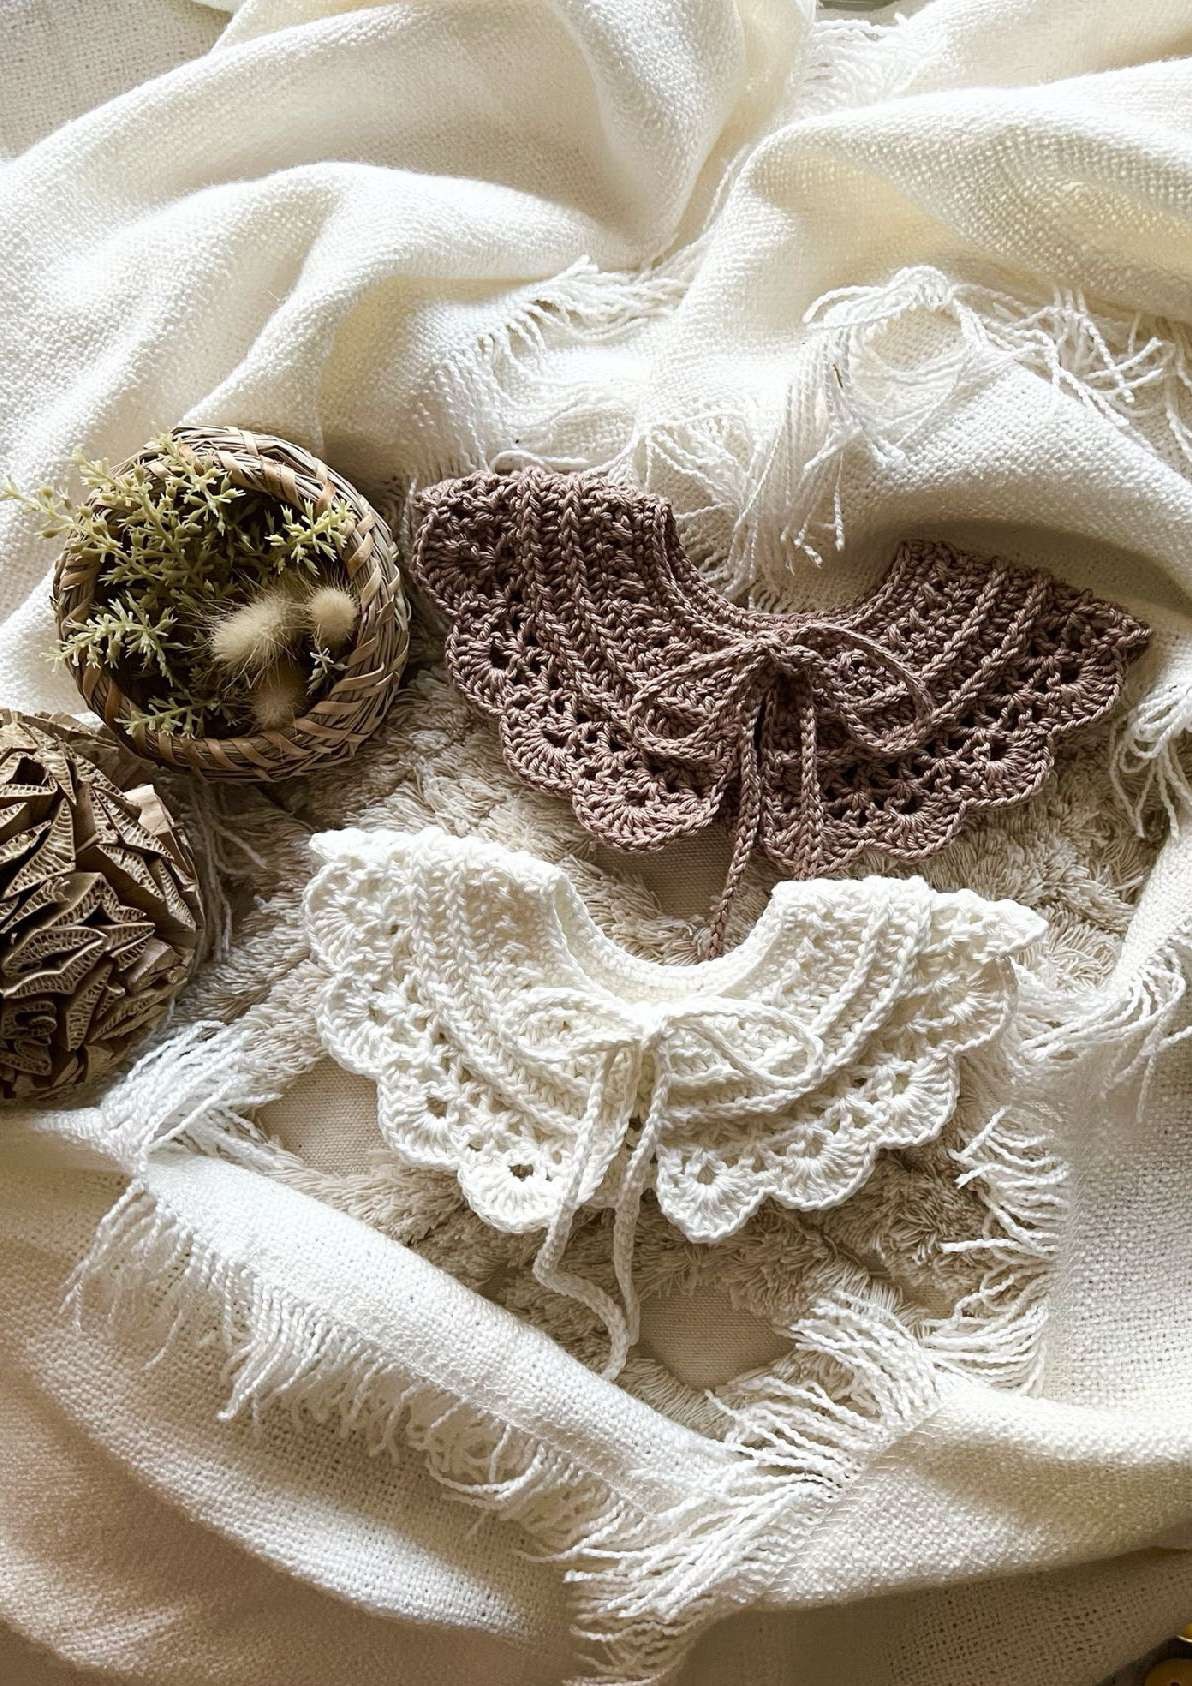
This lovely crochet collar pattern is a decorative neck accessory with crossed stitches, raised texture and a scalloped outer edge. It belongs beside scarves and shawls as a related neckwear project rather than a full-length scarf. The source includes three child sizes and detailed stitch photographs; choose the neck circumference first, then follow one size throughout.
Project at a glance
| Detail | Project information |
|---|---|
| Skill level | Intermediate: crossed dc, front-post sc, V stitches and scallops |
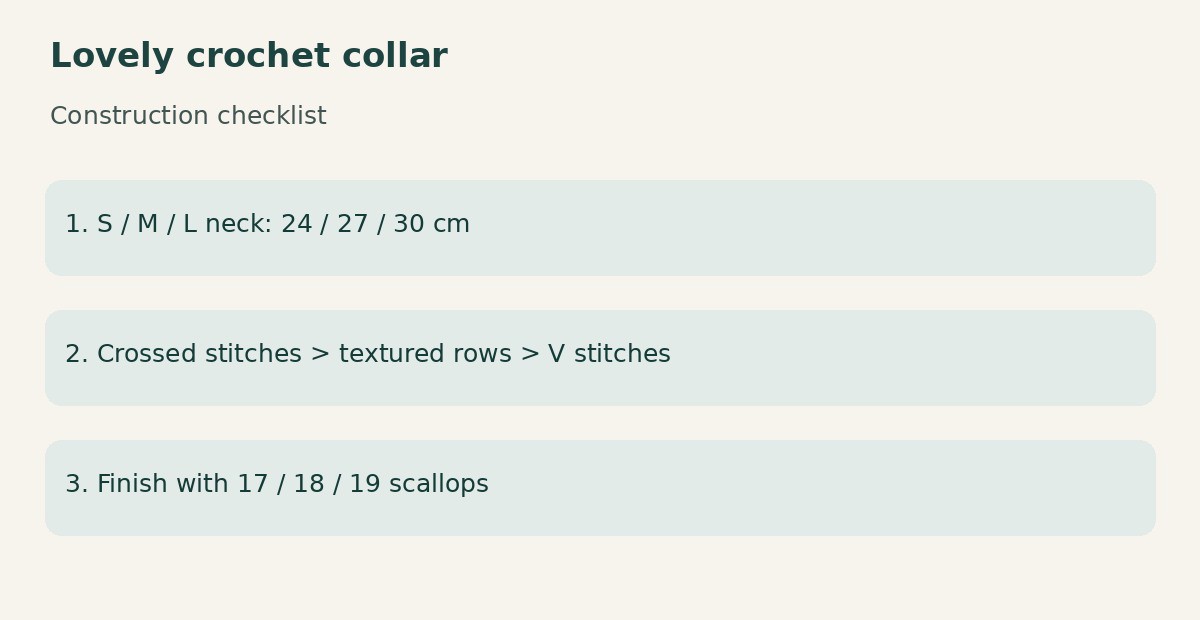
| Finished size | Source neck circumferences: S 24 cm; M 27 cm; L 30 cm |
| Technique | Crochet; US stitch terms in this article unless a source image is labeled otherwise |
| Construction | Follow the project stages below |
Materials and tools
- Yarn and hook that produce the chosen neck measurement; the readable source does not specify a reliable yarn weight, yardage or hook diameter
- A smooth, soft yarn is useful for seeing the crossed and post stitches; swatch before committing
- Yarn needle, scissors and stitch markers
Stitches and pattern notes
ch = chain; sl st = slip stitch; sc = single crochet; hdc = half double crochet; dc = double crochet; tr = treble crochet; st = stitch; sp = space; RS/WS = right/wrong side. A bracket followed by × 3 means repeat the entire bracket three times.
Size S is labeled up to 12 months, M 2–3 years and L 4–6 years, but actual neck measurement matters more than the age label. The source excludes turning chains and decorative chains from its stitch counts. CL here means eight complete dc in one space, not eight unfinished dc closed together. V-stitch = (dc, ch 2, dc) in one location.
Understand the special stitches
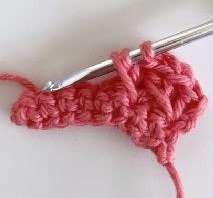
Crossed dc (CDC): the source uses overlapping pairs. Start with an edge dc, skip one stitch and dc in the next; cross back and dc into the previous anchor. For the next crossed pair, advance and cross back into the previous pair’s first anchor, as shown in the source photographs. This differs from a simple independent two-stitch X repeat. Front-post sc: insert the hook front-to-back-to-front around the post of the corresponding stitch, draw up a loop and complete a sc. Keep these stitches relaxed so they do not pinch the collar.
Size-by-size construction sequence
| Stage | S | M | L |
|---|---|---|---|
| Foundation | 55 chains | 61 chains | 67 chains |
| First sc row | 66 sc | 72 sc | 78 sc |
| Crossed row | 1 dc, 32 CDC, 1 dc | 1 dc, 35 CDC, 1 dc | 1 dc, 38 CDC, 1 dc |
| Hdc increase row | 82 hdc | 88 hdc | 94 hdc |
| Post-stitch row | 81 front-post sc | 87 front-post sc | 93 front-post sc |
| Second hdc shaping row | 104 hdc | 110 hdc | 116 hdc |
| Second post row | 103 front-post sc | 109 front-post sc | 115 front-post sc |
| First V row | 33 V + 3 edge dc | 35 V + 3 edge dc | 37 V + 3 edge dc |
| Second V row | 33 V + 4 edge dc | 35 V + 4 edge dc | 37 V + 4 edge dc |
| Scalloped edge | 17 shells | 18 shells | 19 shells |
Use the original illustrated size rows for the exact distribution of increases. For example, S begins after skipping the first chain with 2 sc, (inc, 3 sc) × 6, 2 sc, (3 sc, inc) × 6, 2 sc. This consumes 54 chains and produces 66 sc. Do not distribute those increases randomly: their placement helps the collar curve around the neckline.
Shape the decorative outer edge
The first V row is worked across the shaped body, skipping stitches as indicated in the source. On the following row, place new V stitches between the previous V stitches, into the upside-down V openings shown in the photographs. Finish with the specified edge dc. Alternate an eight-dc shell in one V space with a sc in the next. S uses 16 shell/sc repeats followed by its final shell; M uses 17 repeats and L uses 18. Anchor the last shell at the edge and keep the yarn attached.
Finish the opening and ties
Work 13 sc along the first short side. At the neckline, chain 61, then sl st back along 60 chains for the first tie. Work one sc into each foundation chain around the neck opening: 54 for S, 60 for M or 66 for L. Make the second tie in the same way, work 13 sc down the remaining short side, join to the first shell and weave in the ends. The original source contains a one-stitch reduction between each hdc row and its following post-stitch row; compare the labeled photos rather than silently adding an extra post stitch.
Tips for a clean finish
- Measure the chain around the intended neckline before adding the decorative rows.
- Keep the source’s size labels together; mixing a medium body with a small edging count changes the curve.
- For children, use ties only under supervision and remove the collar for sleep.
Frequently asked questions
Is this a scarf?
It is a related collar or neck accessory with a shaped opening and scalloped edge. It is included in this neckwear batch with that distinction made explicit.
Can I choose a different yarn?
Yes, but there is no verified universal hook size in the source. Swatch the neckline and check the circumference, softness and drape before making the full collar.
More scarf and shawl ideas
Explore the Scarves & Shawls collection for more neckwear projects. Compare the yarn weight, width and construction before choosing your next pattern: an airy lace wrap and a dense winter scarf need different fabrics even when they use similar stitches.
Pattern source and credit
Based on Collar lovely.pdf, Whole PDF. The readable source does not identify an individual designer. Photographs show the original source samples; construction checklists are editorial illustrations. The article reorganizes the source and adds practical explanations. Source ambiguities are identified where relevant; this is a document-based adaptation, not a claim of physical testing.
Open the original pattern in Drive to compare the instructions, source photographs and original layout.
Leave a Reply