
Crochet Magic Potion Bottle Pattern with a Removable Cork
· admin
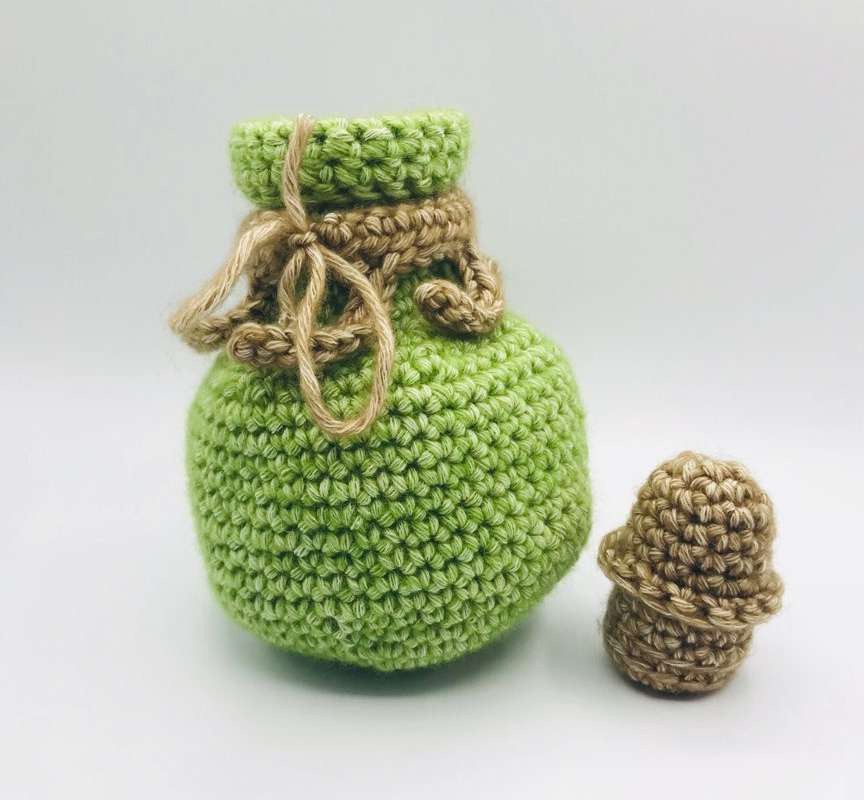
Crochet an open potion bottle with a rolled lip, a separate stuffed stopper and a fringe-like neck decoration. The bottle itself is not stuffed: the dense single crochet walls form a small hollow container. Test the cork in the opening while filling it so it stays removable and fits the bottle you actually made.
Project at a glance
| Detail | What to expect |
|---|---|
| Skill level | Confident beginner with shaping |
| Finished size | Source sample about 6 inches tall and 4 inches wide |
| Pattern language | English; stitch terms explained below |
| Construction | See the component and assembly sections |
Materials and tools
- Scheepjes Stone Washed XL or a medium/worsted yarn
- Canada Jade for the bottle; Boulder Opal for the cork and neck band in the source
- 3.5 mm hook
- A little polyfill for the stopper only
- Tapestry needle, marker and scissors
Stitches and pattern notes
Unless stated otherwise, this article uses US crochet terms. ch = chain; sl st = slip stitch; sc = single crochet; hdc = half double crochet; dc = double crochet; inc = 2 stitches in one stitch; dec = work 2 stitches together; MR = magic ring; BLO/FLO = back/front loop only. Numbers in the final column are the finished stitch counts.
Use US terms. Although the source calls them rows, the bottle and cork instructions are worked around in spirals unless a join is specifically stated. Use a marker to track the first stitch. The neck decoration is worked flat. Dec means an invisible single crochet decrease.
Crochet the hollow bottle
Bottle in green
| Round / row | Instructions | Count |
|---|---|---|
| 1 | 6 sc in MR. | 6 |
| 2 | 6 inc. | 12 |
| 3 | (inc, sc) × 6. | 18 |
| 4 | (inc, 2 sc) × 6. | 24 |
| 5 | (2 sc, inc, sc) × 6. | 30 |
| 6 | (inc, 4 sc) × 6. | 36 |
| 7 | (3 sc, inc, 2 sc) × 6. | 42 |
| 8 | (inc, 6 sc) × 6. | 48 |
| 9–19 | Sc around for 11 rounds. | 48 |
| 20 | (dec, 6 sc) × 6. | 42 |
| 21 | (3 sc, dec, 2 sc) × 6. | 36 |
| 22 | (dec, 4 sc) × 6. | 30 |
| 23 | (sc, dec, 2 sc) × 6. | 24 |
| 24 | (6 sc, dec) × 3. | 21 |
| 25–30 | Sc around. | 21 |
| 31 | FLO sc around. | 21 |
| 32–34 | Sc around. | 21 |
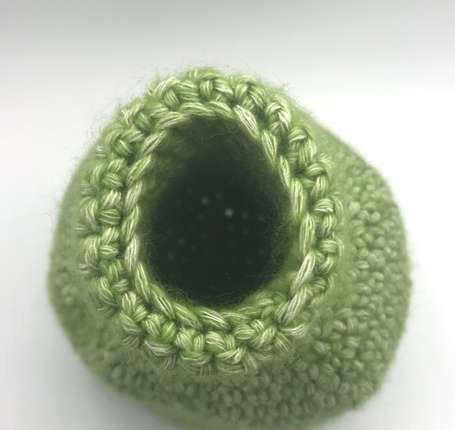
Fasten off and weave the end securely into the neck. Roll the final section downward to create the lip. Do not add stuffing to the bottle body. The tighter hook-to-yarn pairing is what helps its hollow walls keep their shape. If the fabric collapses, check your tension and yarn before trying to force a larger cork into the opening.
Removable cork in contrast color
| Round / row | Instructions | Count |
|---|---|---|
| 1 | 6 sc in MR. | 6 |
| 2 | 6 inc. | 12 |
| 3–4 | Sc around. | 12 |
| 5 | (4 sc, inc) × 2, 2 sc. | 14 |
| 6 | Sc around. | 14 |
| 7–8 | BLO sc around. | 14 |
| 9 | Sc around. | 14 |
| 10–11 | BLO sc around. | 14 |
| 12 | 7 dec; leave a long tail. | 7 |
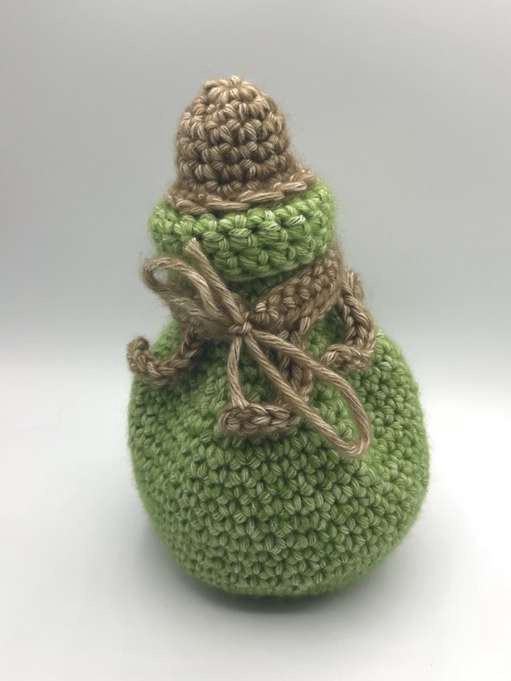
Stuff the cork as you work, repeatedly checking its fit in the bottle. Close the remaining seven stitches by drawing a tail through their front loops. Bring that tail through the center from bottom to top and tighten slightly to flatten the base of the stopper. Secure the shaping pass and hide the end.
For the raised cork decoration, join yarn to the reserved loops nearest its top, chain 1 and work one sc into every loop around. Slip stitch to the starting sc and fasten off. Keep the decorative rim clear of the portion that slides inside the neck.
Tendril neck decoration
Leave a long starting tail, chain 26 and work 25 hdc back from the second chain. Chain 1 and turn. Work five groups across the band: in the first stitch of each group, slip stitch, chain 10 and work 9 slip stitches back down the new chain; then slip stitch along the next four band stitches. Each group uses five of the twenty-five band positions and creates one hanging tendril. Fasten off after the fifth group.
Bring the ending tail to the opposite band end. Wrap the band around the bottle neck and either sew the ends together or tie the two tails into a bow. Check that the band does not constrict the neck opening. Seat the cork inside, leaving enough of its upper section visible to lift it out without tugging on the decorative rim.
Display and care
The bottle works as a small fantasy shelf decoration alongside crocheted pumpkins or a witch hat. It is a yarn container and is not suitable for liquids or an open flame. Remove the cork before spot-cleaning so both pieces can dry thoroughly. If the neck band is tied, taking it off separately helps preserve the hanging tendrils.
Tips for a neat finish
- Check the 21-stitch neck before beginning its rolled lip.
- Fit the stopper several times as you add filling; yarn and tension change its diameter.
- Keep the bottle hollow and stuff only the separate cork.
- Count five tendrils along the 25-stitch band.
Frequently asked questions
Is the cork sewn in?
No. It is a separate removable stopper, adjusted by how firmly it is stuffed.
Does the bottle hold liquid?
No. It is a decorative crocheted container without a waterproof lining.
Why are some cork rounds BLO?
They leave loops for decorative ridges and help shape the stopper’s different sections.
More Halloween crochet ideas
Build a coordinated seasonal display with our Halloween crochet collection. For another small project, explore the crochet ghost tutorial or browse these Halloween coaster ideas.
Pattern source and credit
This article is based on Potion bottle.pdf. Designer not named in the readable source text. The project photographs come from that source and show its original samples. The text has been organized into an article with additional explanations; any editorial clarification is identified where it matters. This is a document-based adaptation, without a claim that we physically tested the finished project.
Open the original pattern reference for the source photographs and original layout.
Leave a Reply