
Crochet Spiderweb Bunting Pattern for Halloween
· admin
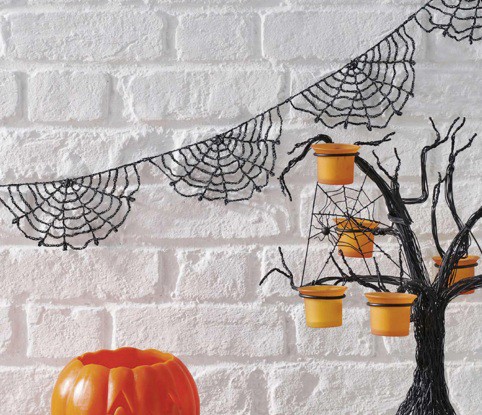
Crochet eight delicate half-webs and join them into a shimmering Halloween garland. This spiderweb bunting combines black cotton thread with a fine silver strand, letting the open chain spaces show clearly against a light wall. Each web grows outward in eight rows, and the next web joins at its final picot.
Project at a glance
| Detail | What to expect |
|---|---|
| Skill level | Intermediate lace; source calls it “a bit tricky” |
| Finished size | Each web about 10 × 20 cm; eight-web bunting approximately 160 cm long |
| Pattern language | English; stitch terms explained below |
| Construction | See the component and assembly sections |
Materials and tools
- DMC Cotton Perle size 8, black 310: two 10 g / 80 m balls in the source
- DMC Diamant size 5 metallic, silver D415: three 35 m reels
- 3 mm hook
- Tapestry needle, scissors and blocking pins
Stitches and pattern notes
Unless stated otherwise, this article uses US crochet terms. ch = chain; sl st = slip stitch; sc = single crochet; hdc = half double crochet; dc = double crochet; inc = 2 stitches in one stitch; dec = work 2 stitches together; MR = magic ring; BLO/FLO = back/front loop only. Numbers in the final column are the finished stitch counts.
The source uses UK treble crochet (tr), equivalent to US double crochet (dc). All instructions below use US dc; do not substitute US treble. Hold black and silver together throughout as one working strand. Each row begins with a turning chain that counts as the first dc plus a chain space. A picot is ch 5, then sl st into the stitch at the base of those five chains.
Crochet the first half-web
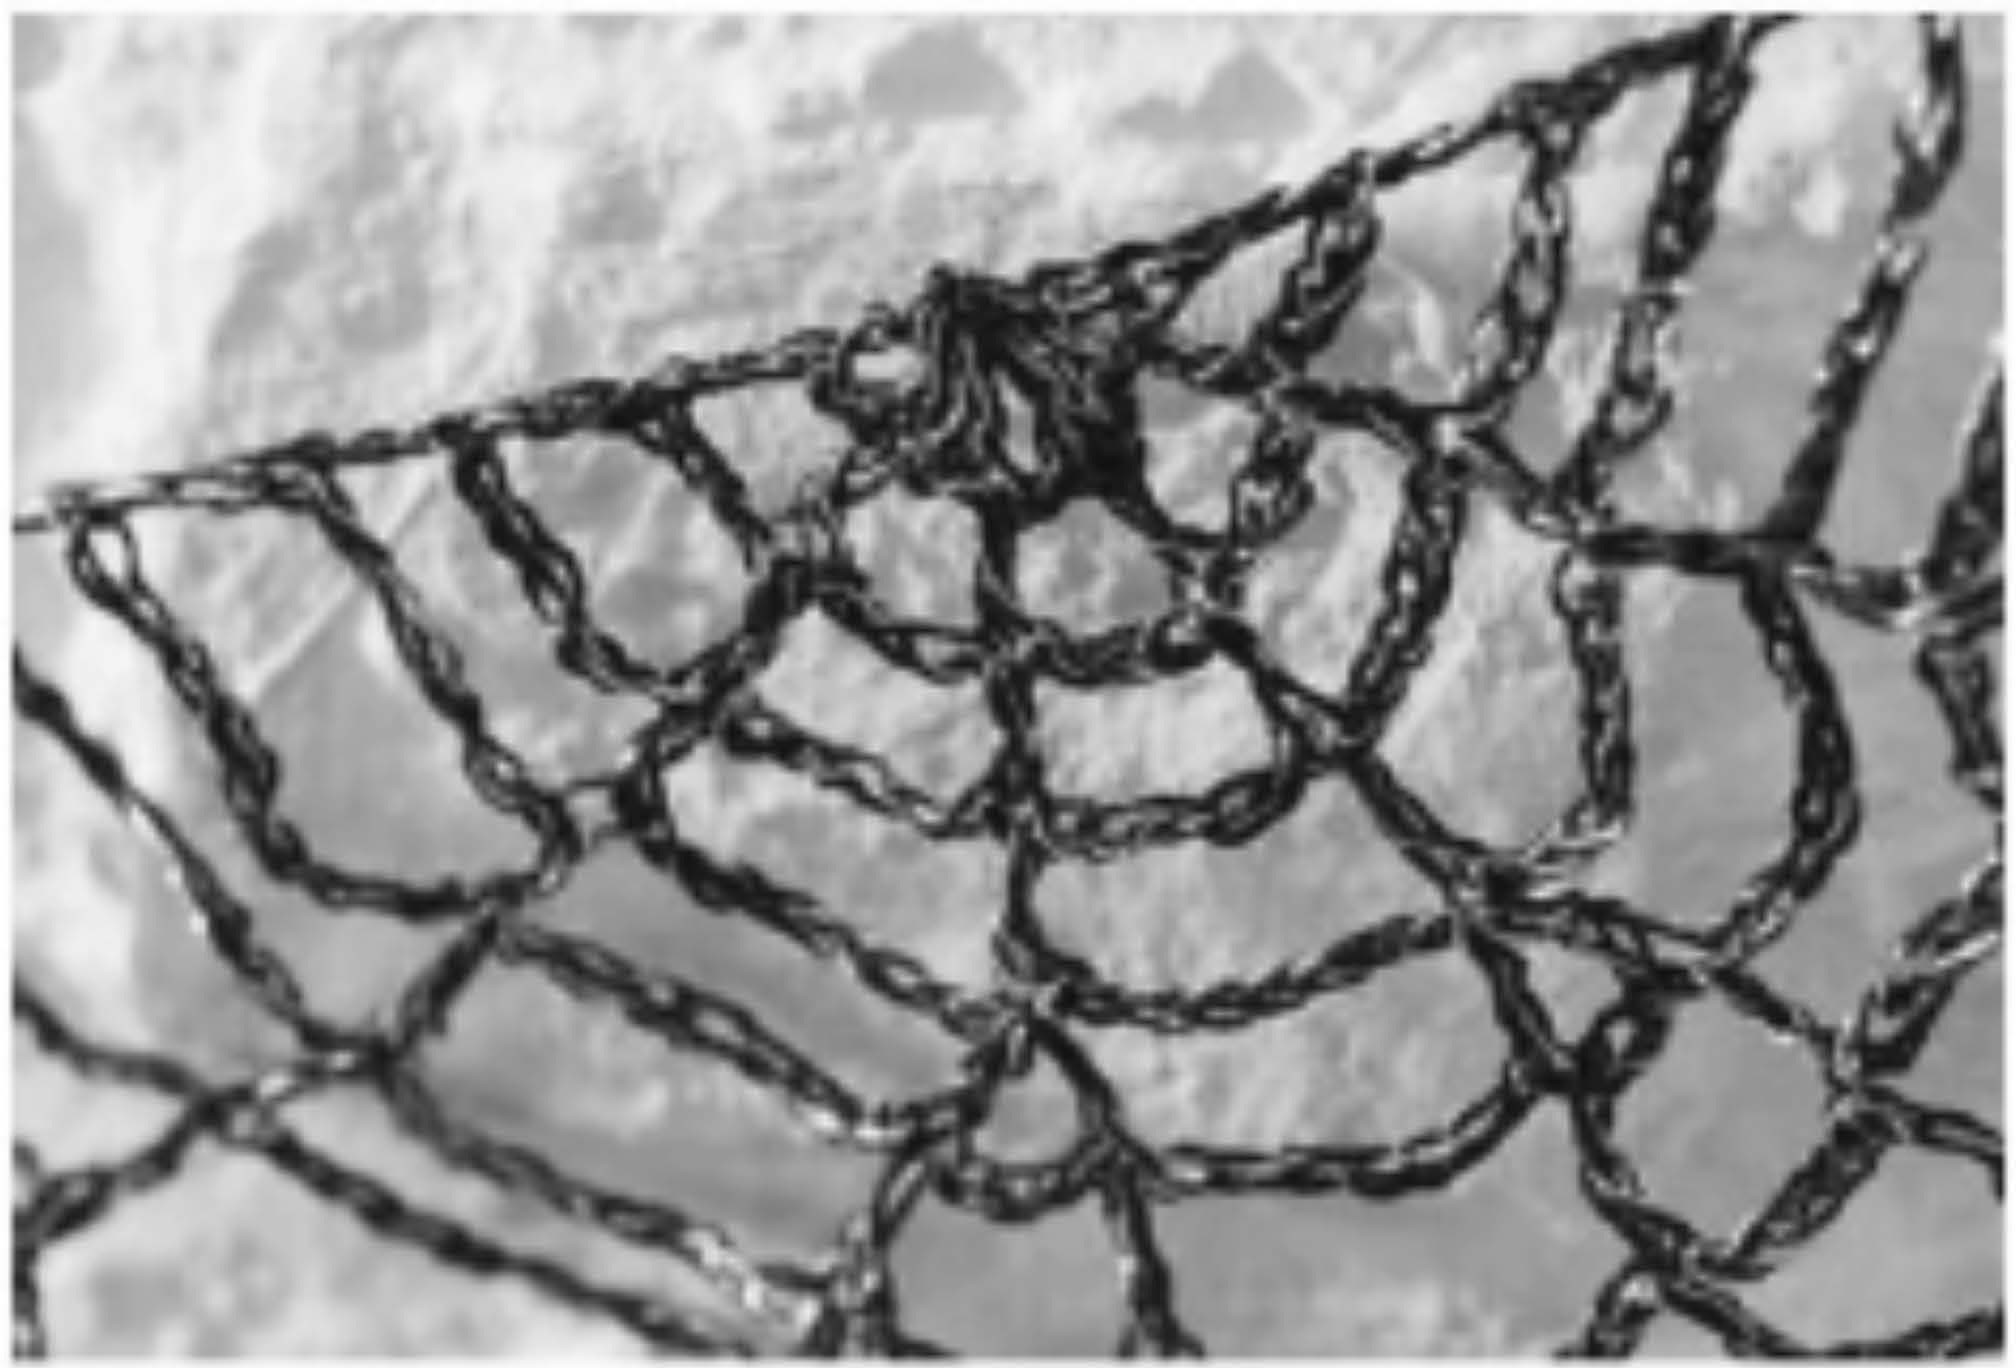
Chain 5 with both strands held together. All stitches of the first fan go into the fifth chain from the hook. The remaining beginning chain acts as the first dc and a chain-1 space, giving six spokes rather than five.
Eight-row web in US terms
| Round / row | Instructions | Count |
|---|---|---|
| 1 | (Dc in fifth chain, ch 1) × 4; dc in the same chain; turn. | 6 dc, 5 ch-1 spaces |
| 2 | Ch 6; (dc in next dc, ch 3) × 4; dc in final dc; turn. | 6 dc, 5 ch-3 spaces |
| 3 | Ch 8; (dc in next dc, ch 5) × 4; dc in final dc; turn. | 6 dc, 5 ch-5 spaces |
| 4 | Ch 10; (dc in next dc, ch 7) × 4; dc in final dc; turn. | 6 dc, 5 ch-7 spaces |
| 5 | Ch 12; dc in next dc, ch 7; (dc, ch 3, dc) in next dc; ch 7; (dc, ch 3, dc) in next dc; ch 7; dc in next dc; ch 9; dc in final dc; turn. | 8 dc; spaces 9,7,3,7,3,7,9 |
| 6 | Ch 14; dc in next dc; (ch 9, dc in next dc, ch 5, dc in next dc) × 2; ch 9, dc in next dc, ch 11, dc in final dc; turn. | 8 dc; spaces 11,9,5,9,5,9,11 |
| 7 | Ch 16; dc in next dc; ch 11; (dc in next dc, ch 7, dc in next dc, ch 11) × 2; dc in next dc, ch 13, dc in final dc; turn. | 8 dc; spaces 13,11,7,11,7,11,13 |
| 8 | Ch 8; sl st in fifth chain from hook; ch 15, dc in next dc, picot; (ch 13, dc in next dc, picot, ch 9, dc in next dc, picot) × 2; ch 13, dc in next dc, picot; ch 15, dc in final stitch, picot. | 8 dc, 8 picots, 7 chain spaces |
On Rows 2–7 the beginning chain contains three chains for the dc’s height and the rest for the first space. For example, ch 12 represents dc plus ch 9. Work the final stitch into the top of the previous row’s turning dc, not into a chain space beside it. Fasten off after Row 8 and weave in the ends without drawing the outer loops tight.
Join the next seven webs
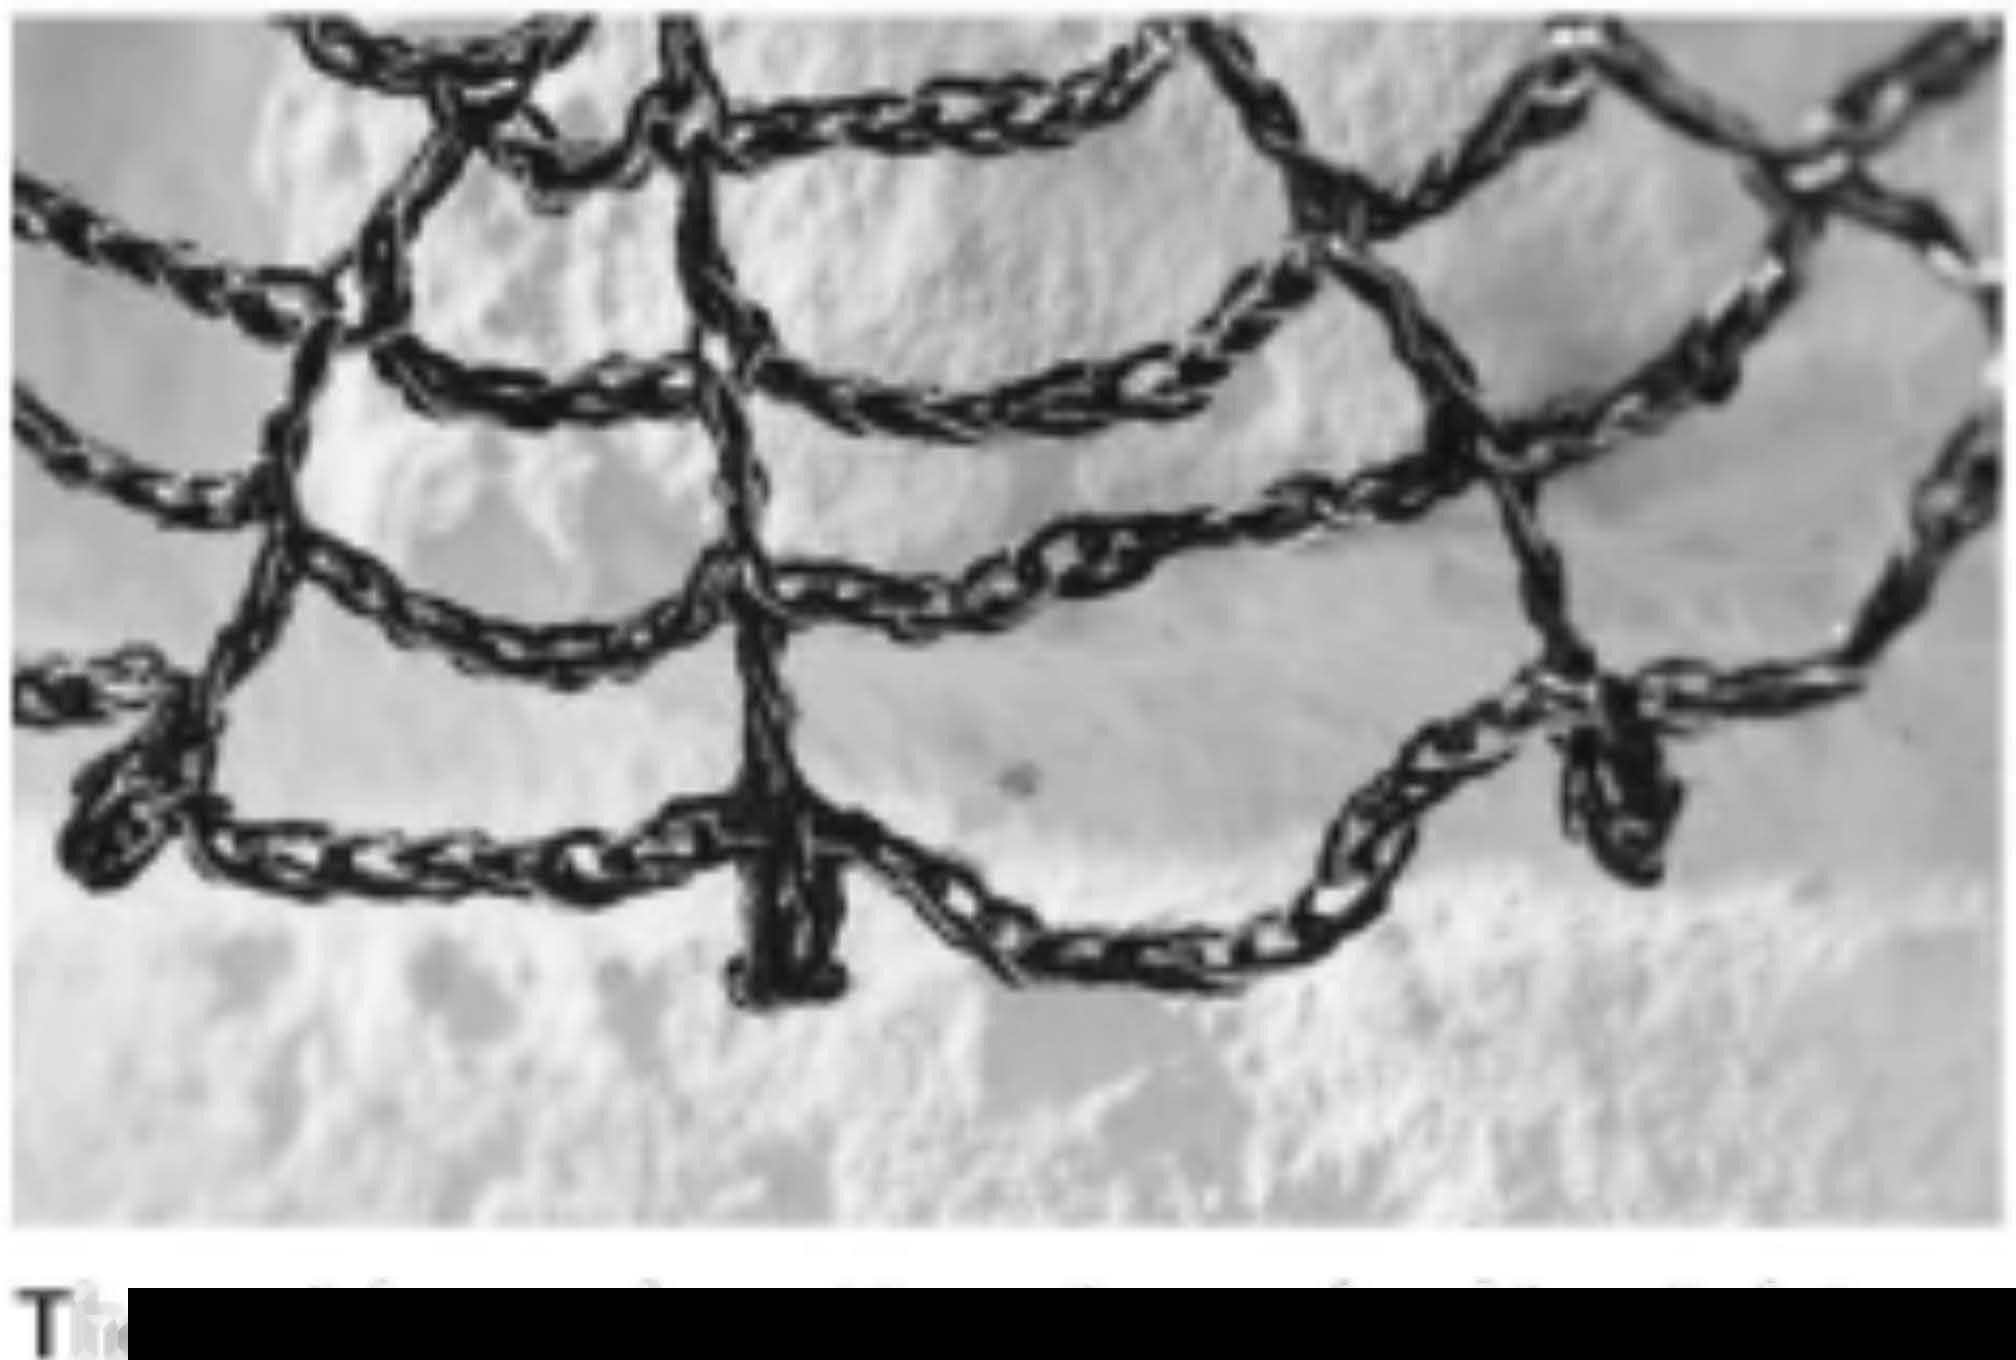
For each additional web, repeat Rows 1–7 above. Work Row 8 as for the first web through the last dc, but stop before its final standalone picot. Chain 2, slip stitch into the first picot of the previous web, chain 2, then slip stitch into the top of the current web’s final dc. That joined loop replaces the final picot and connects the two motifs. Fasten off and repeat until all eight webs are joined.
Lay the previous web beside the current one before joining so both face the same way. The joining point is at the outer corner, rather than at the central magic-ring-like fan. A twisted join is easier to fix immediately than after the entire garland has been blocked.
Block and hang the bunting
Lightly block the finished strip to open the arches. Pin the chain spaces symmetrically, keeping the picots distinct. Use a method suitable for both the cotton and metallic thread, then leave the piece supported until completely dry. Arrange the eight half-webs along a mantel or light-colored wall so their dark outlines show clearly. The source estimates a finished length of about 160 cm; your tension and blocking will affect it.
Tips for a neat finish
- Keep both strands together when drawing through loops so the metallic thread does not snag.
- Check six spokes in Rows 1–4 and eight after Row 5.
- Mark the top of the turning chain if it is difficult to see in black thread.
- Test blocking on a small sample before using heat on metallic thread.
Frequently asked questions
Is the original tr a US treble?
No. It is a UK treble, equivalent to US dc. This article converts it to US terminology throughout.
Can I make fewer than eight webs?
Yes. Each new motif joins in its final row, so you can stop at the length you need.
Why does Row 5 have more spokes?
Two dc pairs separated by ch 3 are added into the middle spokes, increasing the total from six to eight.
More Halloween crochet ideas
Build a coordinated seasonal display with our Halloween crochet collection. For another small project, explore the crochet ghost tutorial or browse these Halloween coaster ideas.
Pattern source and credit
This article is based on Halloween cobweb.pdf. Designer not named in the readable source text. The project photographs come from that source and show its original samples. The text has been organized into an article with additional explanations; any editorial clarification is identified where it matters. This is a document-based adaptation, without a claim that we physically tested the finished project.
Open the original pattern reference for the source photographs and original layout.
Leave a Reply