Crochet Baby Bat Pattern: Folded Wings and a Tiny Bow Tie
· admin
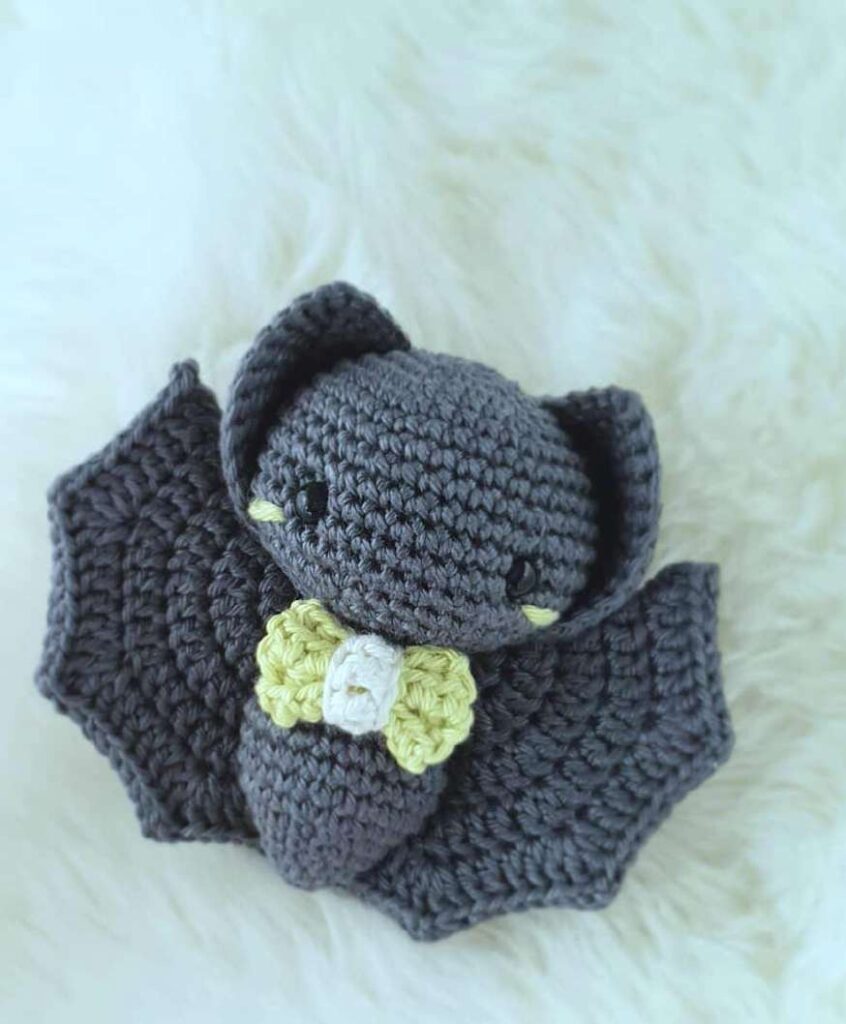
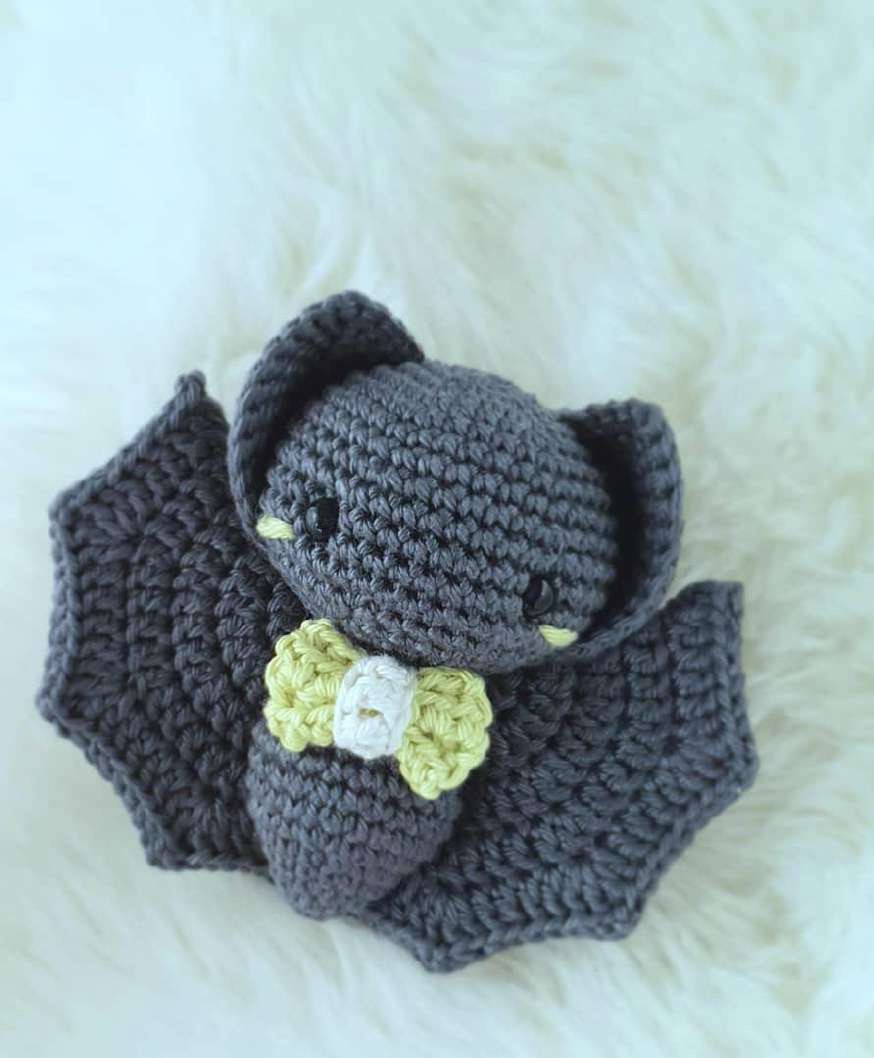
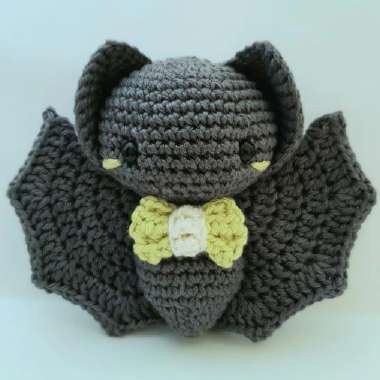
This crochet baby bat has a rounded head, a small tapered body and dramatic folded wings. A little bow tie gives the finished bat a gentle expression, while the shaped ears make the silhouette recognizable even in pale or pastel yarn. Make the parts separately, then pin everything in place before sewing so the wings sit evenly around the body.
Project at a glance
| Detail | What to expect |
|---|---|
| Skill level | Intermediate assembly; basic amigurumi stitches |
| Finished size | Not specified in the source; dependent on yarn and tension |
| Pattern language | English; stitch terms explained below |
| Construction | See the component and assembly sections |
Materials and tools
- About 25 g of main-color yarn; the source uses Scheepjes Catona
- Small amounts of an accent color and white for blush and bow tie
- 2.25 mm crochet hook, adjusted to your yarn
- 6 mm safety eyes for the source yarn, or embroidered eyes
- Fiberfill, tapestry needle, pins, scissors and a stitch marker
Stitches and pattern notes
Unless stated otherwise, this article uses US crochet terms. ch = chain; sl st = slip stitch; sc = single crochet; hdc = half double crochet; dc = double crochet; inc = 2 stitches in one stitch; dec = work 2 stitches together; MR = magic ring; BLO/FLO = back/front loop only. Numbers in the final column are the finished stitch counts.
The head and body each begin with a separate 6-sc magic ring before the source’s numbered Round 1. This article labels that initial ring as the setup round so the later eye and ear placement references keep their original numbering. Keep double crochet wing stitches compact: a very loose wing will look oversized beside tightly worked single crochet pieces. For a toy intended for a baby or toddler, embroider the eyes instead of fitting plastic parts.
How to crochet the baby bat
Head
| Round / row | Instructions | Count |
|---|---|---|
| Setup | 6 sc in MR. | 6 |
| 1 | Inc in every stitch. | 12 |
| 2 | (sc, inc) × 6. | 18 |
| 3 | (2 sc, inc) × 6. | 24 |
| 4 | (3 sc, inc) × 6. | 30 |
| 5 | (4 sc, inc) × 6. | 36 |
| 6–7 | Sc around for 2 rounds. | 36 |
| 8 | (5 sc, inc) × 6. | 42 |
| 9–12 | Sc around for 4 rounds. | 42 |
| 13 | (4 sc, dec) × 7. | 35 |
| 14 | (3 sc, dec) × 7. | 28 |
| 15 | (2 sc, dec) × 7. | 21 |
| 16 | (sc, dec) × 7. | 14 |
Before the opening narrows, position the eyes between source Rounds 10 and 11, leaving eight visible stitches between them. The original photo measures each eye back from the round marker: one at seven stitches back and the other at seventeen. Check the face from the front before locking the backs. Pack small amounts of fiberfill above and around the eye line, then fill the rest of the head without stretching the decrease rounds. Slip stitch and fasten off; the 14-stitch opening joins to the body.
Body
| Round / row | Instructions | Count |
|---|---|---|
| Setup | 6 sc in MR. | 6 |
| 1 | (inc, sc) × 3. | 9 |
| 2 | (inc, 2 sc) × 3. | 12 |
| 3 | (inc, 3 sc) × 3. | 15 |
| 4 | (inc, 4 sc) × 3. | 18 |
| 5 | (inc, 2 sc) × 6. | 24 |
| 6–8 | Sc around for 3 rounds. | 24 |
| 9 | (dec, 6 sc) × 3. | 21 |
| 10 | Sc around. | 21 |
| 11 | (dec, 5 sc) × 3. | 18 |
| 12 | (3 sc, dec, 2 sc, dec) × 2. | 14 |
Work 3 additional sc, then a slip stitch. Leave a sewing tail and stuff the body firmly enough to hold its taper. Match its final slip stitch to the head’s final slip stitch and join the openings through the front loops.
Ears: make two
| Round / row | Instructions | Count |
|---|---|---|
| Setup | 6 sc in MR. | 6 |
| 1 | (3 sc in one stitch, sc) × 3. | 12 |
| 2 | Sc, (3 sc in one stitch, 3 sc) × 2, 3 sc in one stitch, 2 sc. | 18 |
| 3 | 2 sc, (3 sc in one stitch, 5 sc) × 2, 3 sc in one stitch, 3 sc. | 24 |
| 4 | 3 sc, (3 sc in one stitch, 7 sc) × 2, 3 sc in one stitch, 4 sc. | 30 |
| 5 | 4 sc, (inc, 9 sc) × 2, inc, 4 sc; sl st. | 33 |
Keep approximately 40 cm of yarn for each ear. Do not stuff these flat triangular pieces. Embroider two short blush stitches beside each eye between Rounds 11 and 12, then secure the ends inside the head.
Folded wings: make two
| Round / row | Instructions | Count |
|---|---|---|
| 1 | In MR: ch 3 and 15 dc; join as shown in the source. | 16 dc including ch 3 |
| 2 | Ch 3, dc in the same starting stitch, (dc, dc-inc) × 7, dc; join. | 24 |
| 3 | Ch 3, dc in the same starting stitch, (2 dc, dc-inc) × 7, 2 dc; join. | 32 |
| 4 | Ch 3, dc in the same starting stitch, (3 dc, dc-inc) × 7, 3 dc; join. | 40 |
| 5 | Ch 3, dc in the same starting stitch, ch 2, 2 dc there; then (4 dc, [2 dc, ch 2, 2 dc] in the next stitch) × 7, 4 dc; join. | 64 dc + 8 ch-2 spaces |
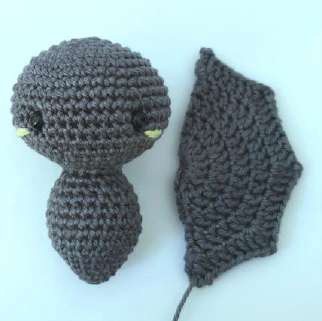
The source labels the last round “80” by including the sixteen chain stitches as well as the 64 dc. It does not mean 80 dc. The original joins into the second chain of the beginning ch-3; keep this join consistent. Leave about 60 cm of yarn, fold each wing in half so the opposite ch-2 points match, and sew the paired edges through back loops. Bring the sewing tail back through the wing to its starting point.
Bow tie
With the accent color, chain 8. Starting in the third chain, work 6 hdc across. Chain 2 and turn, then work 6 hdc for each of three more rows, giving four rows total. Fasten off. For the white center band, use the source’s chain-7 strip: start a dc in the third chain, make four dc in total and slip stitch into the final chain. This separates the four dc from the final joining stitch, rather than counting all five available chains as dc. Wrap the band around the pinched center of the colored rectangle, secure it at the back and keep a tail for attaching.
Assemble the ears, wings and bow
Set each ear’s front corner between head Rounds 12 and 13, two stitches behind the blush. The back corner sits between Rounds 8 and 9; pin the pointed top near Rounds 3–4. Check both ears from the front, then sew around their lower edges. Pin the wings in a narrow V: their magic rings sit near the neck, about 3–4 stitches apart, and their bottom tips approach the tail. Sew from the bottom upward, taking an anchoring stitch every 2–3 body rounds. Add two extra attachment points where needed so each wing hugs the body. Sew the bow between the second and third body rows below the head.
Tips for a neat finish
- Pin both wings before sewing the first one; their angles affect the whole outline.
- Add stuffing gradually around the eyes so they face forward rather than downward.
- Compare the height of a folded wing with the head and body; switch to a smaller hook for the wings if needed.
- Remove every assembly pin and gently reshape the bat with your fingertips.
Frequently asked questions
Can I use a different yarn?
Yes. Change the hook and eye size with the yarn, and check the wing-to-body proportions before assembly.
Are the wings stuffed?
No. They are folded and seamed flat; the head and body supply the three-dimensional shape.
Can I omit the bow tie?
Yes. It is a separate decorative piece and does not support any structural seam.
More Halloween crochet ideas
Build a coordinated seasonal display with our Halloween crochet collection. For another small project, explore the crochet ghost tutorial or browse these Halloween coaster ideas.
Pattern source and credit
This article is based on Baby Bat.pdf. Designer not named in the readable source text. The project photographs come from that source and show its original samples. The text has been organized into an article with additional explanations; any editorial clarification is identified where it matters. This is a document-based adaptation, without a claim that we physically tested the finished project.
Open the original pattern reference for the source photographs and original layout.
Leave a Reply