
Easy Peasy Crochet Baby Blanket with Granny-Style Rows
· admin
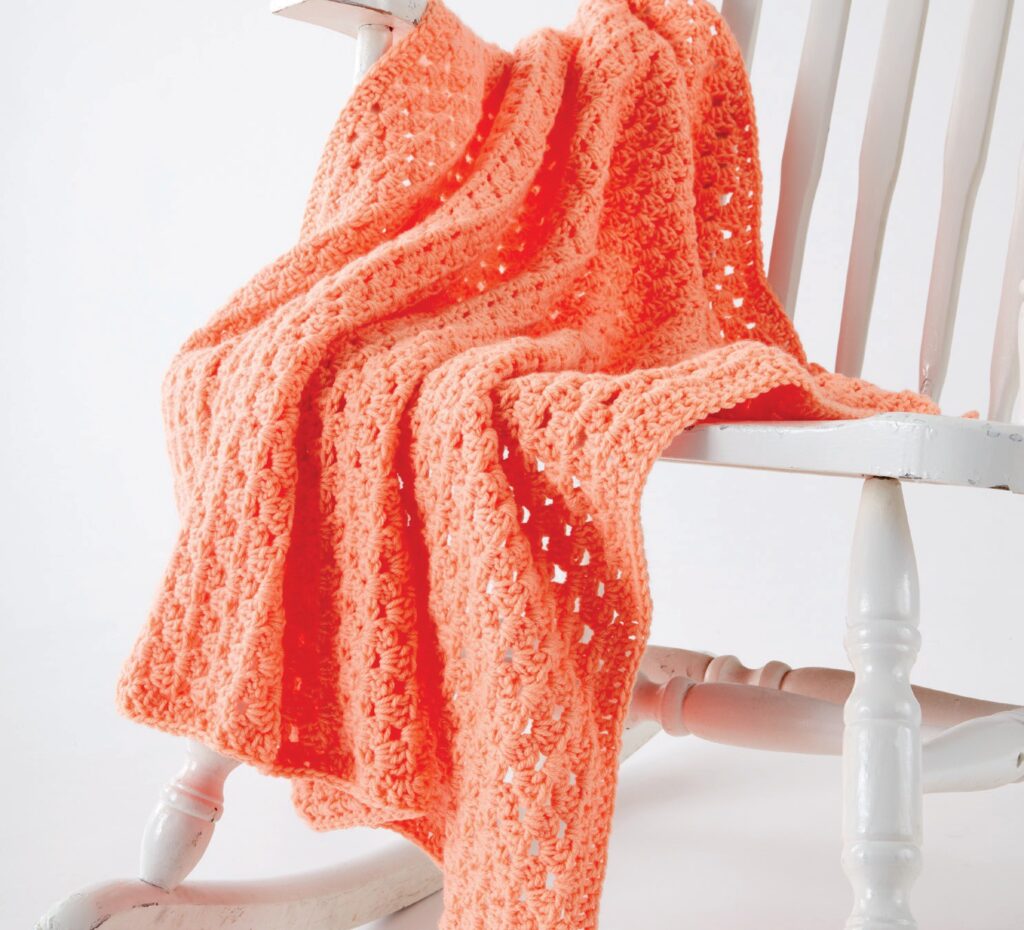
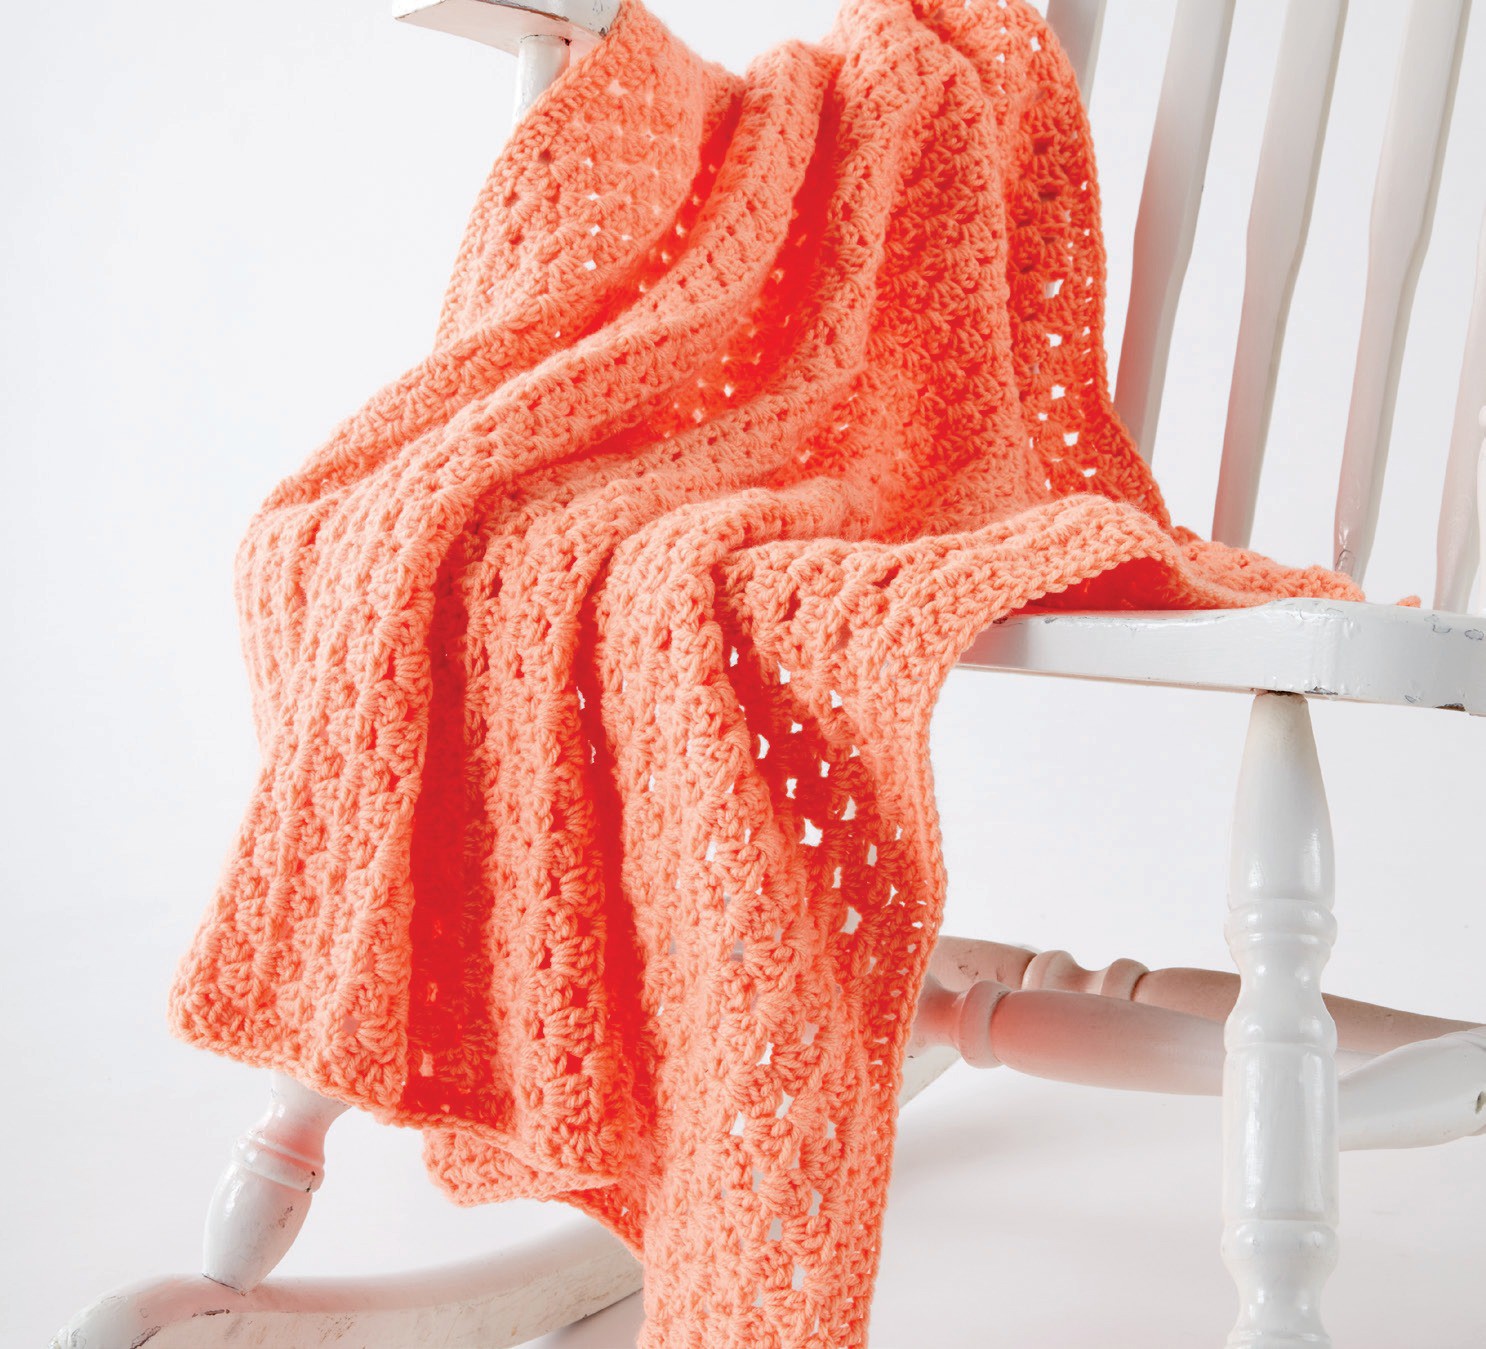
This Easy Peasy crochet baby blanket from Caron / Yarnspirations uses rows of three-double-crochet groups. Working into the gaps between groups makes the repeat easy to see, while a plain double-crochet border gives the peach sample a finished edge. The source includes a useful stitch diagram; this written version explains the edge changes between the two repeating rows.
Materials, Size and Gauge
| Item | Source specification |
|---|---|
| Yarn | Caron One Pound: two balls, Peach 10504. Each listed ball is 16 oz / 453.6 g, 812 yd / 742 m. |
| Hook | 6 mm / US J-10, or size needed for gauge. |
| Gauge | 10 dc and 5 rows = 4 in / 10 cm. |
| Finished size | Approximately 40 in / 101.5 cm square. |
| Tools | Tapestry needle and scissors. |
The two-ball supply is the source’s materials allowance, not a claim that every yard is used. Save enough yarn for the all-around border. Swatch the actual grouped fabric and check the width early, because open group stitches can measure differently from solid dc.
US Terms and a Stitch-Count Clarification
US terms: ch = chain; sc = single crochet; hdc = half double crochet; dc = double crochet; sl st = slip stitch; st(s) = stitch(es); sp = space; BLO = back loop only; inc = 2 stitches in one stitch. A decrease combines two stitches into one. Use a marker where a round begins. Unless specifically stated, a turning ch 1 adds height and is not a stitch.
Here ch 3 counts as one dc. In the first row only, the skipped four foundation chains count as one dc plus one chain space. The supplied PDF’s printed group totals do not agree with its ch-115 foundation and written placements. Following those placements produces 37 groups in Row 1, 36 groups plus two dc at each edge in Row 2, and 37 groups plus one dc at each edge in Row 3. The instructions below use those consistent counts rather than the conflicting printed totals.
Step 1: Work the Foundation Row
Chain 115. Work 3 dc into the fifth chain from the hook. Repeat (skip two chains, 3 dc in the next chain) until two chains remain. Skip the next chain and dc in the last chain. Turn. There are 37 three-dc groups between the two edge dc positions. Keep the skipped starting chains visible so you can find their top on the return row.
Step 2: Alternate the Two Group Rows
| Row | Instructions | Group layout |
|---|---|---|
| 2 | Ch 3, dc in the first dc. Work 3 dc into each gap between neighboring three-dc groups. Finish with 2 dc in the top of the starting ch 4. Turn. | 36 full groups; 2 dc at each edge. |
| 3 | Ch 3. Work 3 dc into the gap after the first edge pair, then each gap across, including the gap before the final edge pair. Dc in the top of the starting ch 3. Turn. | 37 full groups; 1 dc at each edge. |
| 4 | Repeat Row 2, finishing with 2 dc in the top of the starting ch 3. | 36 groups; 2 dc at each edge. |
| Following rows | Repeat Rows 3 and 4 until approximately 40 in from the foundation, ending on a wrong-side row. | Alternate the two layouts. |
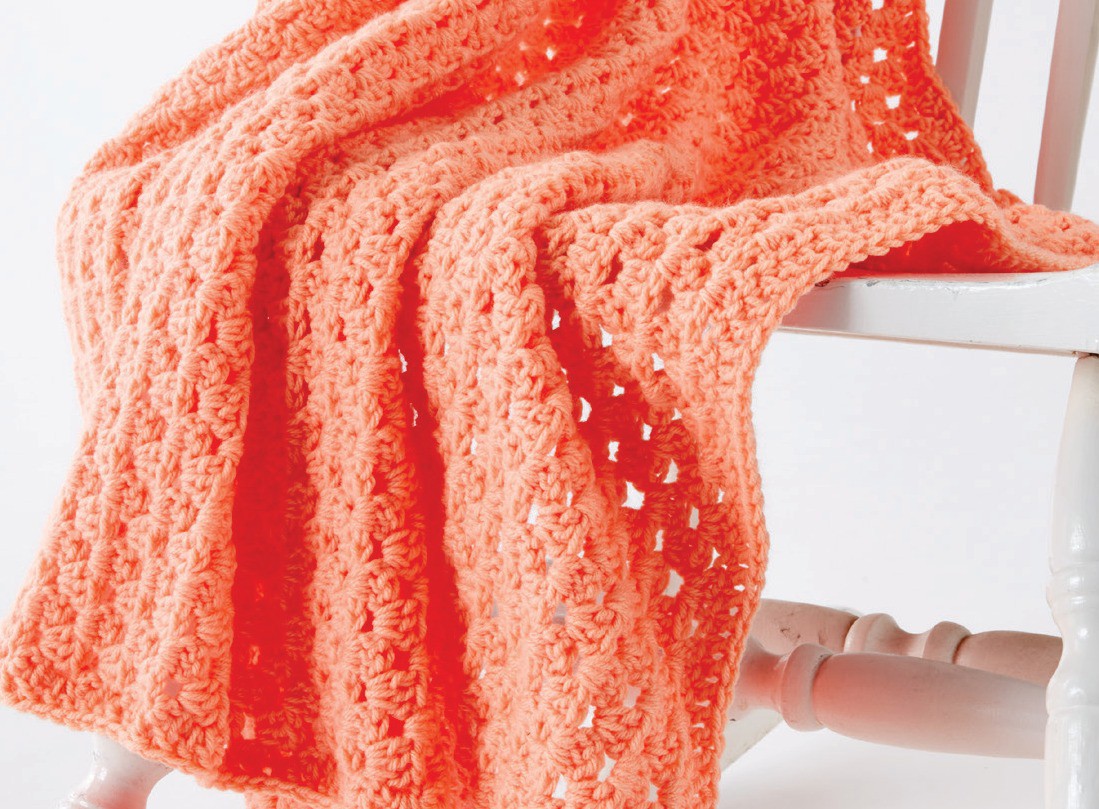
The groups sit in spaces, not in the top of every individual dc. The row with two dc at each edge is followed by the row with a single edge dc. If both edges lean inward, check that you worked the gaps next to those edge pairs. If an edge widens, check for an extra group in the turning-chain space.
Step 3: Add the Double-Crochet Border
At the end of the body, turn and keep the yarn attached. Ch 3 as the first dc and dc across the top, placing 5 dc in the final corner. Continue down the first side with evenly spaced dc; the source uses 111 along a 40-inch side. Place 5 dc at each new corner. Work dc across the foundation, including the skipped chains, and continue evenly up the remaining side. At the starting corner work the remaining 4 dc beside the initial ch 3, then join to the top of that chain. Fasten off.
Distribute side stitches evenly while keeping the blanket flat. The source’s 111-stitch side count belongs to its sample height; a different row gauge needs its side spacing checked. A border that cups is too tight or too sparse, while a rippling border has too much fabric. Measure before cutting the yarn so you can adjust the side distribution if necessary.
Finish the Blanket
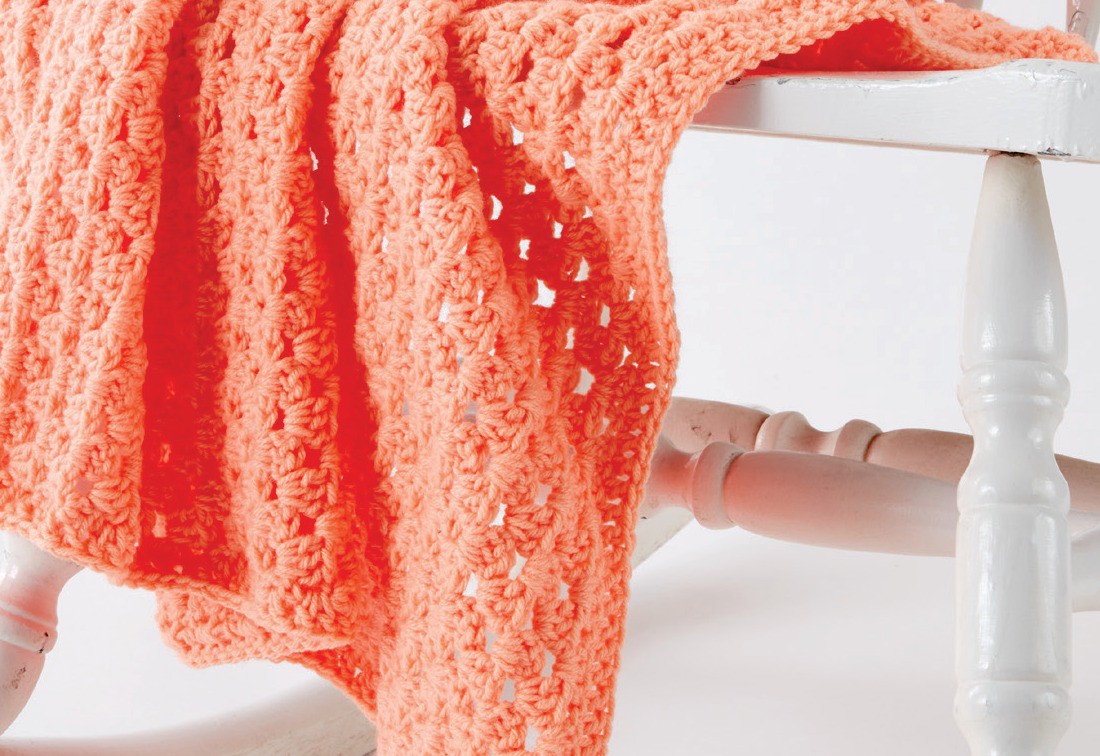
Weave the ends into matching-color stitches and care for the blanket according to the yarn label. Lay it flat for a final size and edge check. The source photograph shows the blanket’s drape; the exact softness and openness depend on the yarn and tension you use.
Frequently Asked Questions
Why do these group totals differ from the supplied PDF?
The ch-115 foundation places groups in chains 5, 8, 11 and so on through 113: 37 groups. The article keeps the written placements and explains the corresponding return-row counts.
Do I turn after the border’s first side?
No. Work continuously around the blanket, adding corner groups as you reach each corner.
Are all three images different photographs?
The source has one finished blanket photograph. The article includes that photograph and two clearly labelled detail crops.
More Baby Crochet Projects
Explore our baby crochet collection, compare baby bootie styles, or choose a baby cardigan project. Save your favorite idea to Pinterest before starting.
Pattern and Photo Credits
Written adaptation of Easy Peasy Crochet Baby Blanket by Caron / Yarnspirations. All reference photographs come from that supplied pattern and show its original samples. Detail crops are labelled in their captions. The written steps and arithmetic have been reviewed against the supplied pages; this article has not been physically crocheted or maker-tested.
Leave a Reply